Please click on pictures to open and close.
1/11/2019
This is a complete body kit with wheels and a plastic insert that lets you complete the car as a static model but I will be completing it as a slot car at some point.
7/11/2020
Started construction of this slot car and the idea was to use as many Super Shells and MRRC parts as possible. In the end I used the following parts.
Super Shells F1 1961 (156 Shark Nose) body kit.
MRRC 3 pole motor with nylon crown gear and brass pinion, ratio 3.6-1.
MRRC steering unit.
Front wheels from the Super Shells kit.
Rear wheels Mitods M036D classic wire rims & Dunlop tyres, 21.2 x 6mm.
Guide from spares box.
First a couple of points about this build. The wheel base of the 156 is 2300mm - 2320mm depending on the reference used. This equates to 71.875mm in 1/32nd scale. The Super Shells body as just about spot on at 71.4mm, however due to the construction method being used the models wheelbase just under 75mm. This just happens to be almost the same as the Airfix car. It should also be pointed out that due to the parts being used the track is also wrong and should be 1200-1260mm again depending on reference. This is 39.3mm but the steering unit being used has a track of 49.3mm, the rear track is the same and the reax axle will be trimmed to match the front. The kit wheels are slightly under size but the Mitods are correct. Yes I also know that the ground clearance in incorrect and it looks more like a Range Rover but this is due to the parts used.
Next some background to this build. I currently have 3 different Super Shells F1bodies, this Ferrari, The 1962 BRM and the 1964 Ferrari. Chassis wise I have a Supper Shells Slim Jim which fits all 3 bodies but due to size will have to be used with the BRM. A Penelope Pitlane chassis which will fit either Ferrari but if used will be in the 64. The 156 is the largest of the 3 bodies and you can fit a MRRC brass rear axle bracket in the body. As I have a few of MRRC motors, 3 and 5 pole, with the bracket attached I decided to give this a try.
With this in mind I bought a MRRC steering unit but needed a guide unit for it. Following on from my posting about the steering unit in my Retirement Build listing On Slot Forum International I was offered a steering unit by fellow member john_m_w. It then became clear that I had the wrong steering unit.
br>
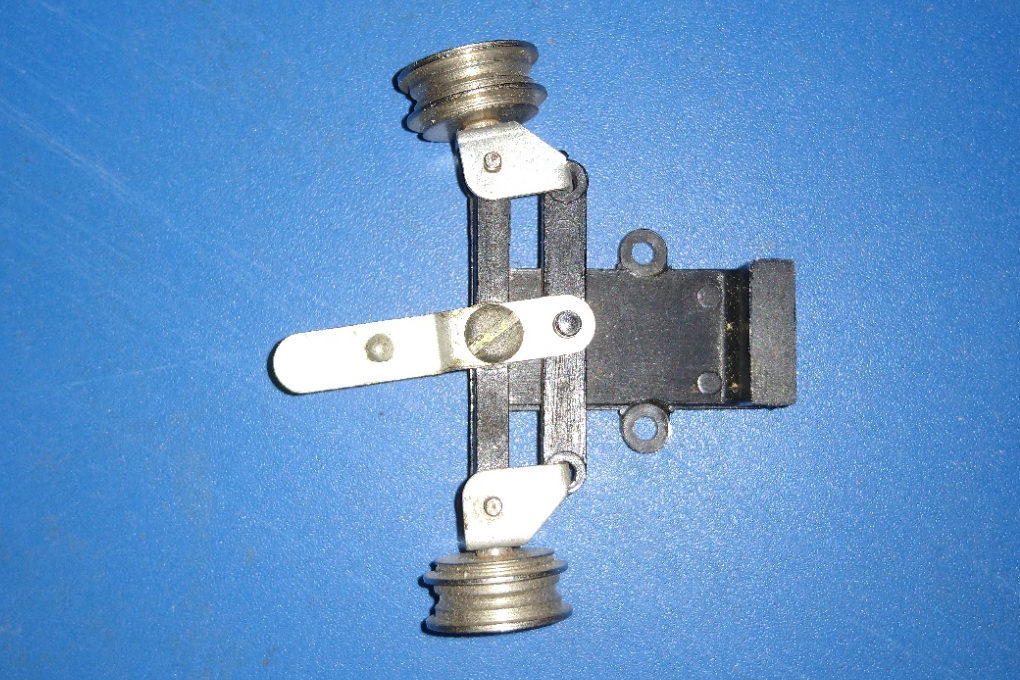
These are the MRRC steering unit.
s716 2020-11-05 A
s716 2020-11-05 B
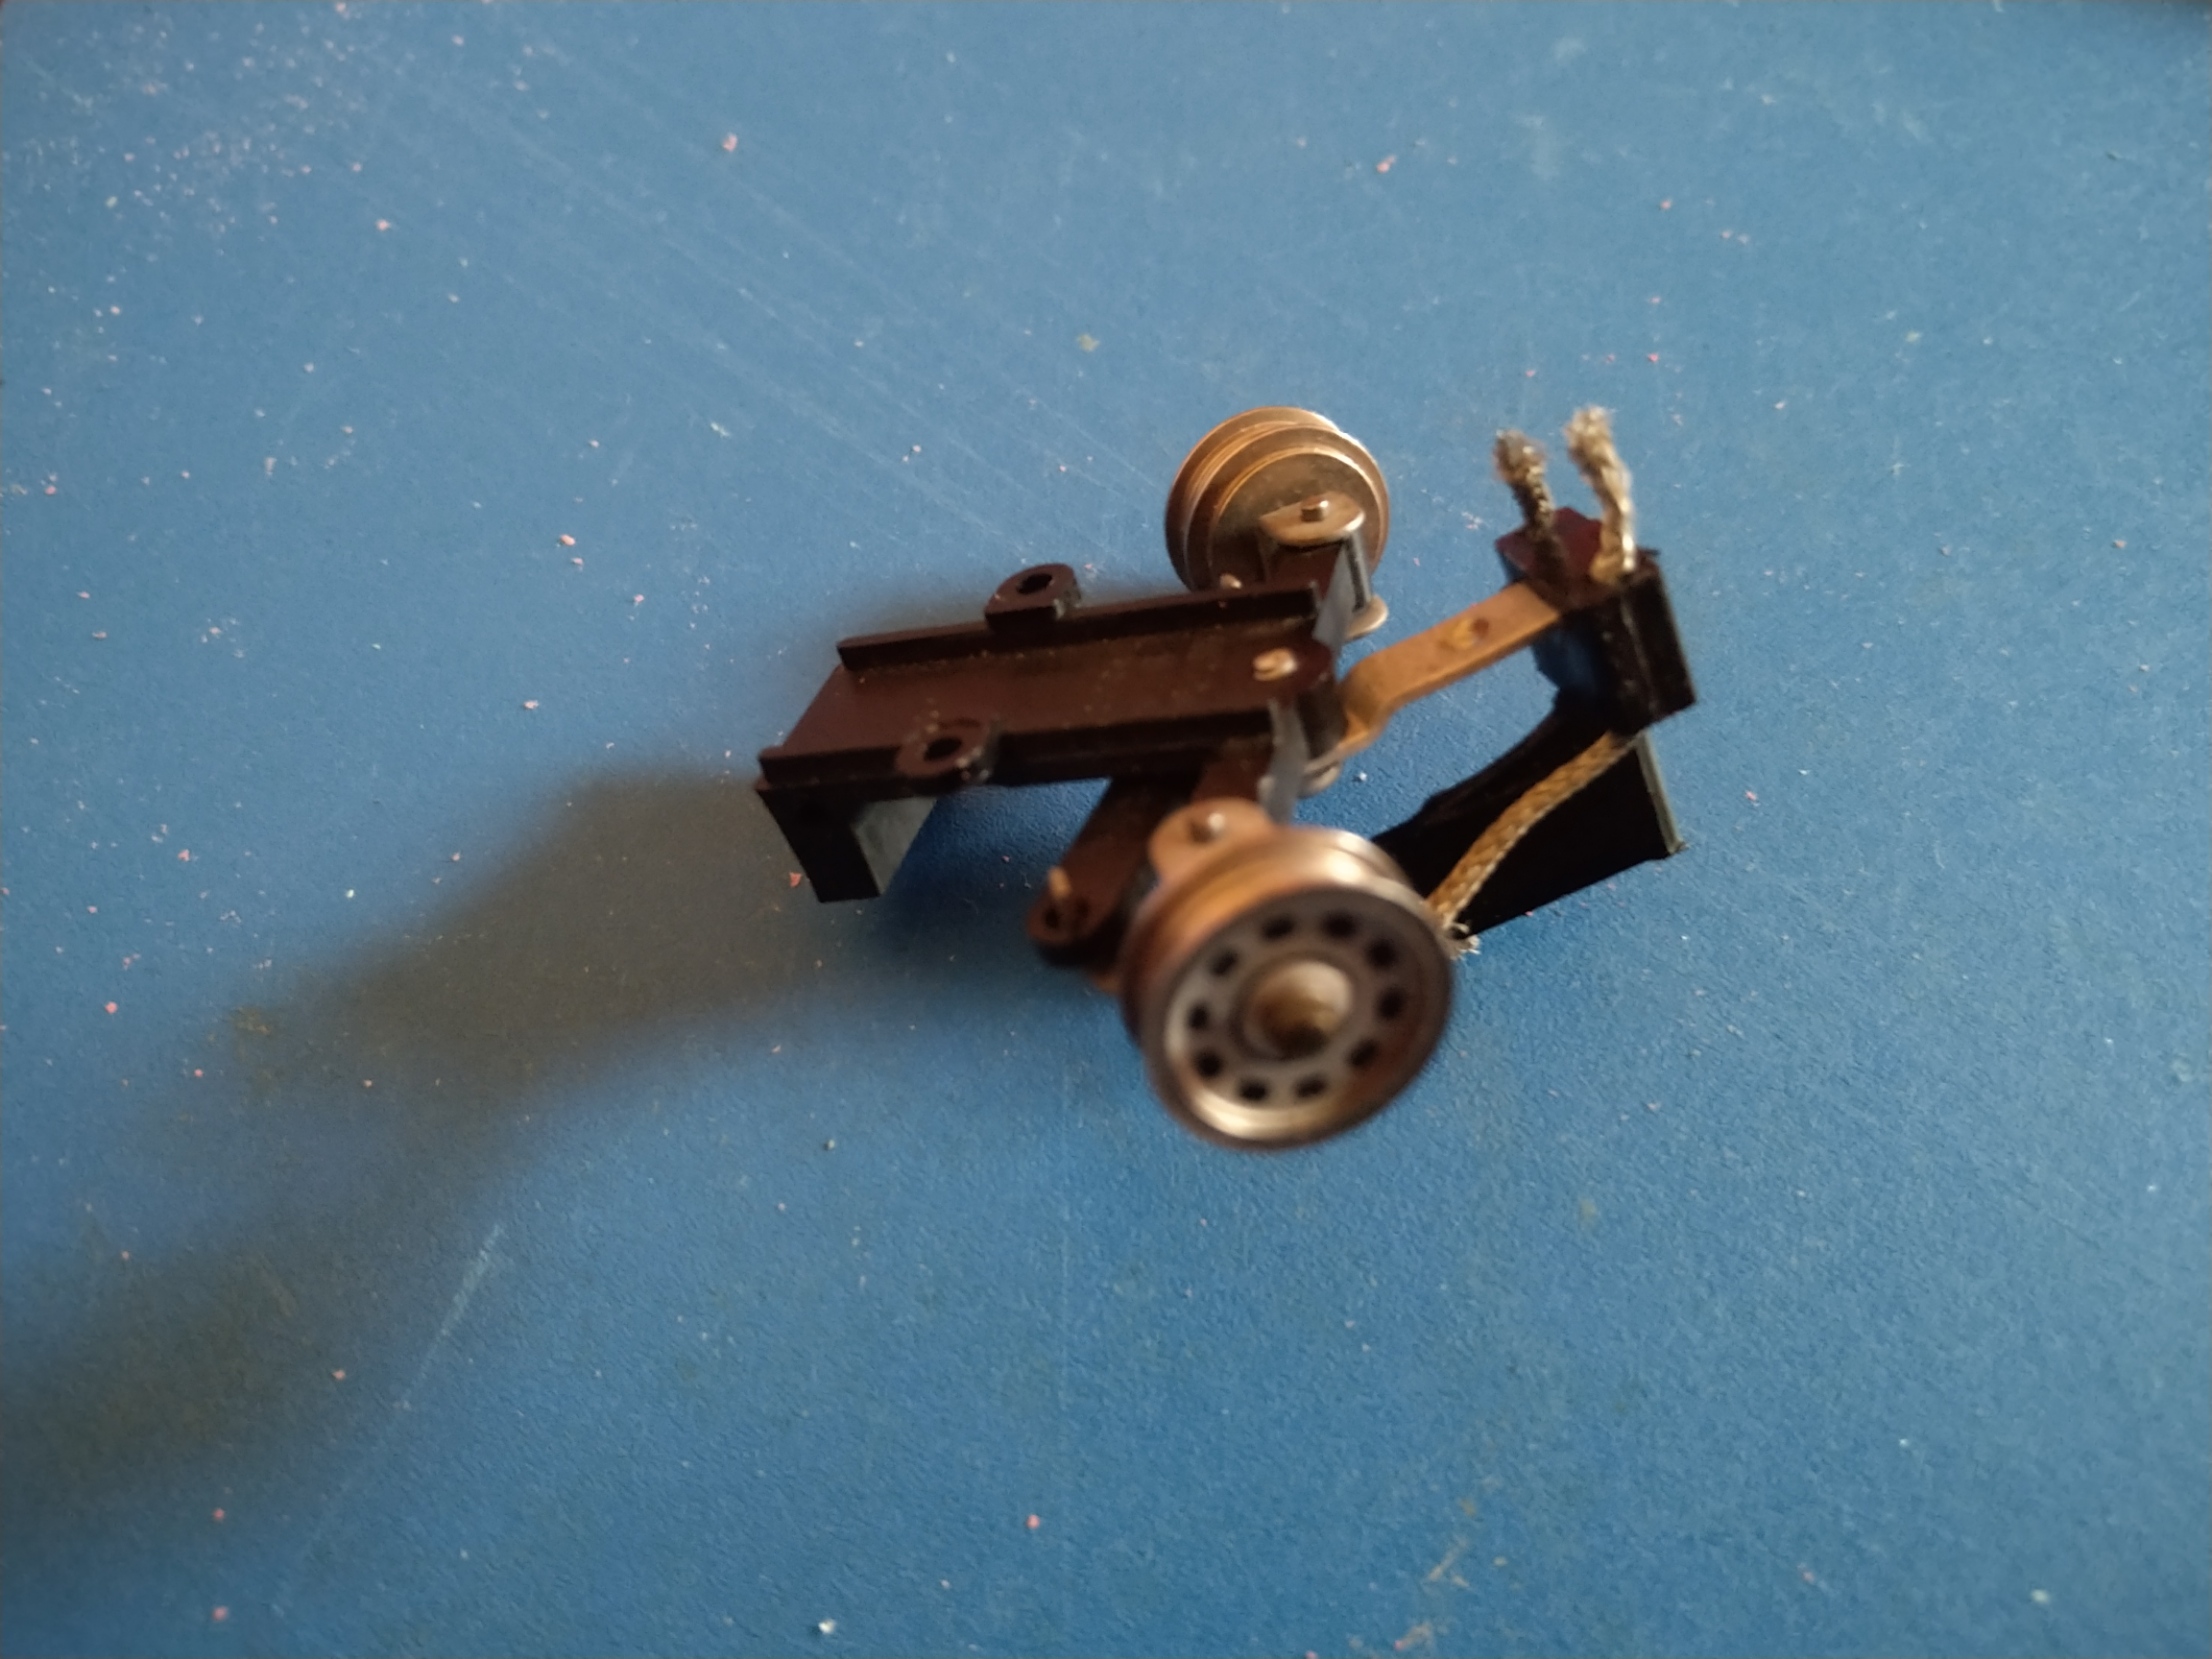
This is the 755 adjustable unit showing all the component parts.
s716 2020-11-09 A
s716 2020-11-09 B
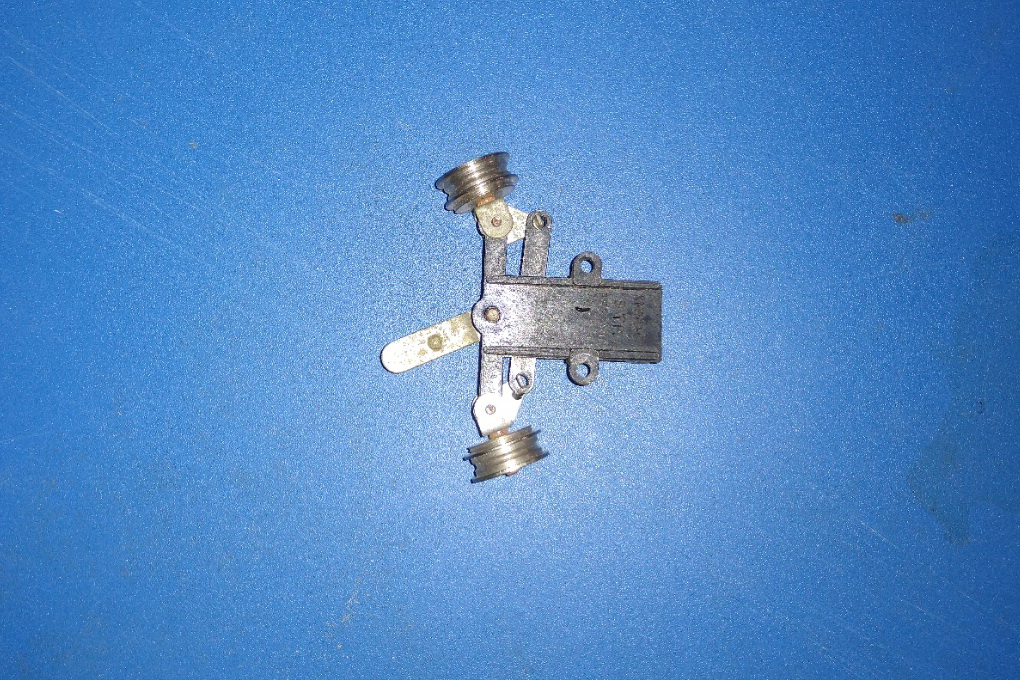
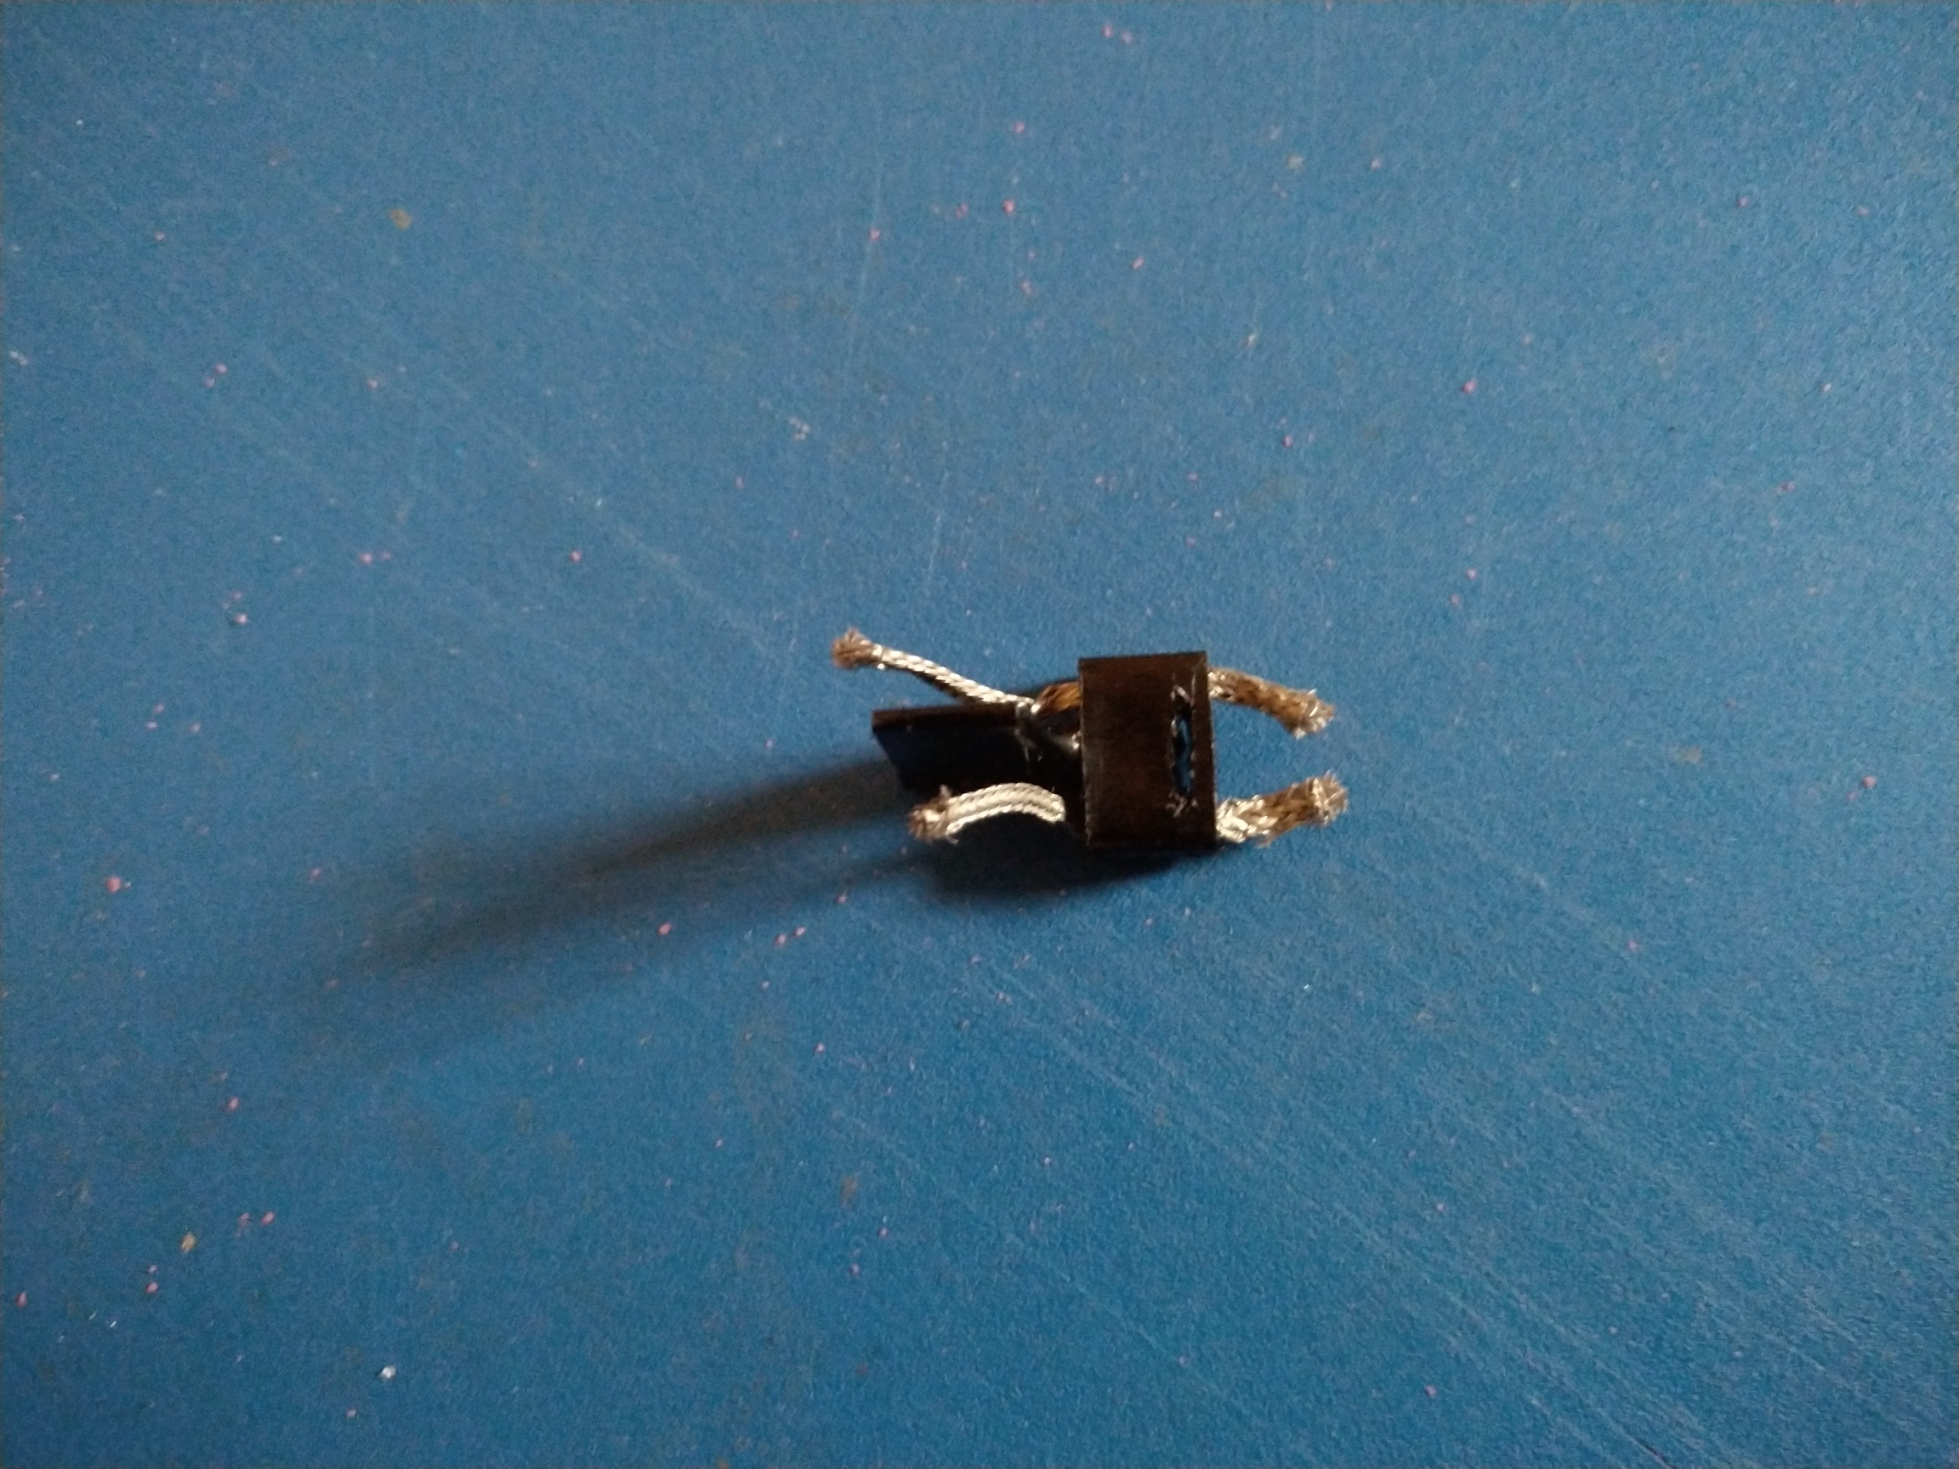
This is the MRRC guide unit that I was hoping to use with the steering unit and how it attaches to the steering unit.
s716 2020-11-09 C
s716 2020-11-09 D
s716 2020-11-09 E
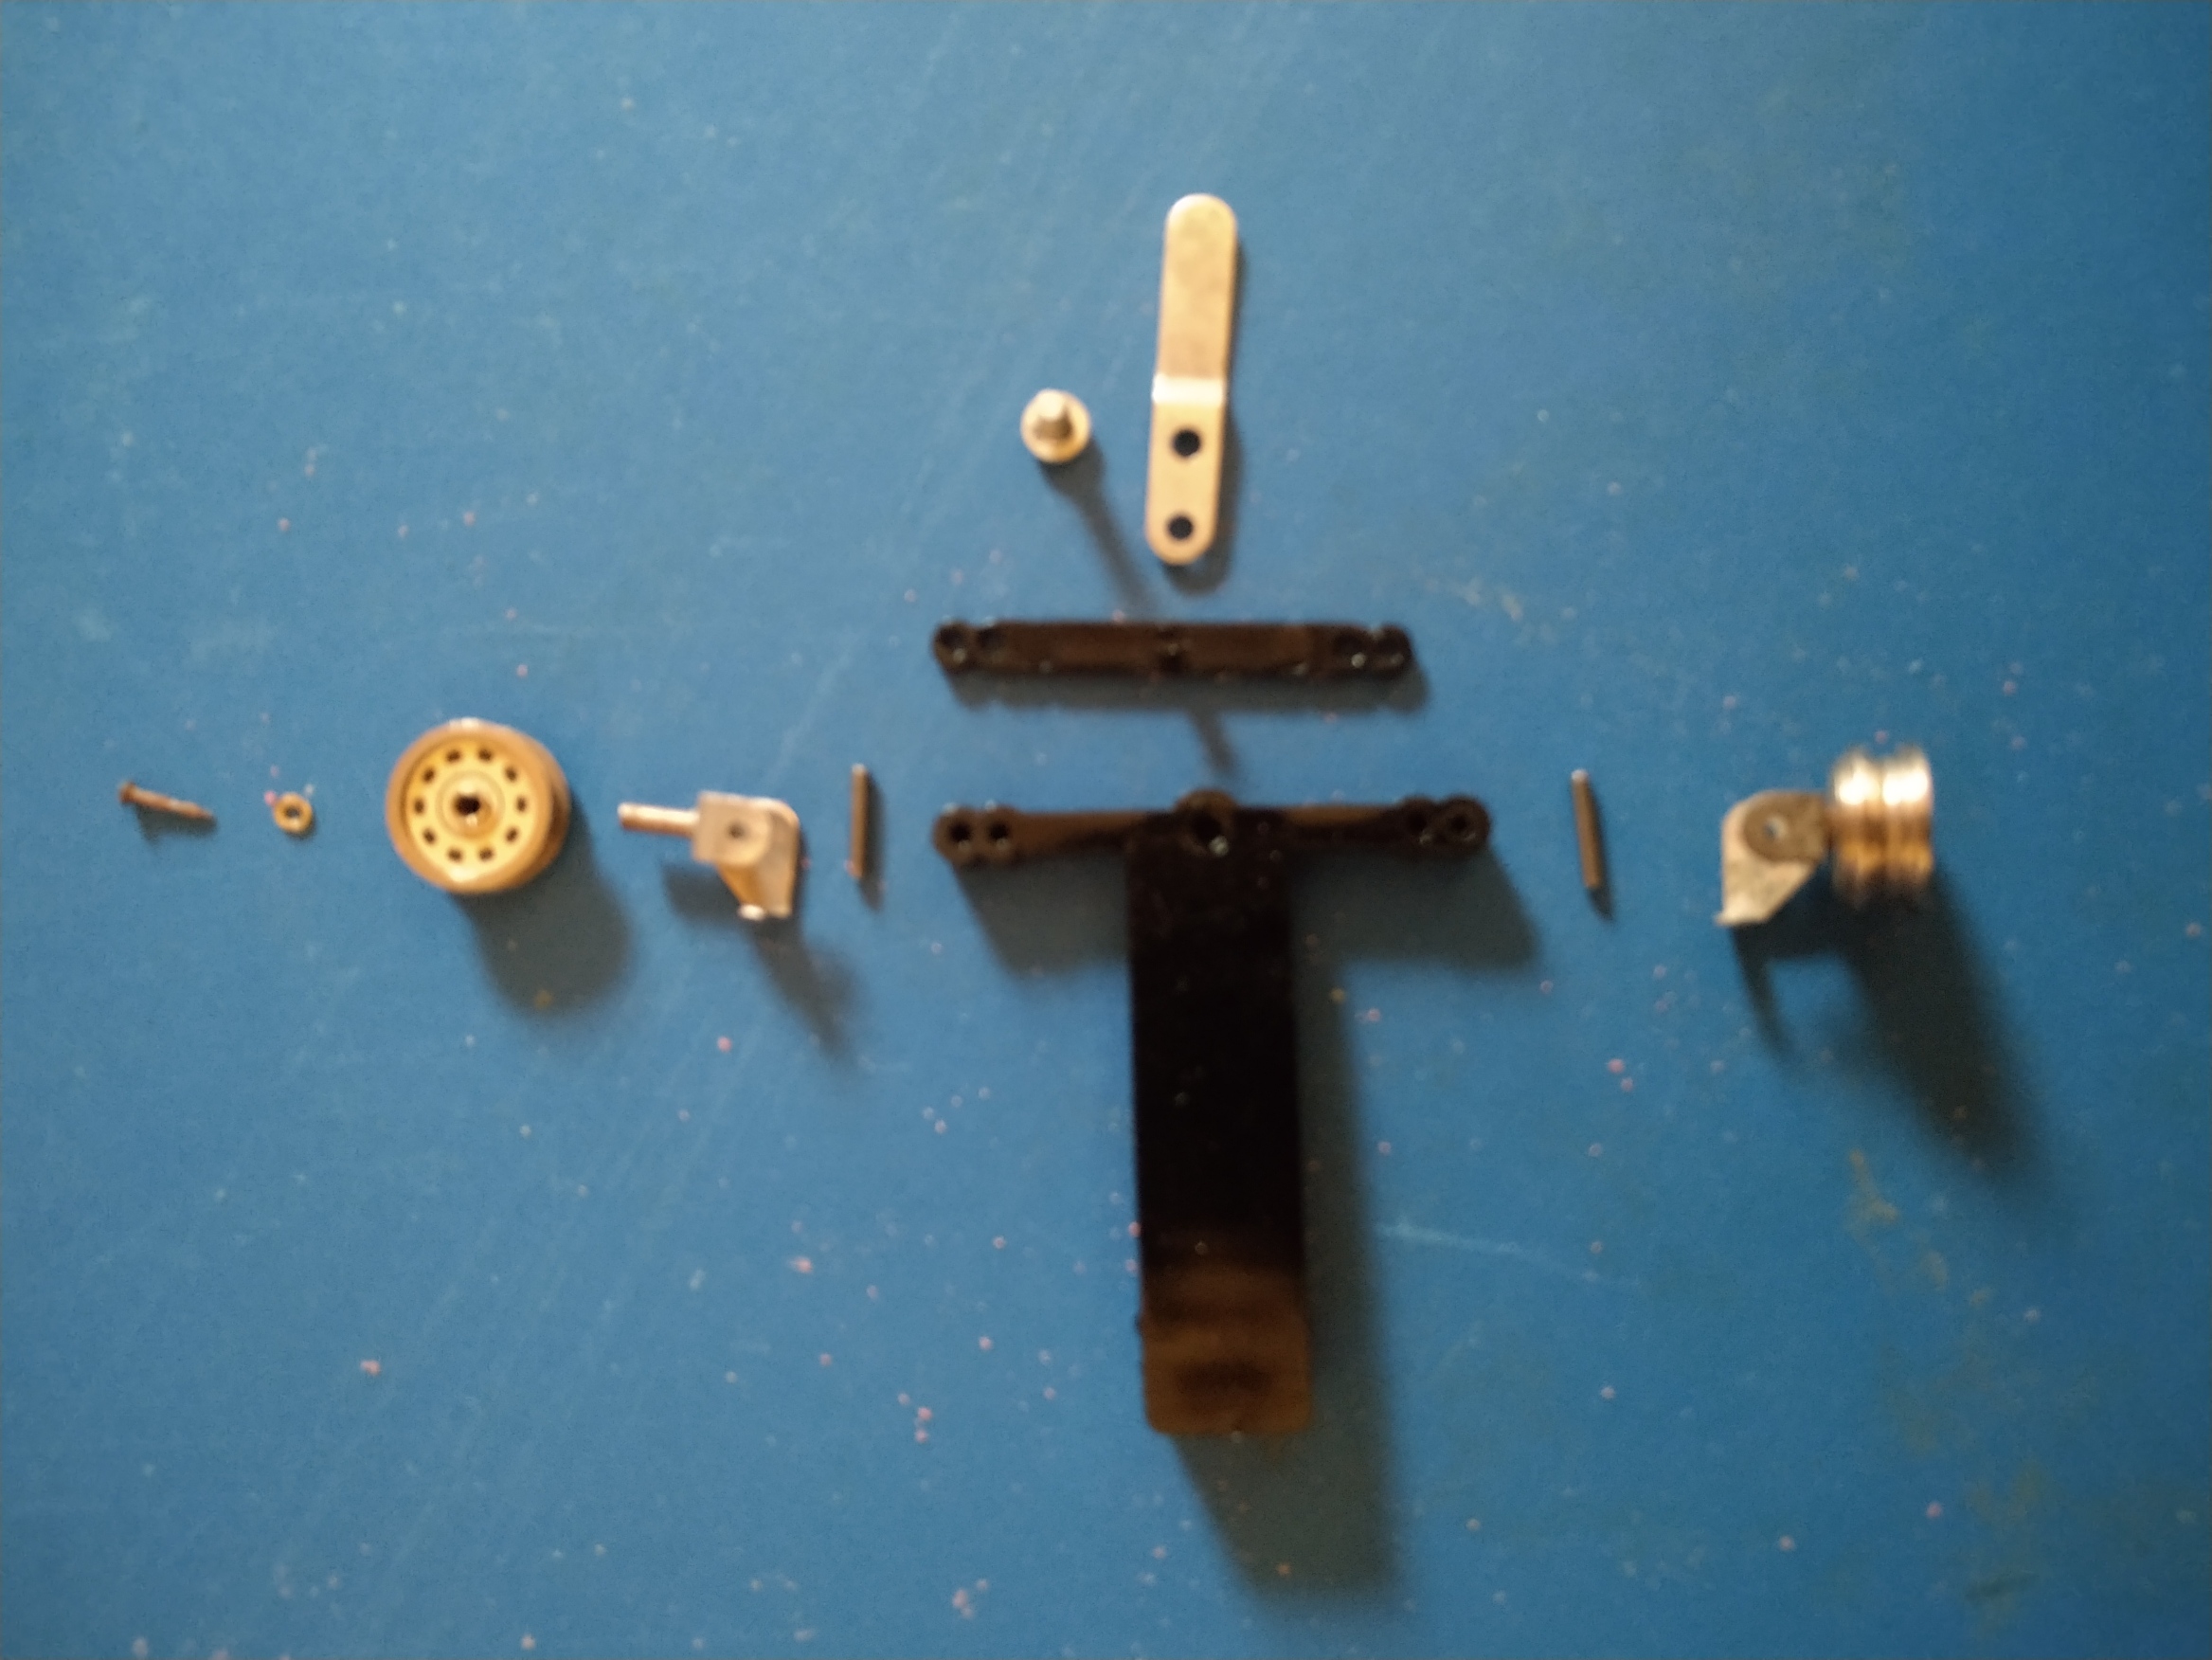
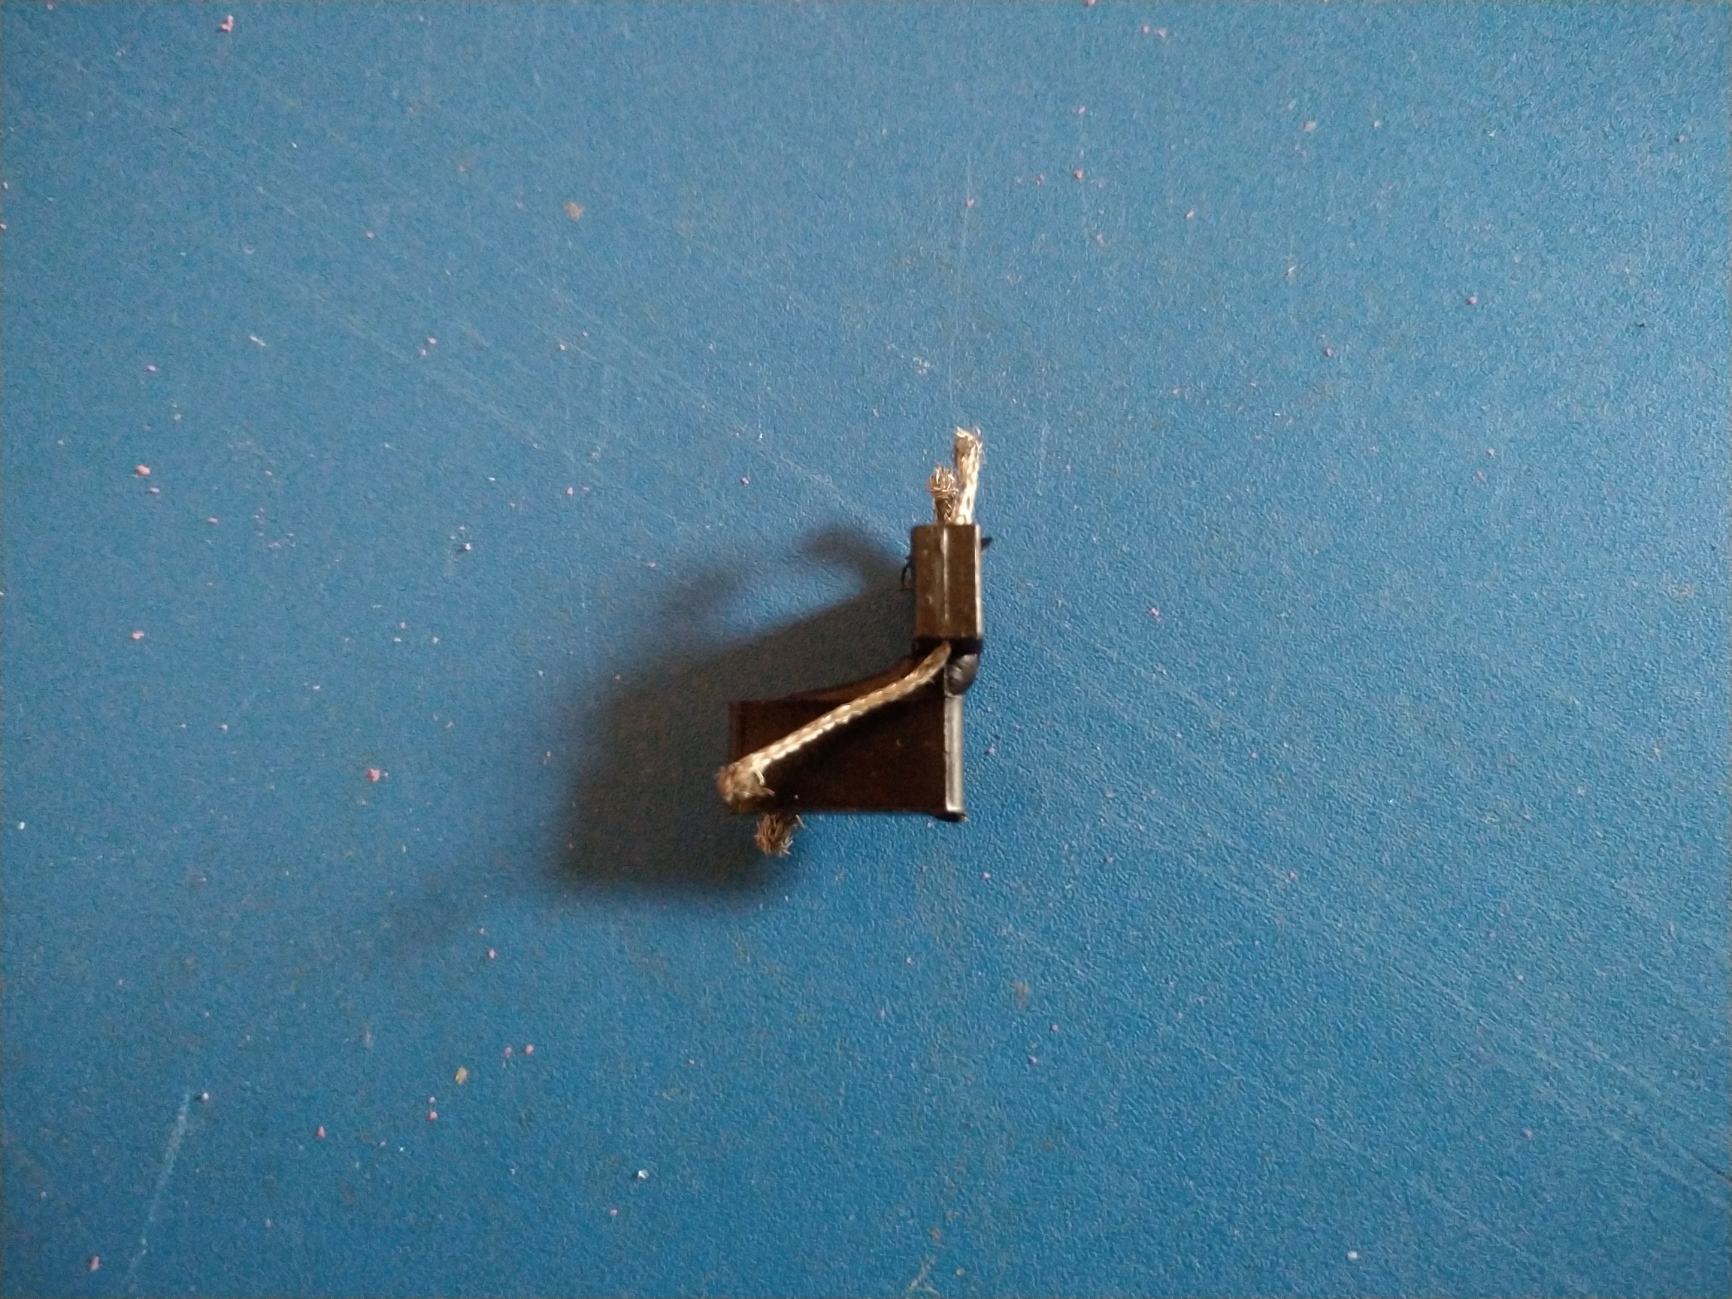
Finally the MRRC 3 pole motor I had intended to use.
The main difference between the steering units are the large mounting block on the 755 which has 3 holes in it to allow for the adjustable wheel base, you would cut it behind the hole you need to use, and the double holes on the steering link are so you can adjust the track. Other difference are that the metal guide arm has a bump on the 726 but not on the 755 and the body of the steering unit is solid on the 755 but side ridges on the 726 and the 726 is thicker due to the ridges 3.36mm against 2.25mm on the 755. The 724 also has mounting brackets which I assume match up the sockets in the Ferguson body. The 755 also does not come with any wheels, or at least my one didn't. Taking of wheels the ones on the 724 are completely wrong for this build and I would need to find how they were fitted.
The motor above is the one I intended to use for this build. the steering unit would normally attach to the motor with a rod blotted through the two holes at the front of the motor.
WhenI had been think about using the 755 with a MRRC motor I had to think about how to attach the unit to the motor as most of my motors don't have the bar that goes through the mount, I think this is a feature of a lot of open frame motors as, Scalextric use it on the RX to clip the front of the motor to the chassis pan. I could try and obtain some of these bars but in the end decided it would probably be just as easy to screw the steering unit in place on the motor.
Then john_m_w offered me the guide unit. This would allow me to use the steering unit and build a complete MRRC unit. However the shortest wheelbase you can do with the 755 is 3.1/2" or 89mm and the only car I have with that sort of wheelbase is from the Batmobile kit and had intended to use another chassis in that. Anyway following on from some messages about the guide and steering units John found some he could spare and sent me 2 of the 724. Following on from a few things I had said John challenged my to find a way to adjust a 724 unit to fit the Shark Nose Ferrari.
While thinking about this the first thing I noticed was that the mounting lugs on the steering unit matched the sockets in the Ferrari body. Problem one how to mount the complete unit solved.
My first idea on how to use the 755 adjustable unit had been to cut off the mounting block altogether and then further shorten the unit by about the length of the mounting block. Then 3D print a new mounting block with an arm coming out of the middle, with body mounting sockets to glue and screw under the steering unit. Good if you have access to a 3D printer, which I do, not so good if you don't.
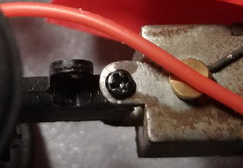
Anyway I bit the bullet and removed the mounting block from one of the 724 units and was thinking about printing a new block and arm when for some reason I fitted the end of the arm in between the motor brackets. I the realised that there was enough depth in this unit to be able to screw the unit directly to the motor. If I was wrong I had nothing to loose as I would be removing this part of the arm to fit the new mounting block. Out with my pin drill and a couple of small holes later and 2 small self tapping screws fitted and it all appeared to be working. There was a little play in the joint but if this caused a problem a spot of hot glue or epoxy would solve that.
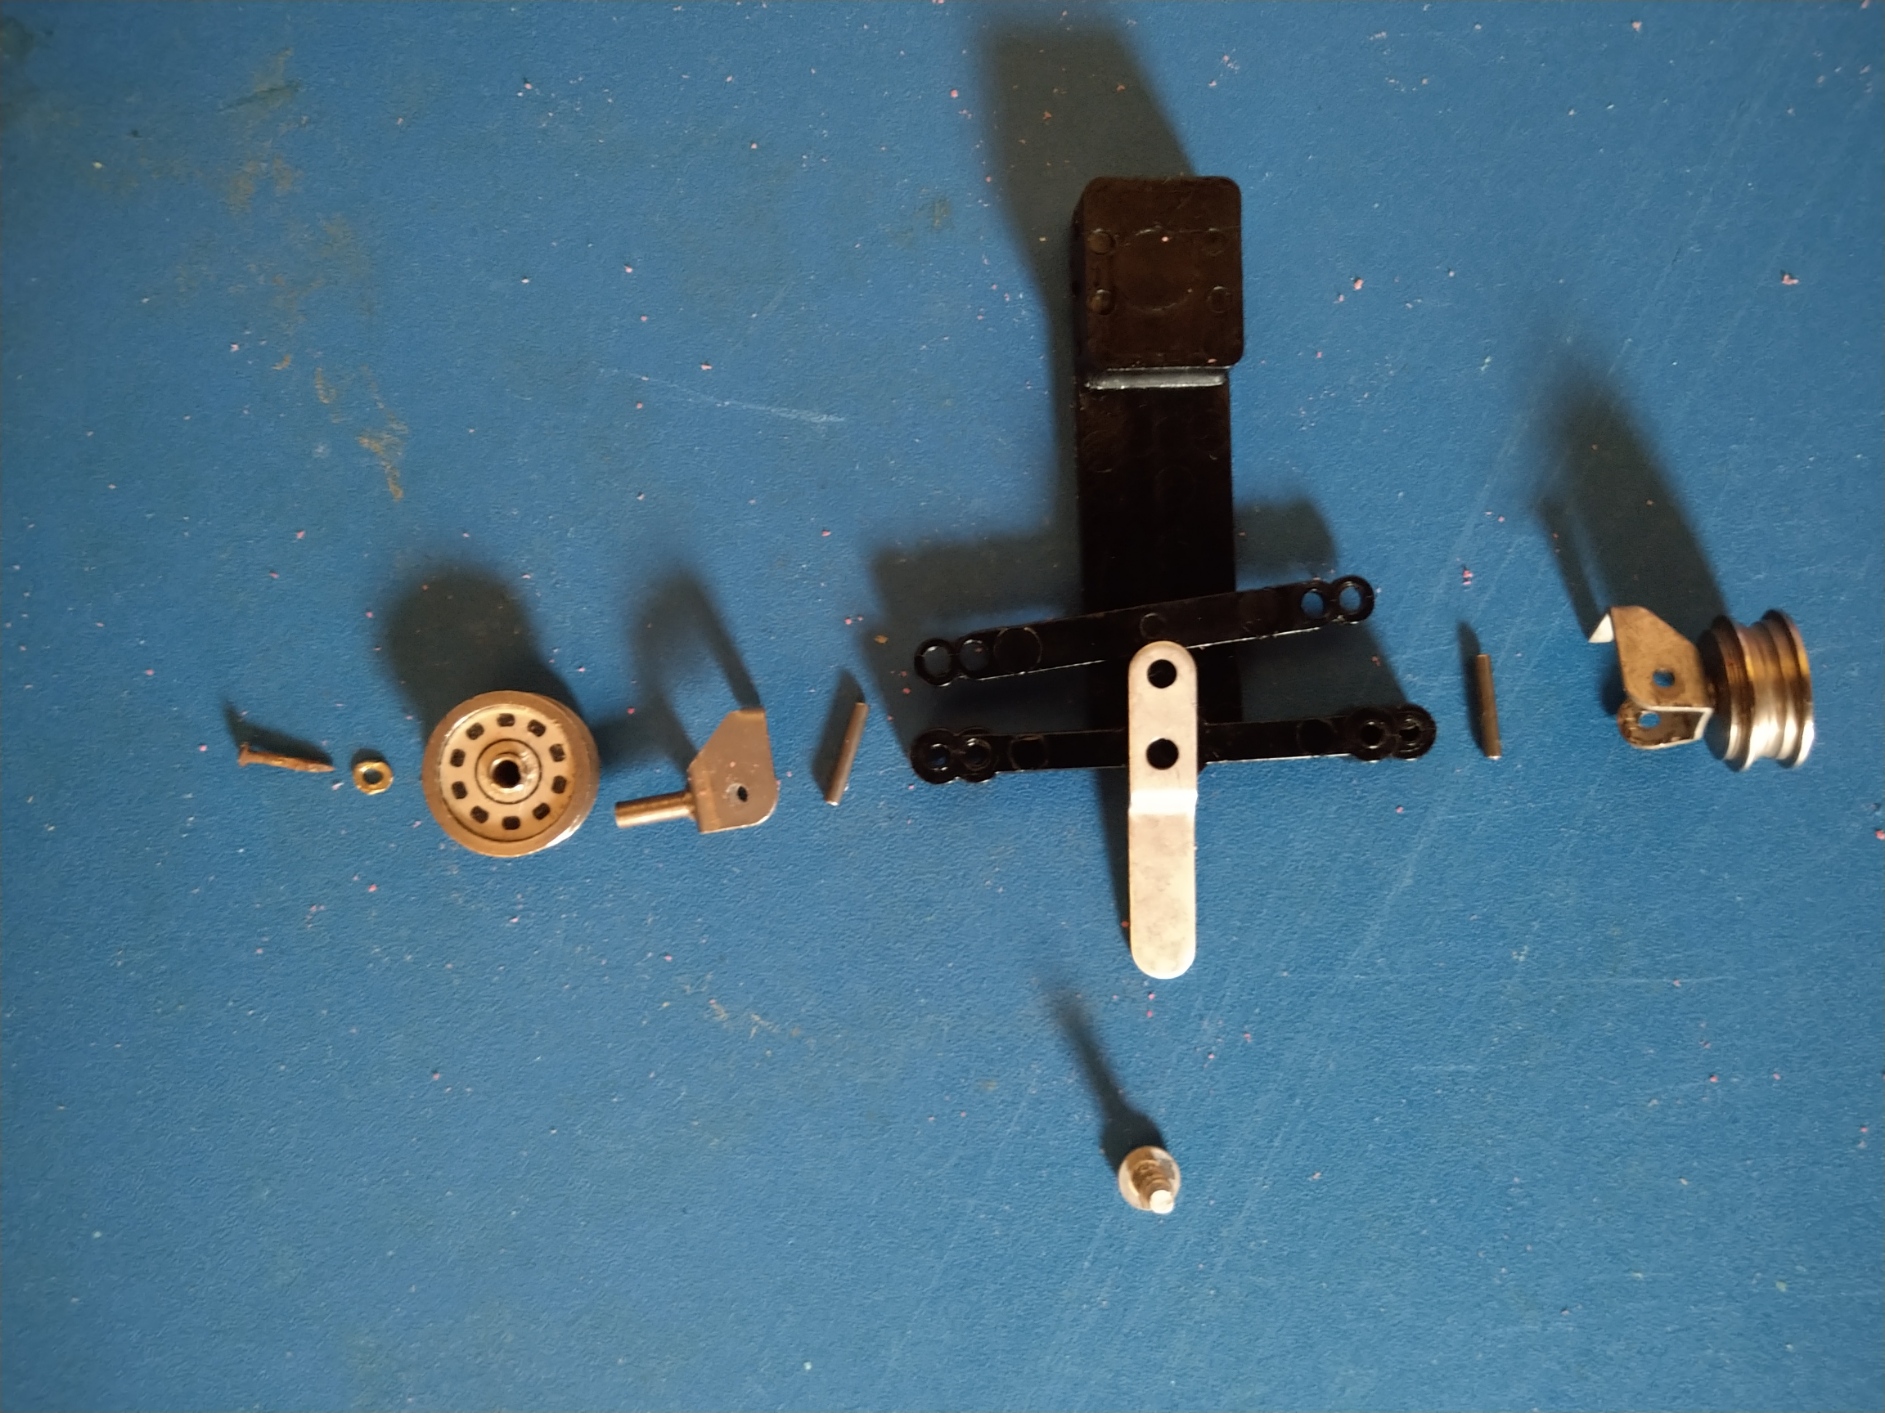
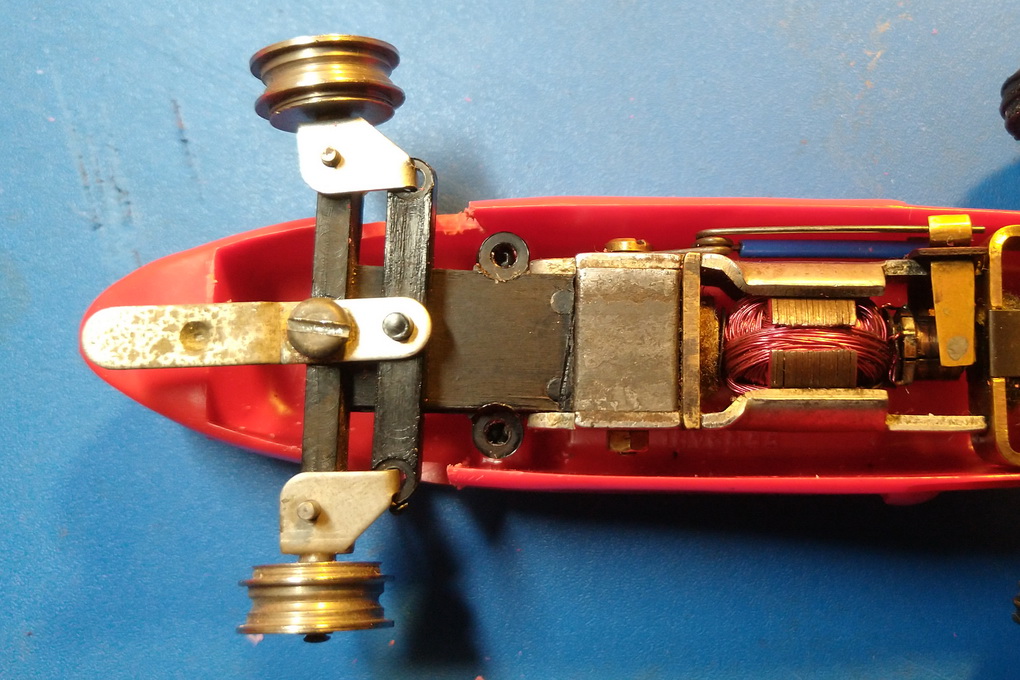
The trimmed 724 steering unit, the small hole drilled in the steering unit and the steering unit screwed to the motor.
s716 2020-11-07 A

s716 2020-11-07 B
s716 2020-11-07 C
1/2/2021
A small video if the car running with the latest version of my 3D printed chassis.