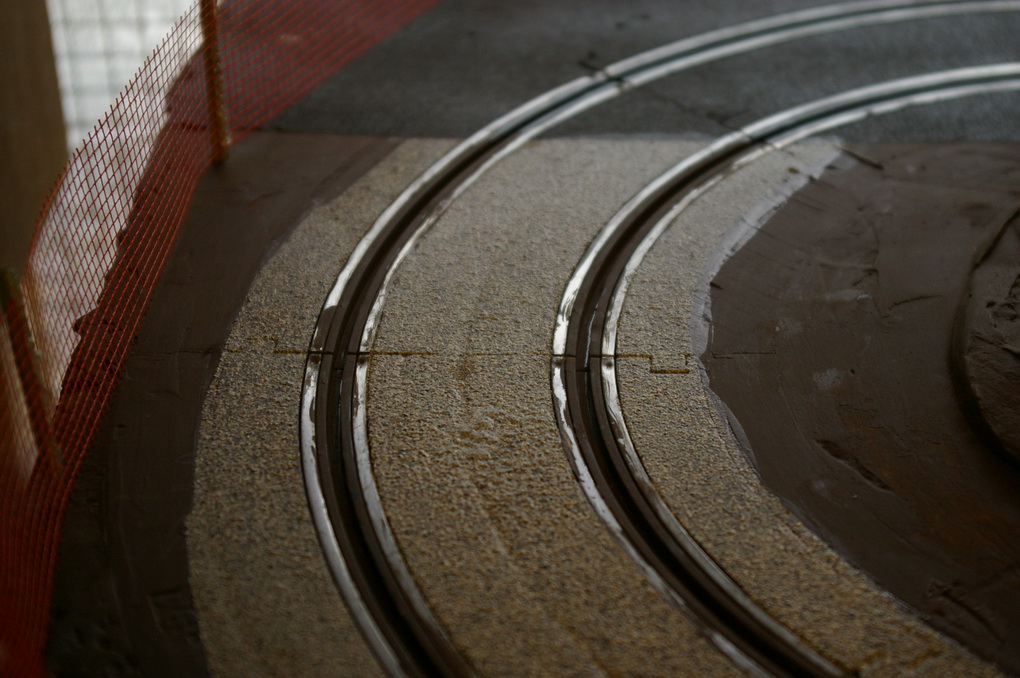
As alread siad I coated the gravel sections with clearcoat, a mixture of matt, satin and gloss, in the first photo the mat is on the left, satin on the middle and gloss on the right and the second photo is from left to right gloss, satin, satin. In normal light I couldn't see any difference between the three finishes.
rally in a shed 2 0596
rally in a shed 2 0597
rally in a shed 2 0598
Please click thumbs to expand
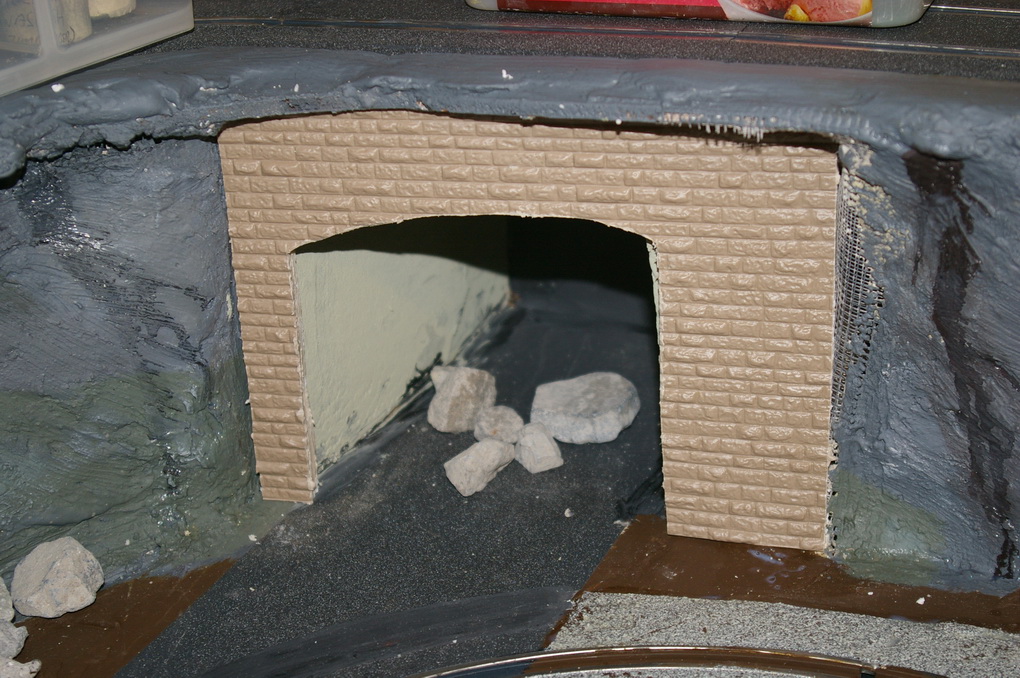
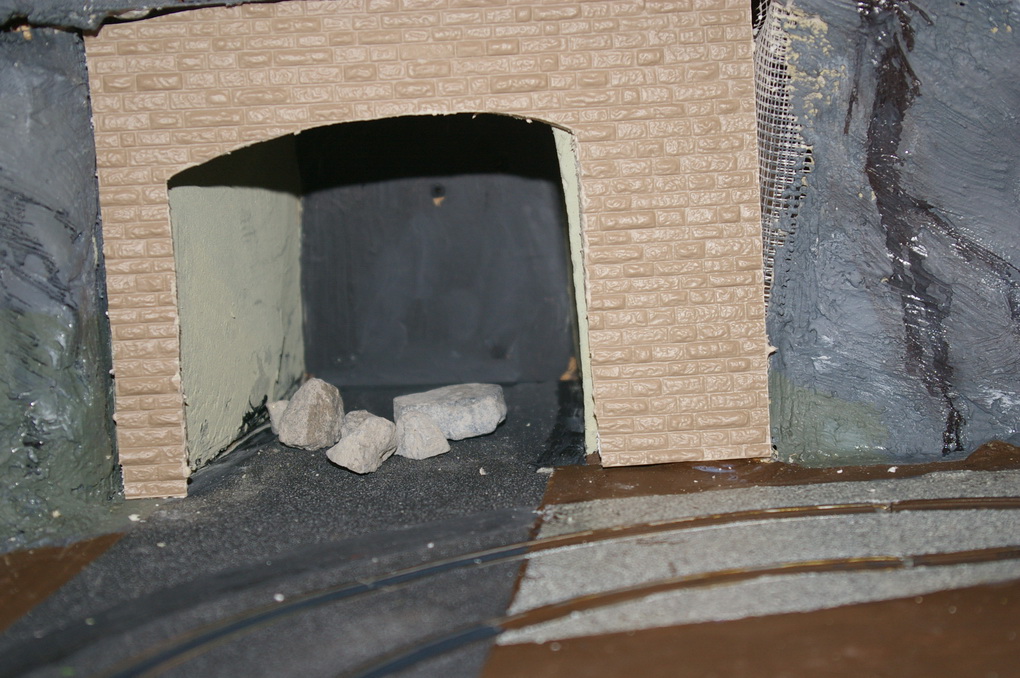
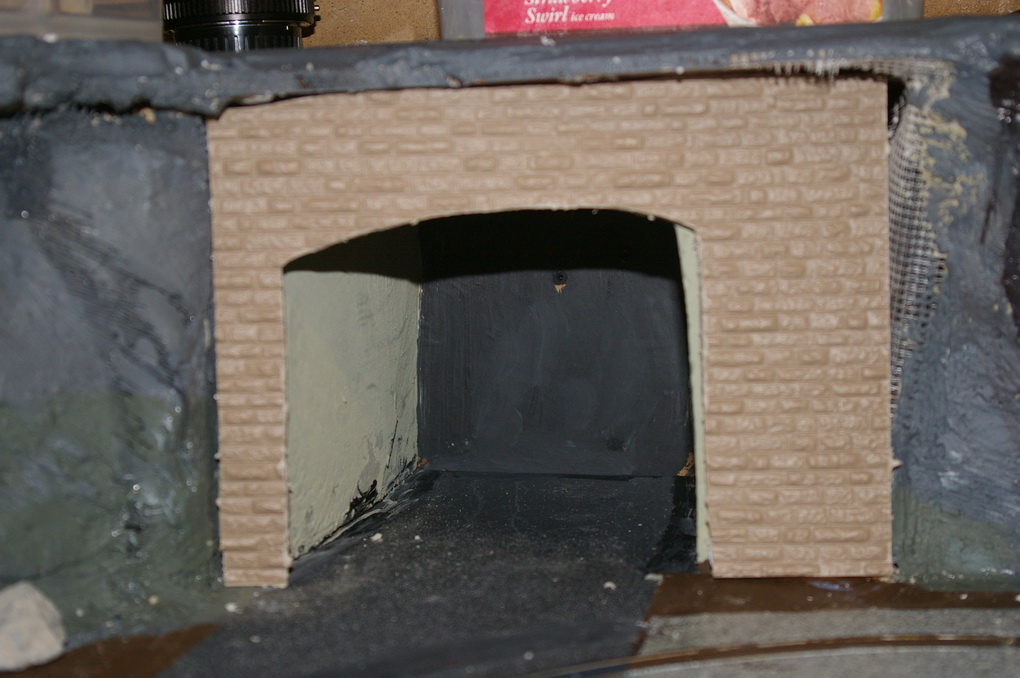
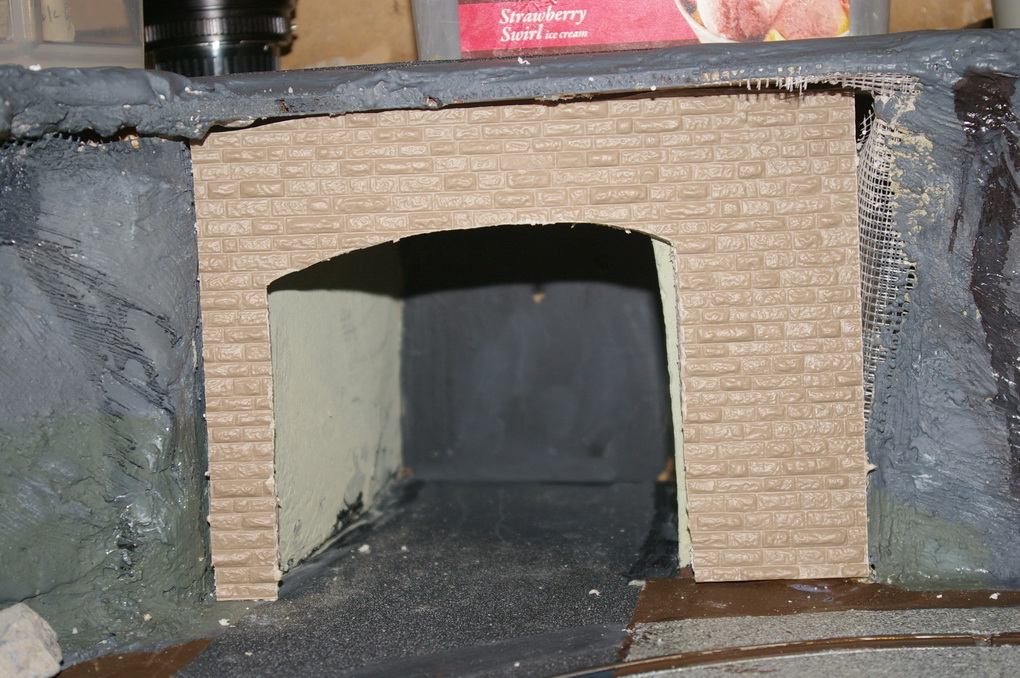
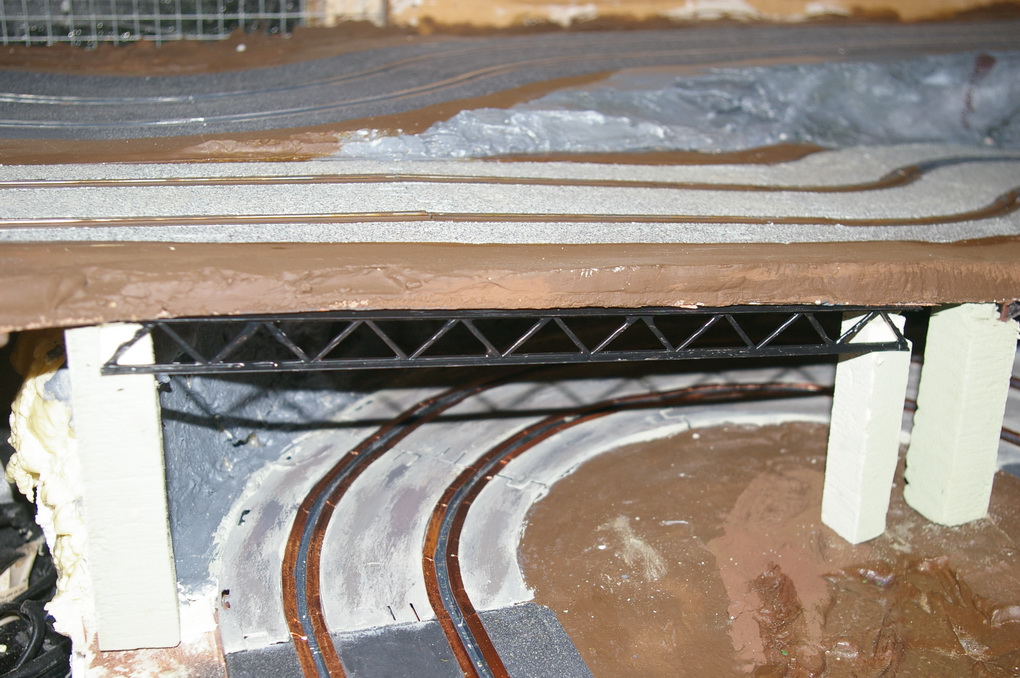
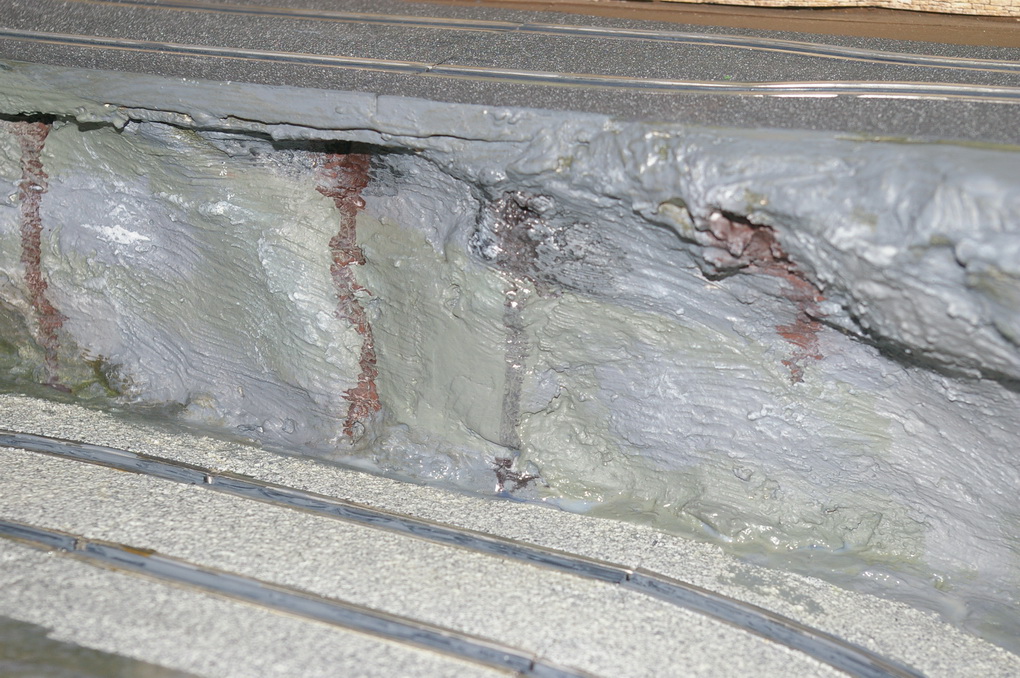
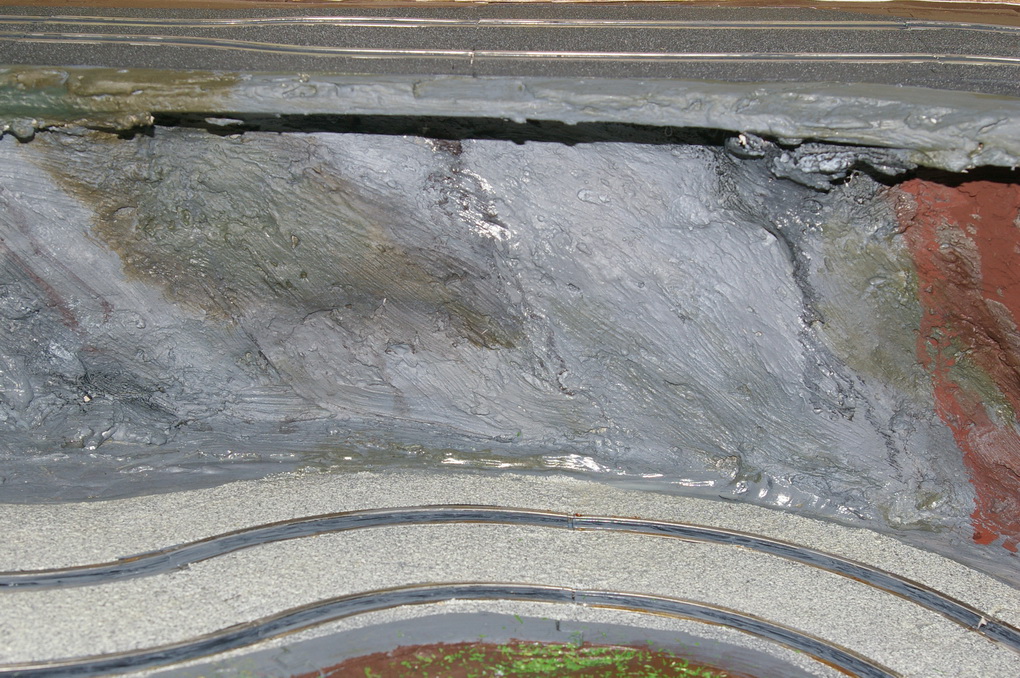
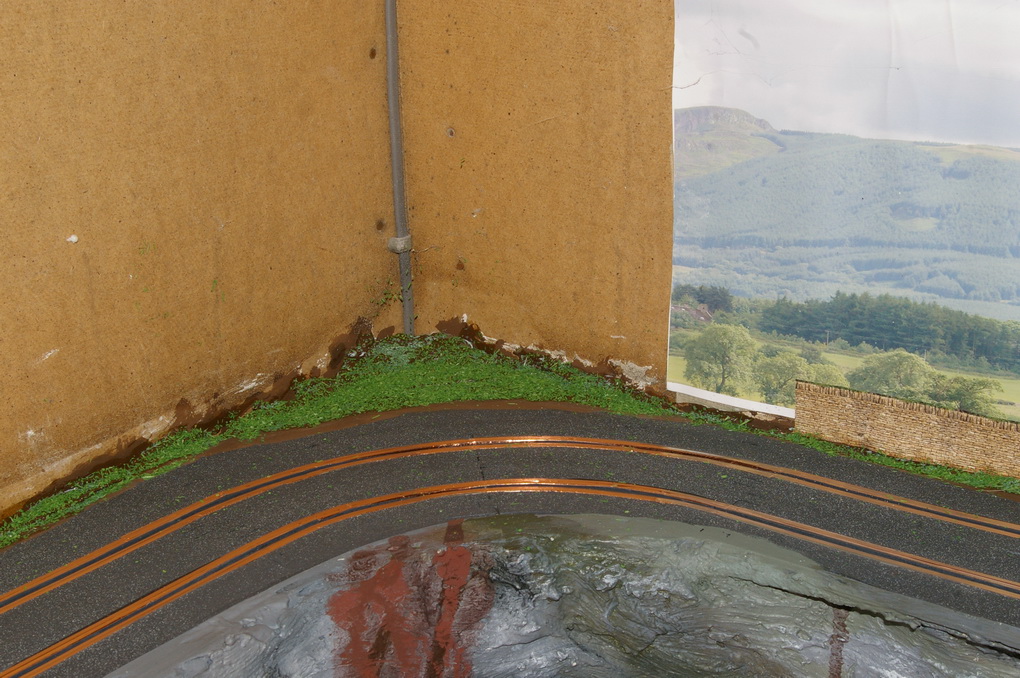
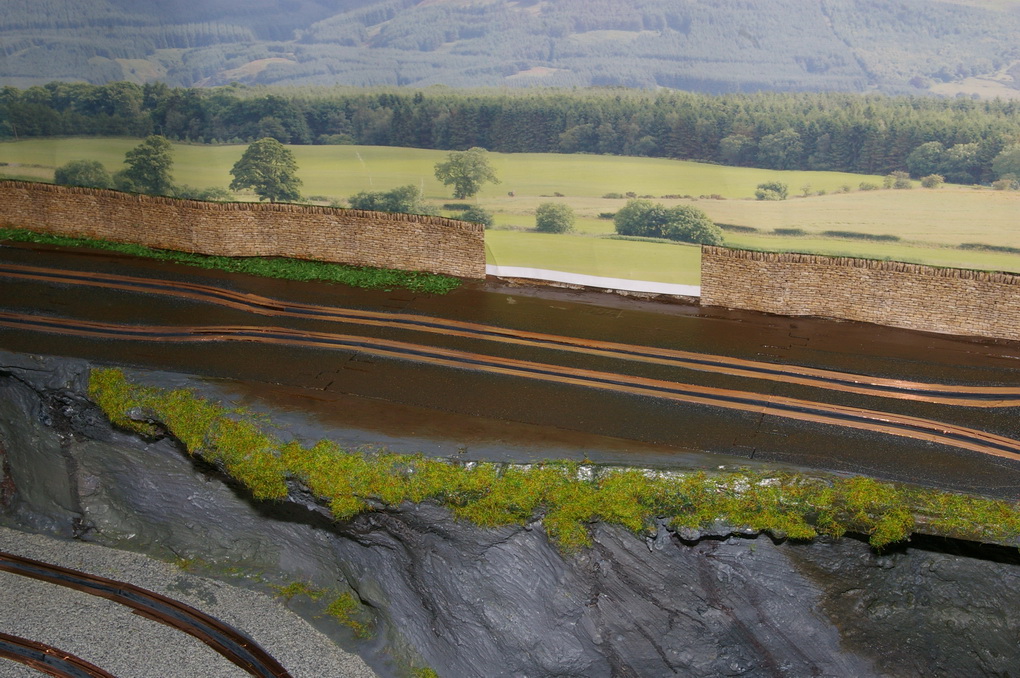
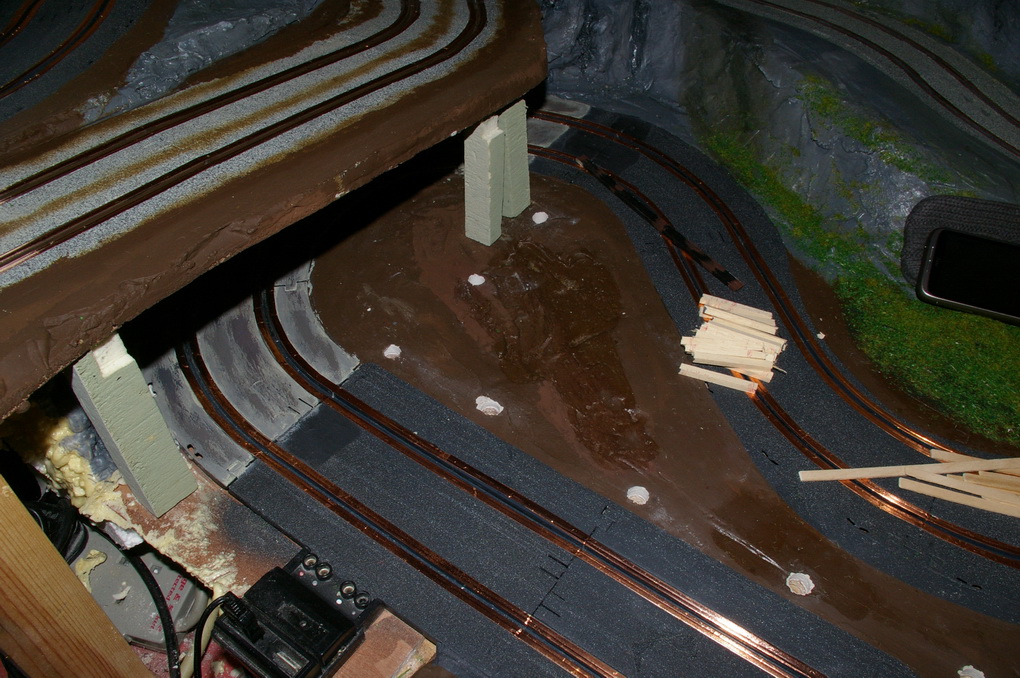
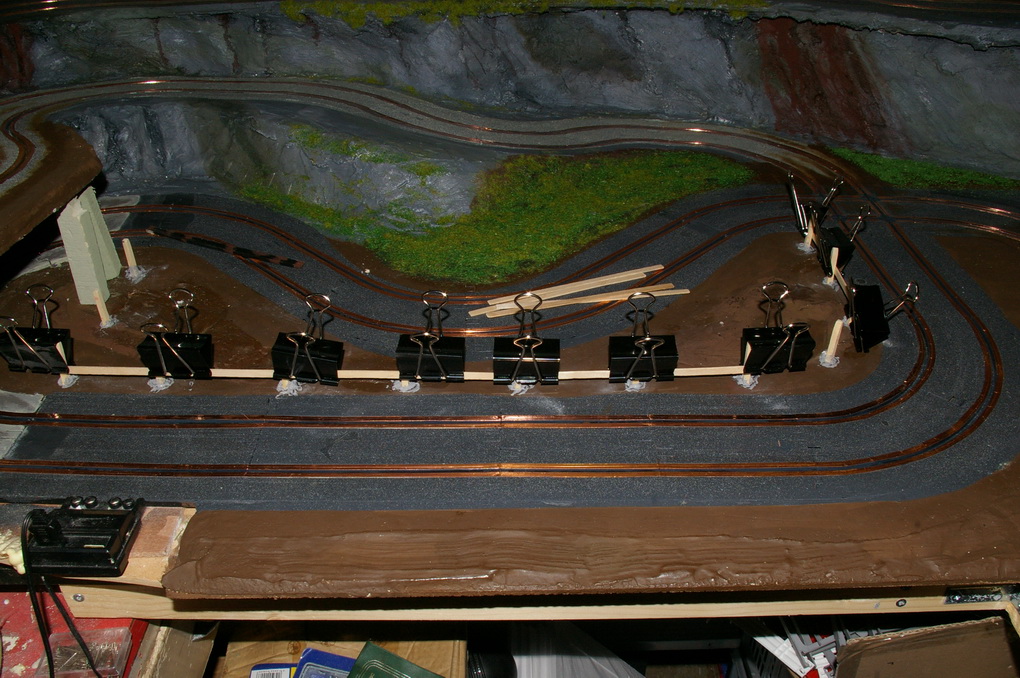
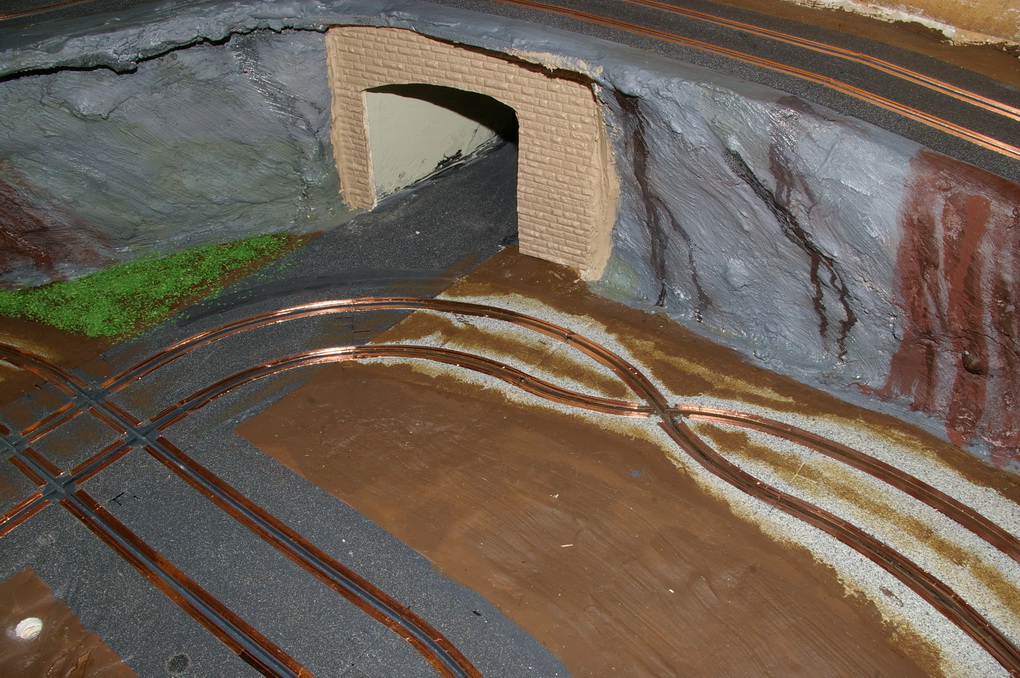
And here is one of the goodies from the model shop. They had a whole range of plastic sheets releaf moulded as brick and stone walls and this one as become the tunnel entrance. It needs a dark wash and some highlighting yet. And here's another find, at least it looks like it can support the overhang better than the I beam. Only had a very quick base coat so far more paint and rust needed. Putting the paint on thick in places as it needs to look like it has had years of being painted with bitumen paint just being slapped on.
rally in a shed 2 0599
rally in a shed 2 0600
rally in a shed 2 0601
rally in a shed 2 0602
rally in a shed 2 0605
Please click thumbs to expand
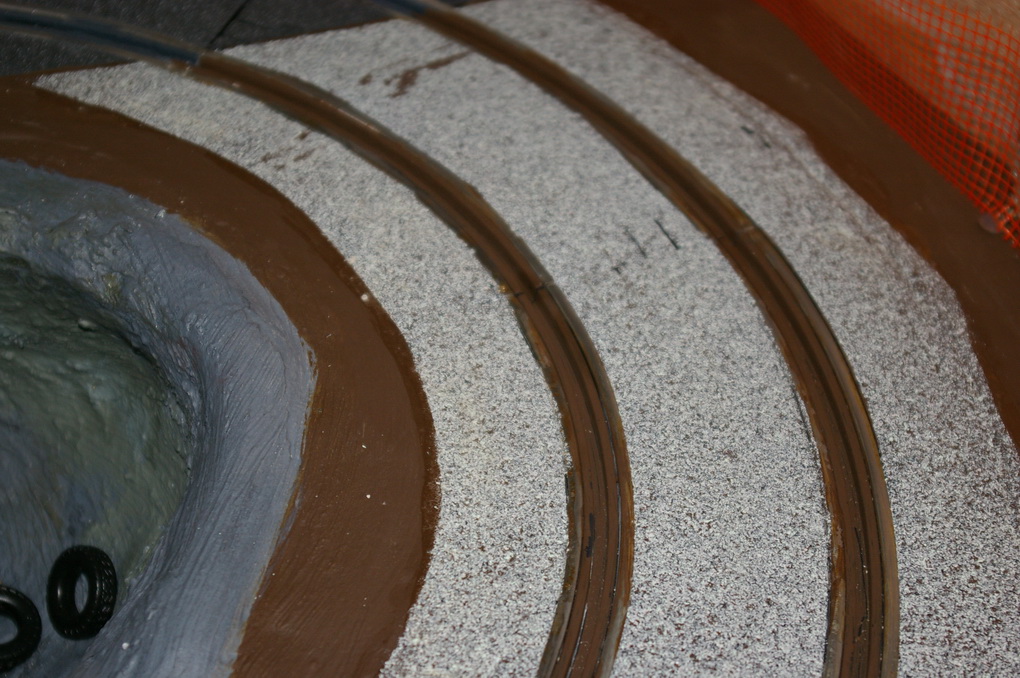
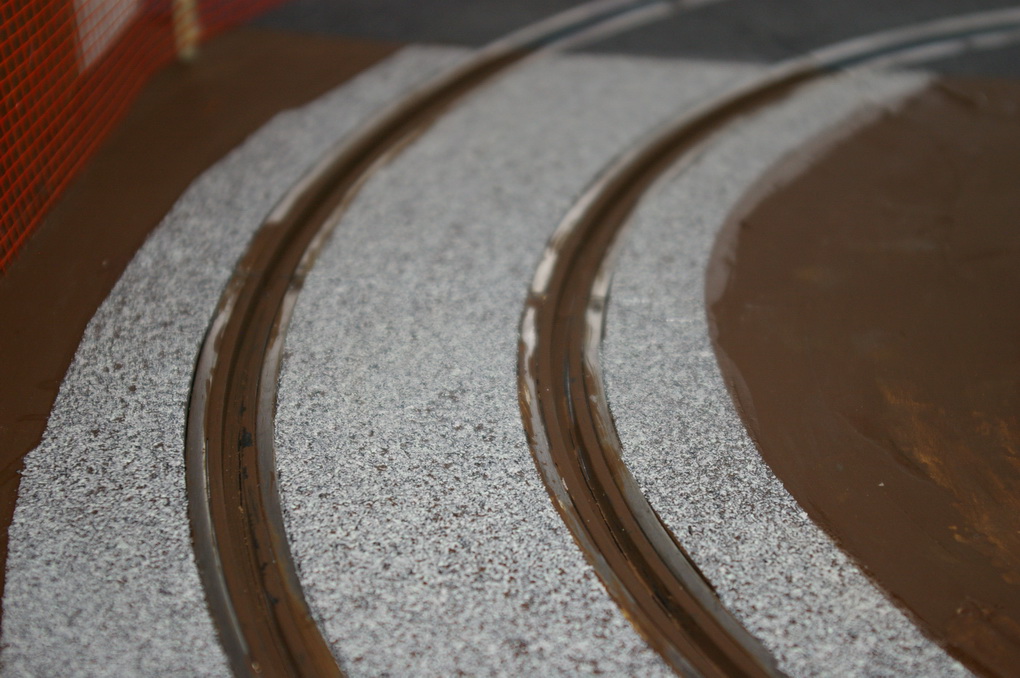
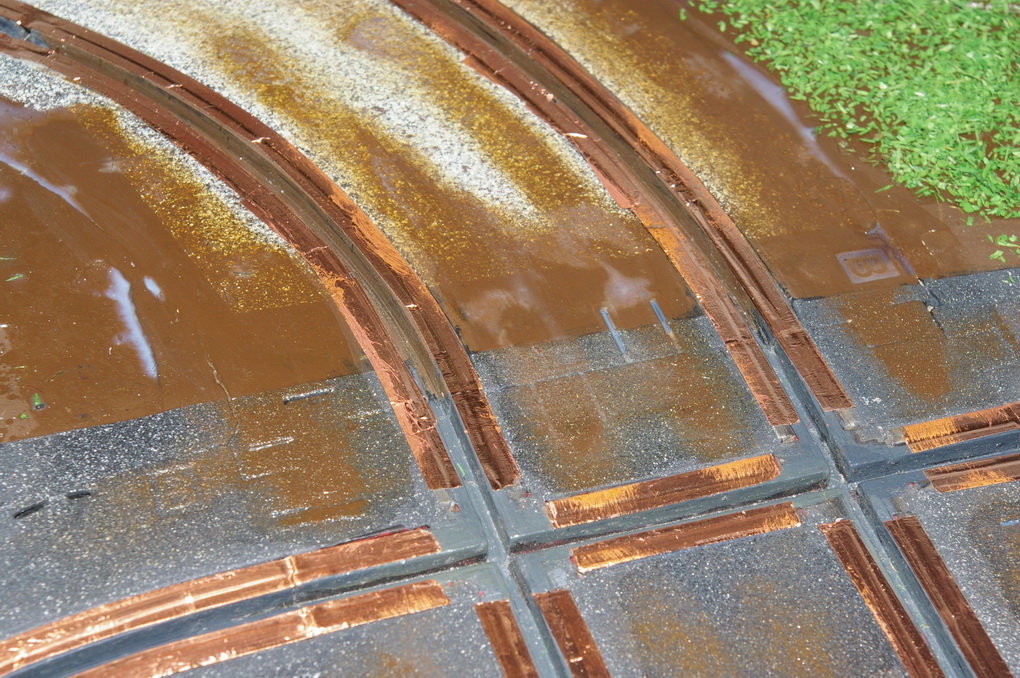
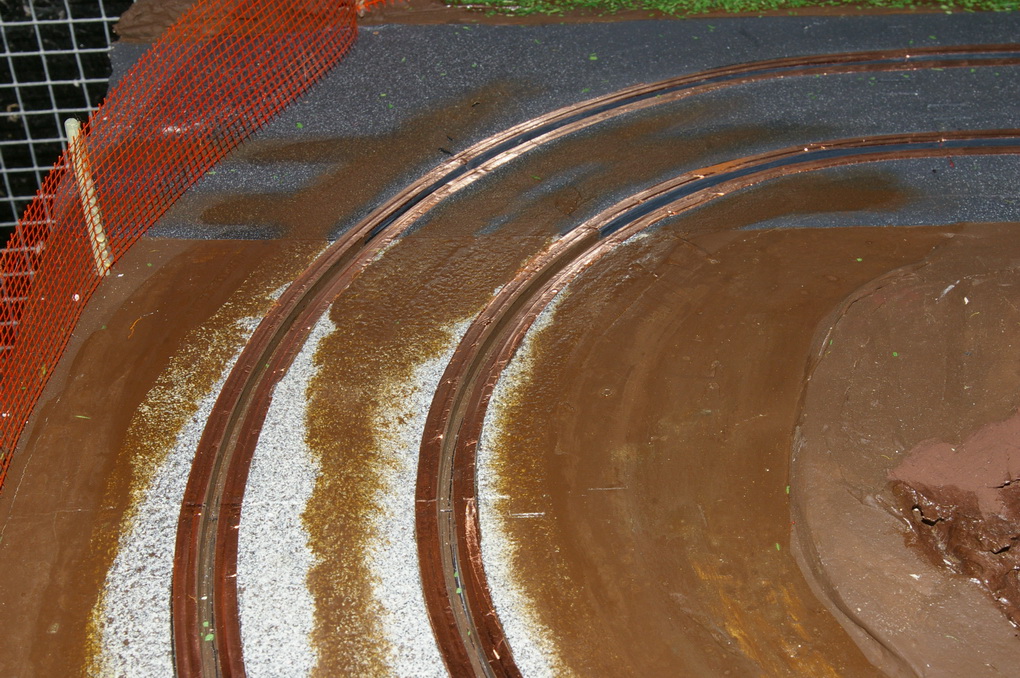
And now to the Klear, which is very thin and although it finds it own levels it also flows and runs very easy. This has one problem I haven't seen mentioned any where which is that any puddles dry with a white finish. I've managed to remove most of this but it does mean that I will have to be very carefull when I am using the Klear to produce wet areas as it has to be a thin coat and a few layers to get a good finish. The gravel areas of the track have now had one coat of clearcoat and three coats of Klear, each one a bit thicker than the last. Even so the coverage has been better and better as the texture has been filled. Even after three coats of Klear the gravel areas don't look glossy.
rally in a shed 2 0603
rally in a shed 2 0604
rally in a shed 2 0606
rally in a shed 2 0607
rally in a shed 2 0608
Please click thumbs to expand
One other use for the Klear is for water running down the rock faces and running down the slope at the base of the cliffs.
rally in a shed 2 0609
rally in a shed 2 0610
rally in a shed 2 0611
rally in a shed 2 0613
Please click thumbs to expand
Need to give the track a test drive now to see what the grip levels are like and then the question will be does it need matt coat over the clear. At least I was able to get some mattcoat from the railway shop.
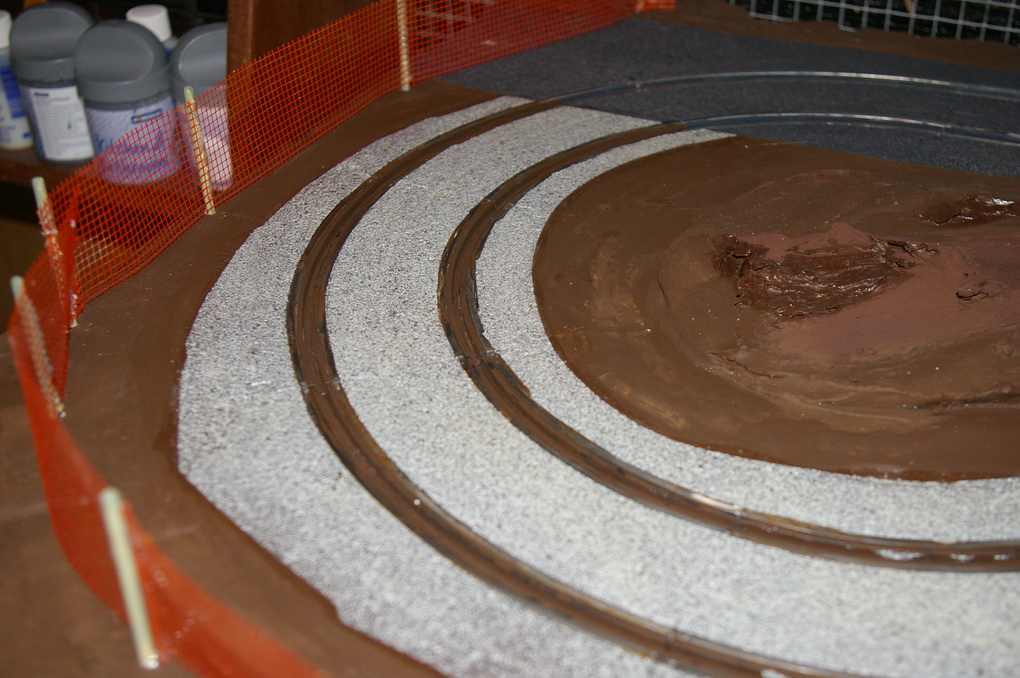
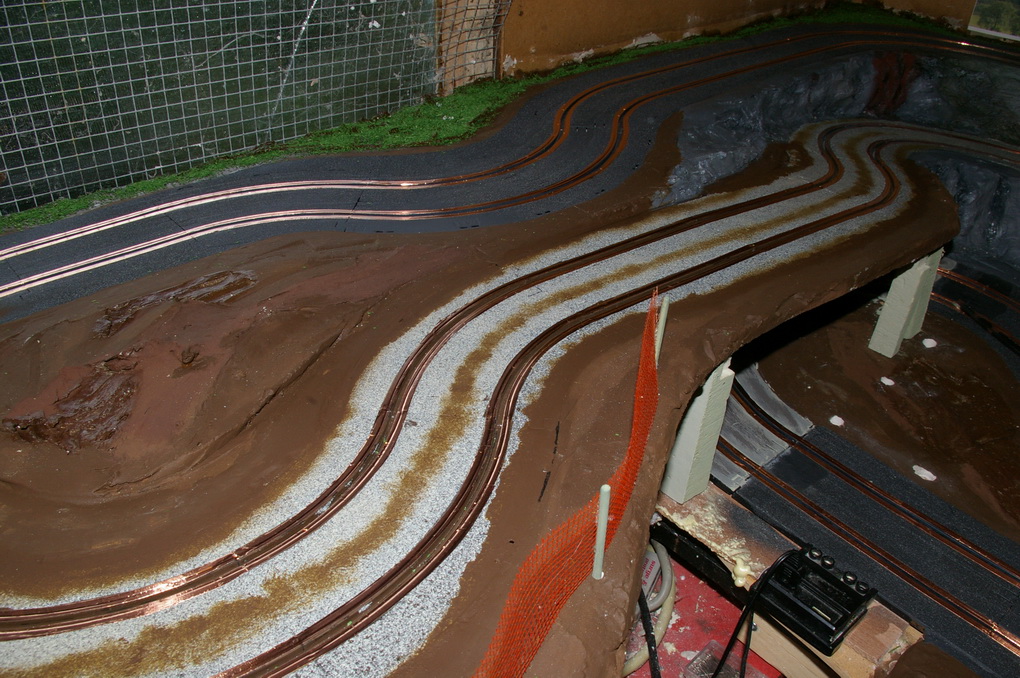
Althought the finish is gloss because it is still textured it doesn't look gloss. The textured on the gravel area is now a smooth texture if that makes sense. Best way to explaine I think is if you think of the tarmac areas as a medium to fine sandpaper in feel and the stone paint used for the gravel was like a very course paper but not gritty. If you think of that course paper now all clogged up that's the effect but with a slippery feel.
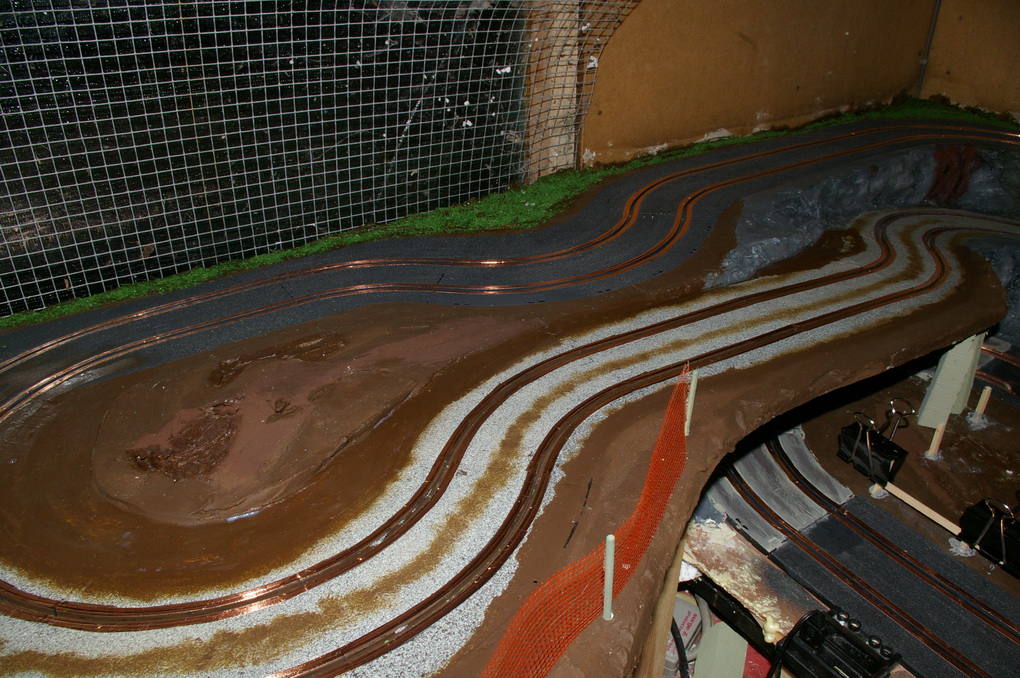
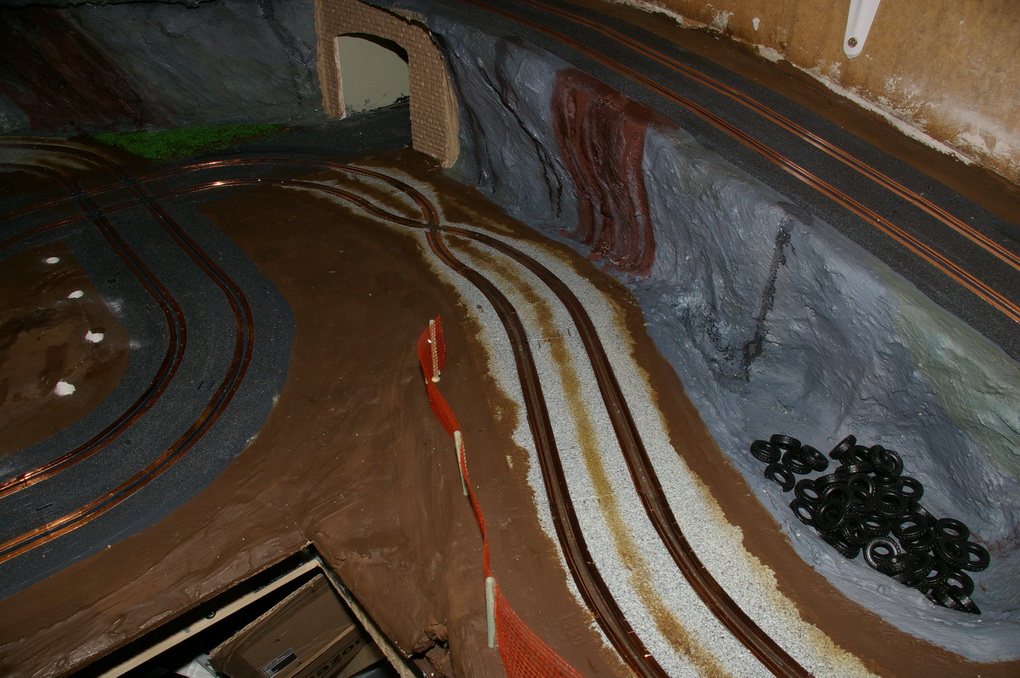
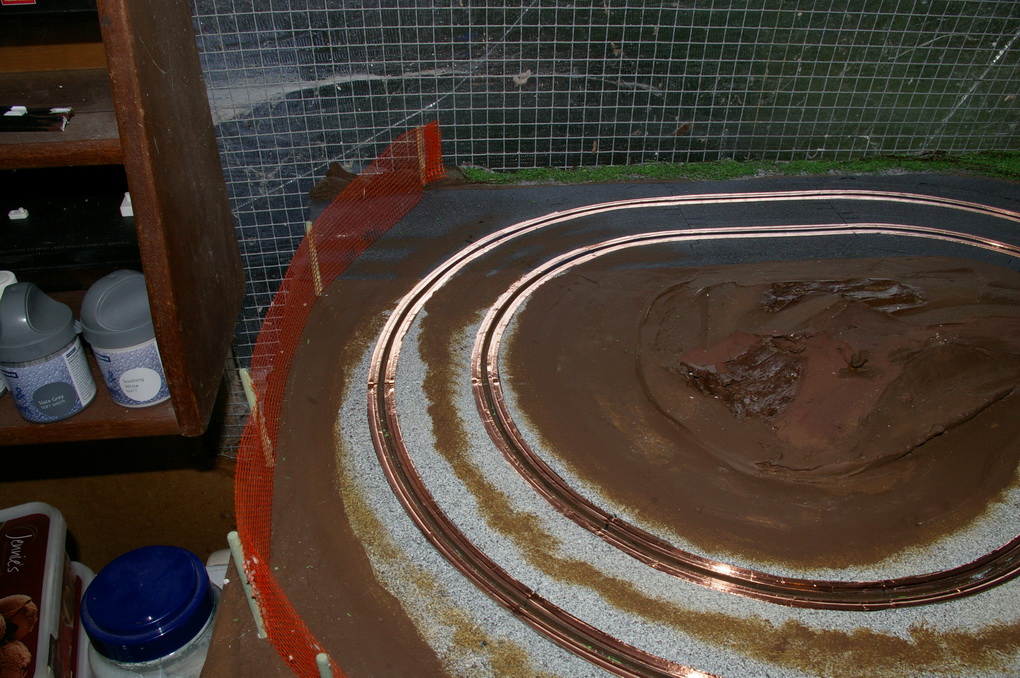
I had to copper tape all of the gravel areas and did most of the rest of the track. My own fault really I should have been a bit more carefull when appllying the clear coat and the Klear. As I knew I would be applying copper tape I wasn't that carefull to avoid the rails. Also the nature of the Klear didn't help, it's almost like water and very free flowing and also finds it's own level. This is very helpfull and flat surfaces but not so much on the slopes. it looks like the Klear flowed down the slopes some what and ran on to the rails, this explaines why the steeper parts are still more textures than the flatter bits. So no power on some sections and it was easier to copper tape than try and clean the rails of the clear. Still got a little bit to tape and I hope I don't run out of copper tape. It's a 30mtr roll and if I remember correctly the track is about 14mtrs and I must have used a least a metre in overlaps when the tape keep breaking. I've found a laying method that works when I'm going from right to left but when I have to change hands to go the other way I can't get it to work and fine it so easy to twist the tape or end up with the backing paper bent back sharply underneath, both of which seem to snap the tape.
Got the rest of the copper tape laid and the gave the new gravel painted surface a real try out. Tried every car 1/32 and 1/42 and no real problems. The cars with strong magnets, Carrea Go, still stick like you know what to a blanket and the other cars with magnets have a little more tail slip. The non magnet cars are now great fun to drive if you like tail slides, can get 90 deg or more with a bit of power applied.
Have to say the the Klear surface is not a problem for grip, even the Artin cars with and without magnets are fine going in both directions - better than on the plain Artin track. The wheel spin I was seeing with the Power Slot Polo I think is just down to the motor. Been running it in both directions and it is so much fun to drive. Going the wrong way around (up the long gravel slope) I can slide the tail a full 90 degs so the car comes onto the tarmac road straight and then the grip from the textured paint kicks in great fun.
The only car having any trouble with the grip levels is the Revell Cortina Mk1 and it doesn't seem to like the extra grip over the plastic track or flat emulsion paint. may have to try taking the edge of the tyres.
Final verdict or the texture and stone paint surfaces - just about right, good grip on the tramac road surface (textured paint) and on the gravel sections apply lots of power and wheel spin apply power to early or to much in the corners and the tail slides out. Which is just what I think you want on gravel. The only question now is how will the Klear stand up to use and only time will tell.
So I'm very happy with the painted surfaces and the copper tape has improved power around the track no end.
So I think I can say track construction is complete and now it's over to the scenery.
I've put some more grass ground cover down and some greenery on the cliffs.
rally in a shed 2 0619
rally in a shed 2 0620
rally in a shed 2 0621
rally in a shed 2 0622
rally in a shed 2 0623
Please click thumbs to expand
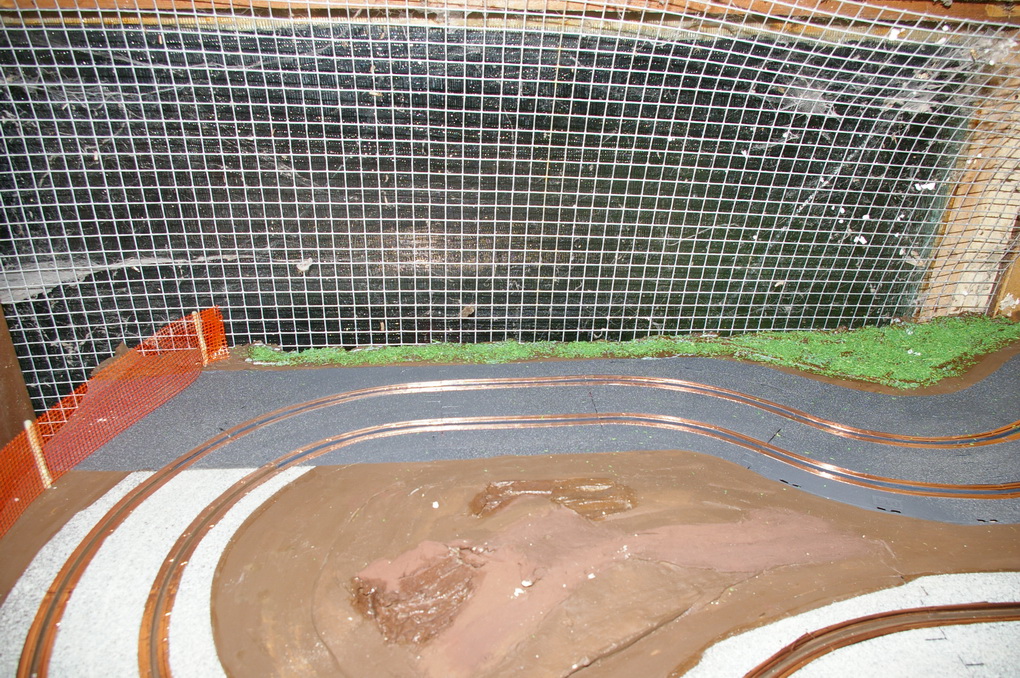
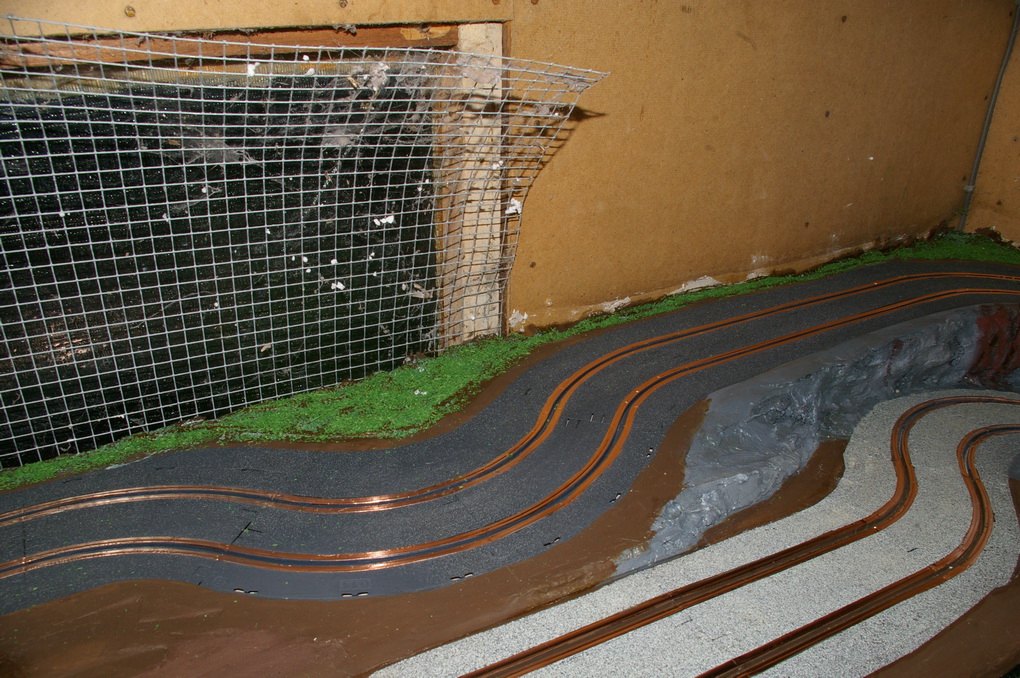
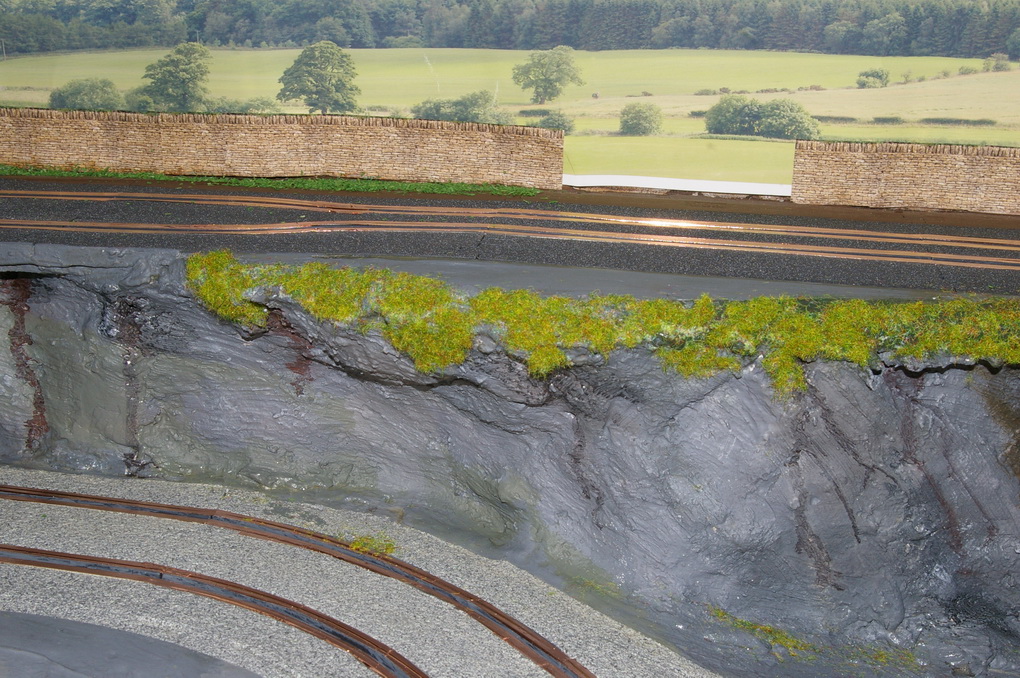
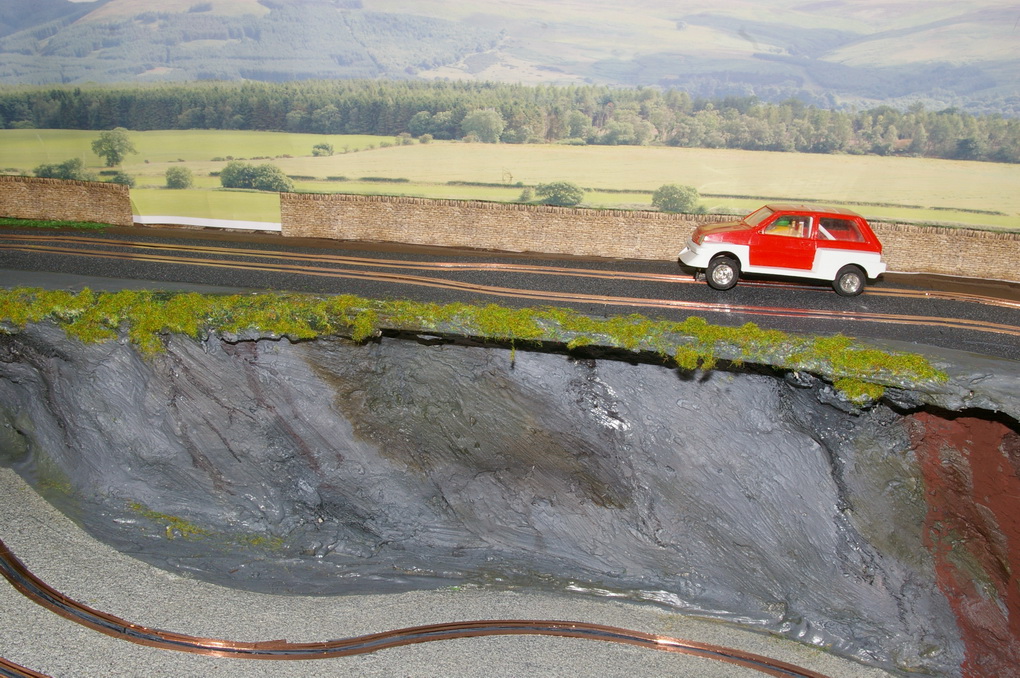
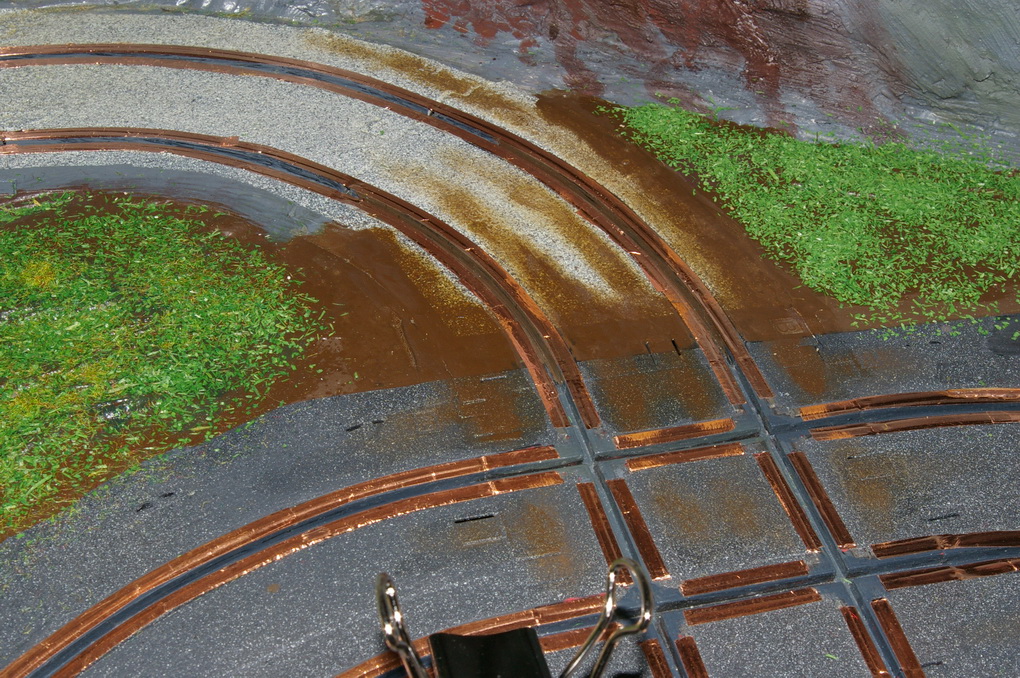
Been working on the scenery, first up I've been weathering the gravel and getting rid of the straight edges of the gravel section. This has been done mainly by stippling the paint on and the dry brushing it out and dry stippling it also with a little normal dry brushing and I'm quite happy with the effect. Also mudded up the tarmac by the entrance to the field.
rally in a shed 2 0624
rally in a shed 2 0625
rally in a shed 2 0625
rally in a shed 2 0627
rally in a shed 2 0628
rally in a shed 2 0629
rally in a shed 2 0630
rally in a shed 2 0631
rally in a shed 2 0633
Please click thumbs to expand
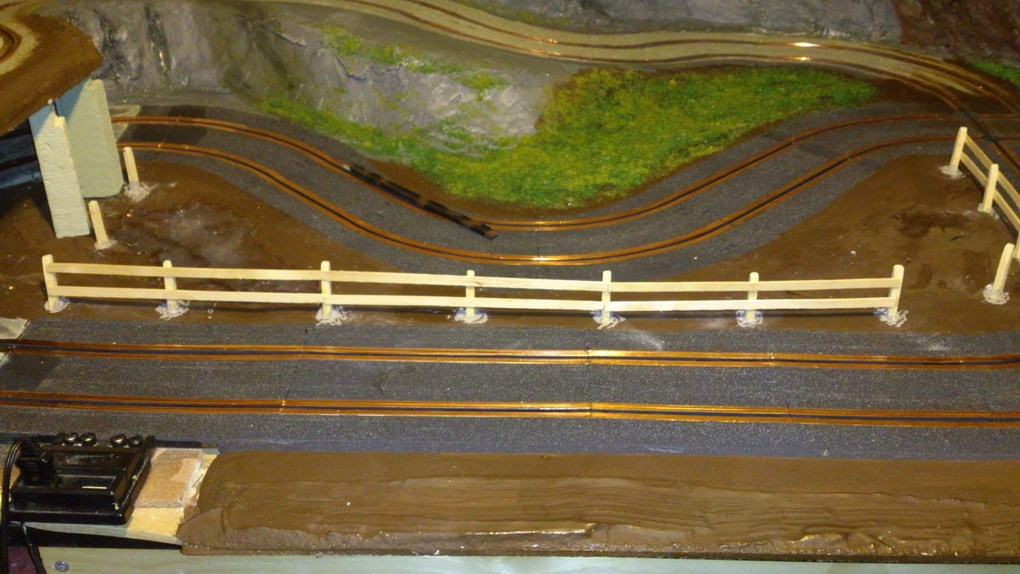
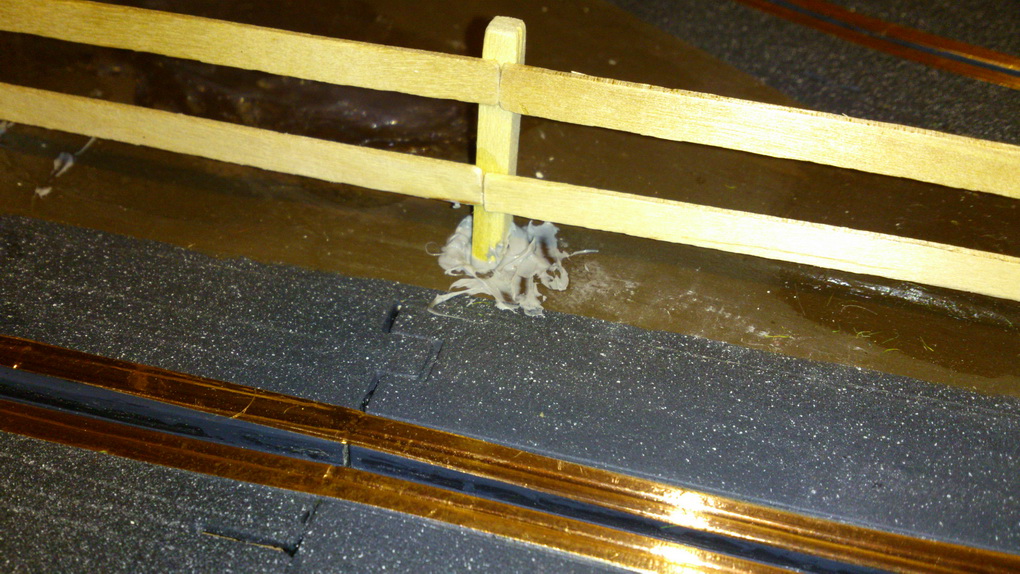
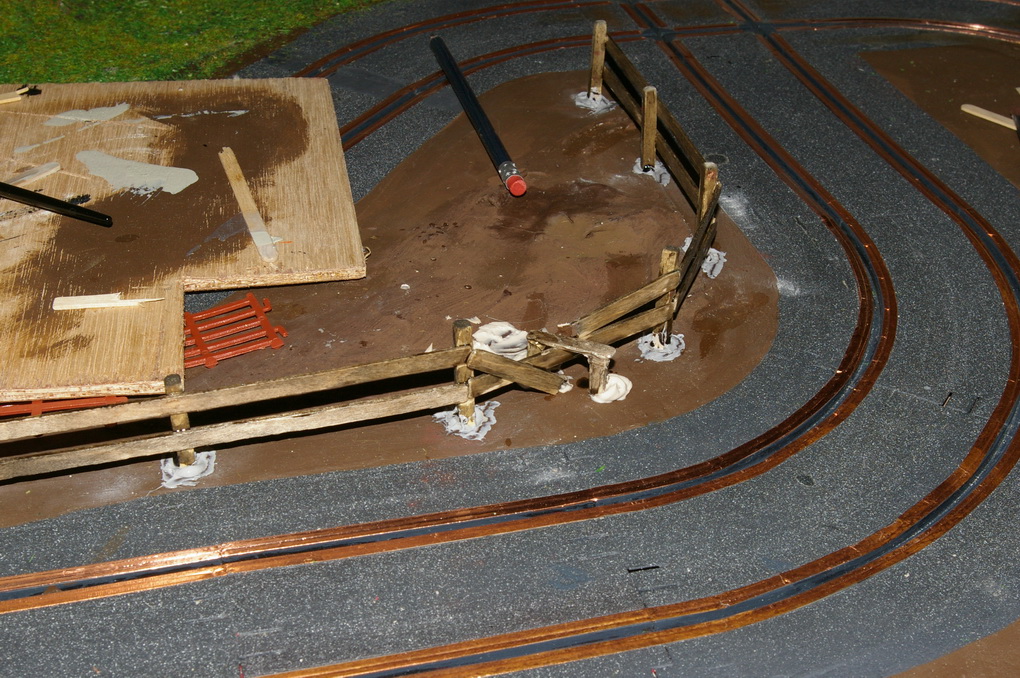
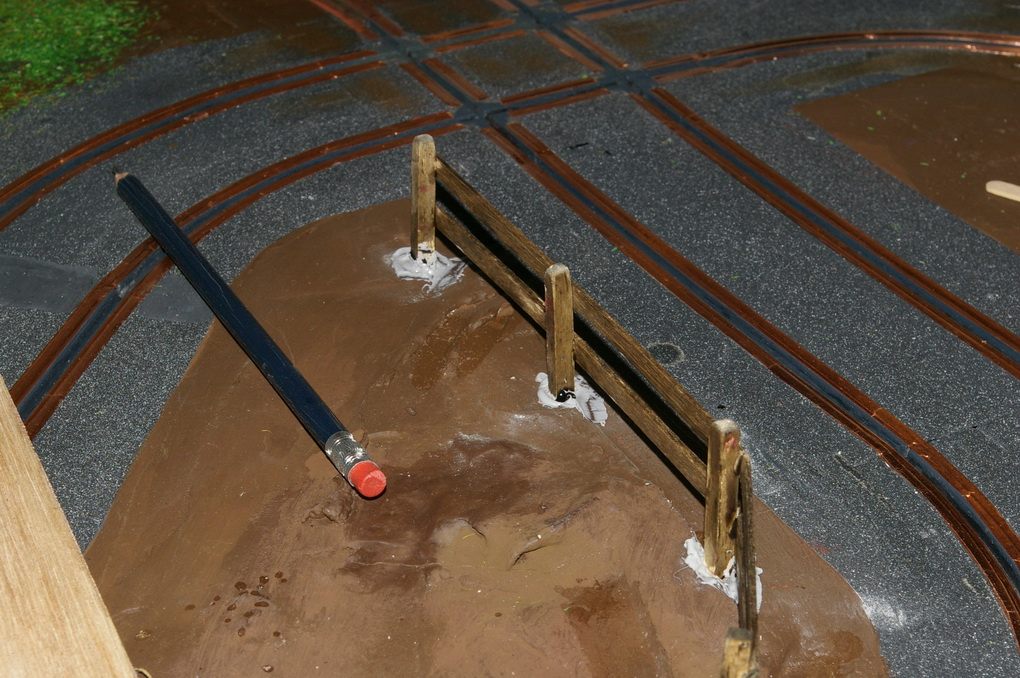
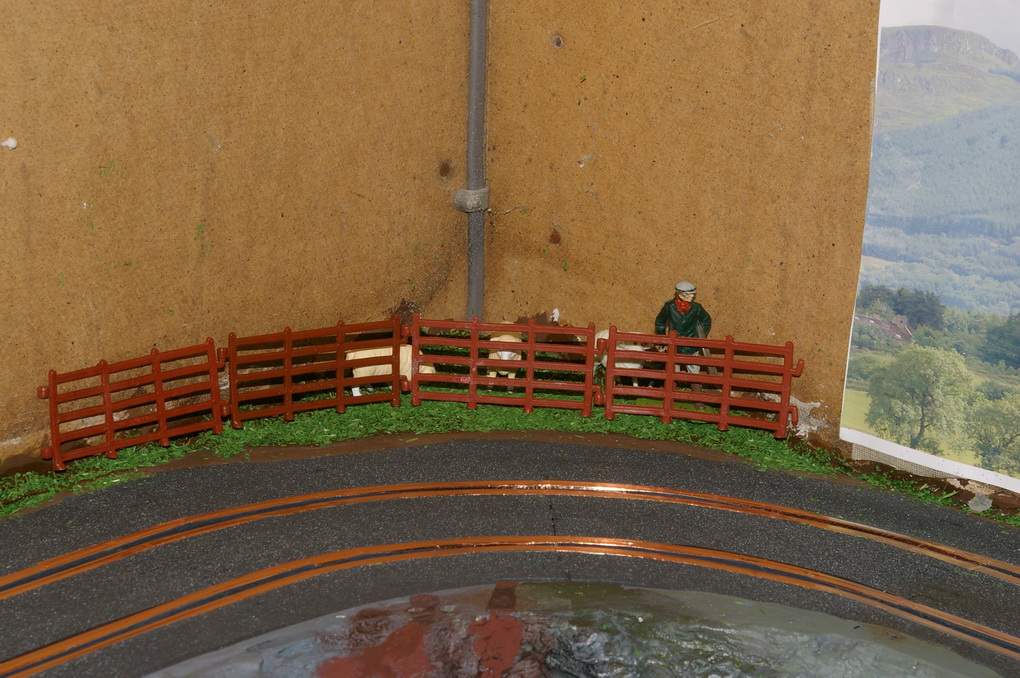
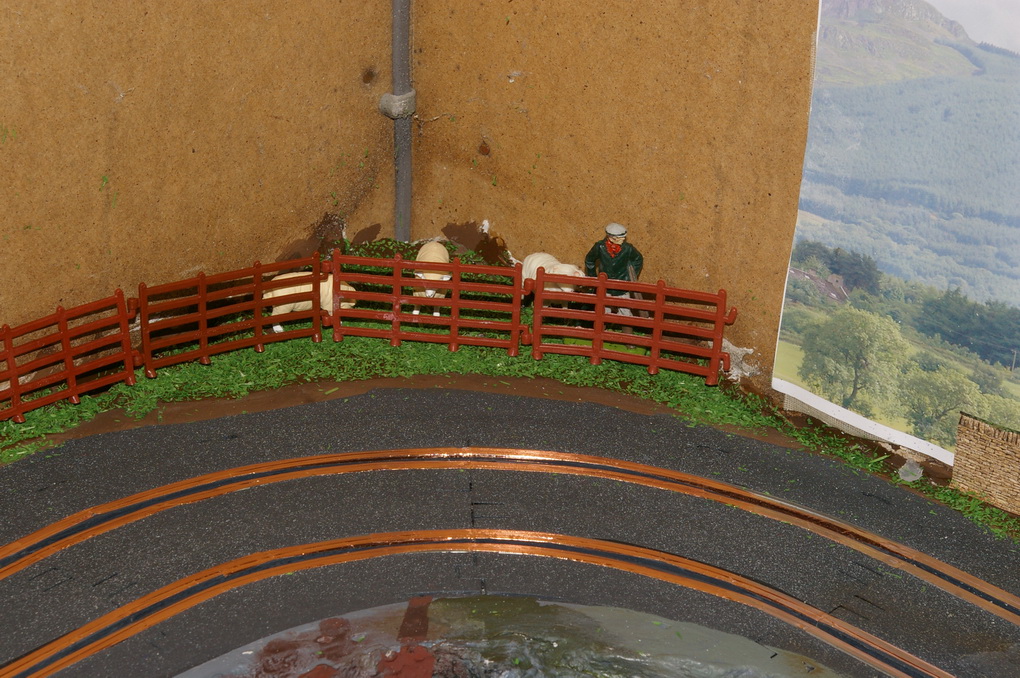
Next up is some wooden fencing along the front section of tarmac on the inside. So first of was making the holes for the posts to go in. My idea being to fill the holes with grey silicone and then push the post in to this. If it works the I have a ready made concrete base for the posts. As I don't trust my marking out and cutting I'm building fence insituite. Glue drying on bottom rails.
rally in a shed 2 0644
rally in a shed 2 0645
rally in a shed 2 0632
Please click thumbs to expand
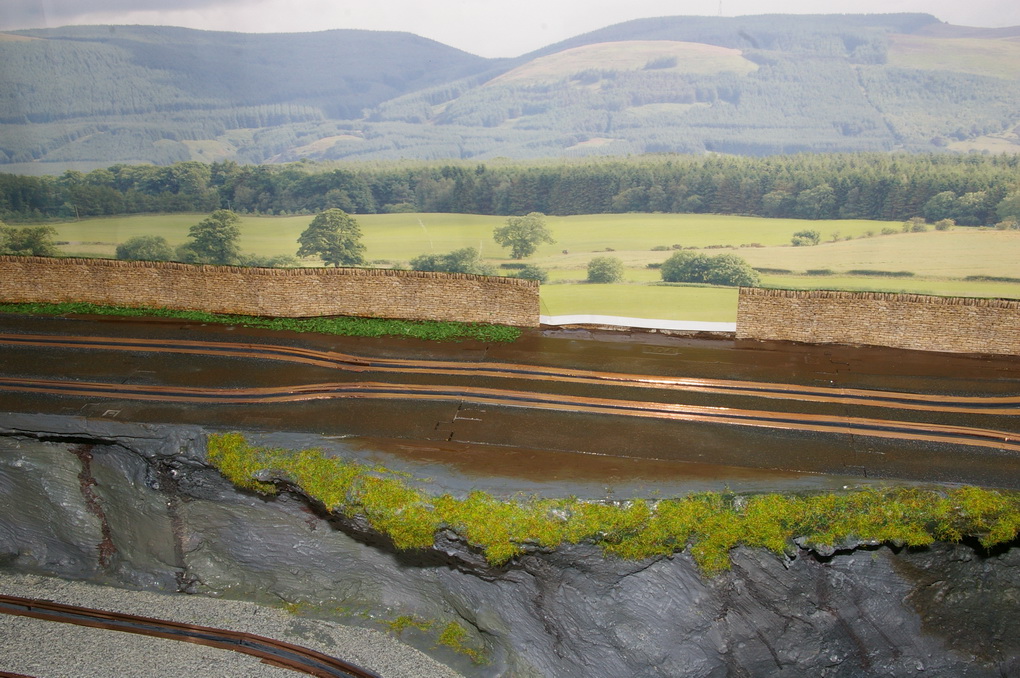
The mud area by the entrance to the field has been given a couple of coats of clear, hopefully this will reduce the level of grip as you go through the chicane as before you could go through this bit fast with no real effect.
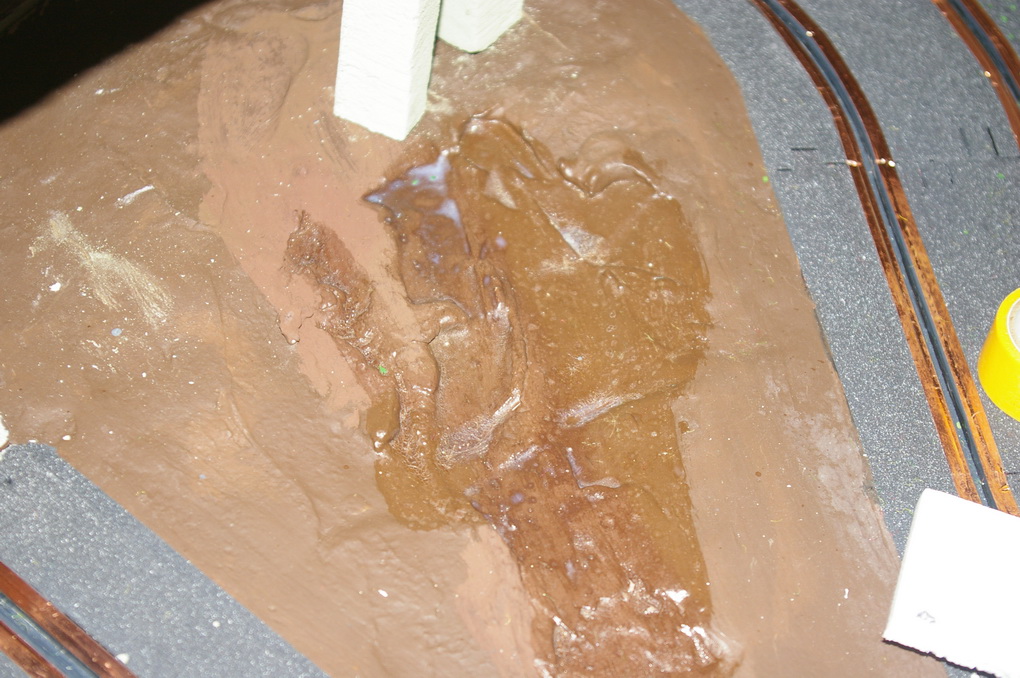
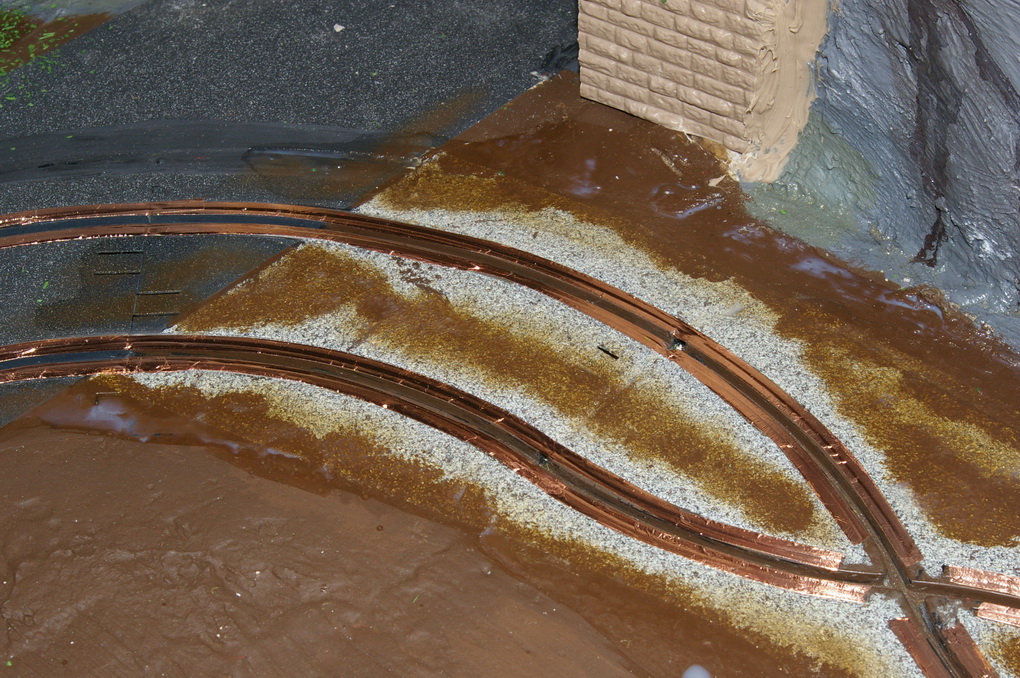
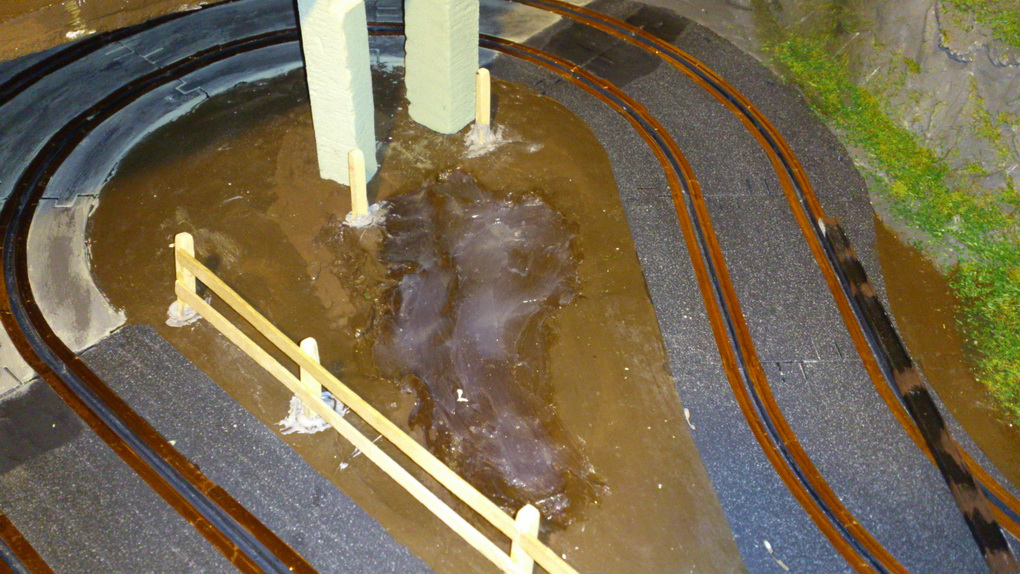
While I had the clear out I've also put some on the mud at the end of each gravel section out on to the mud tracks on the tarmac. I've also wetted up the mud around the left hand loop and down the slope towards the rock surface.
rally in a shed 2 0633
rally in a shed 2 0634
rally in a shed 2 0635
rally in a shed 2 0636
rally in a shed 2 0637
rally in a shed 2 0638
rally in a shed 2 0639
Please click thumbs to expand
The use of Klear on its own by the entrance to the field has not worked. It's just not thick enough to fill the texture of the paint, so now I'm using some flat coat to fill the texture then some Klear over that. Hopefully 2 or 3 flat coats will fill the texture.
I also went over all the copper tape with a seam roller. Couldn't beleive how many splits I found in the copper tape, all now retaped. Knew I was going to be tight on tape, could have been worse I've got all of 2 feet left.
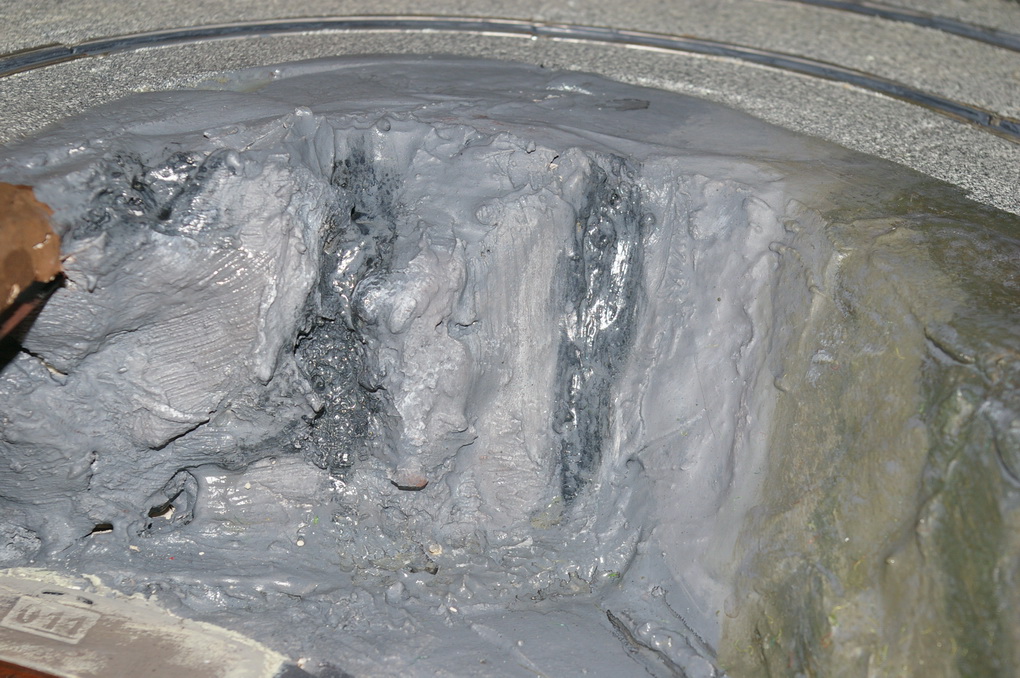
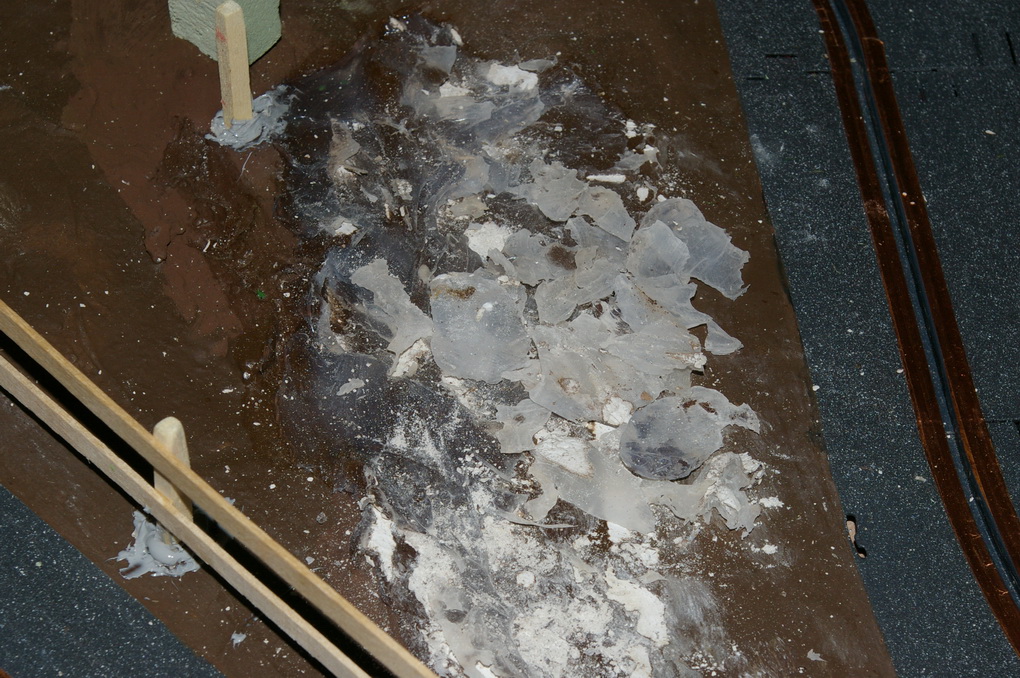
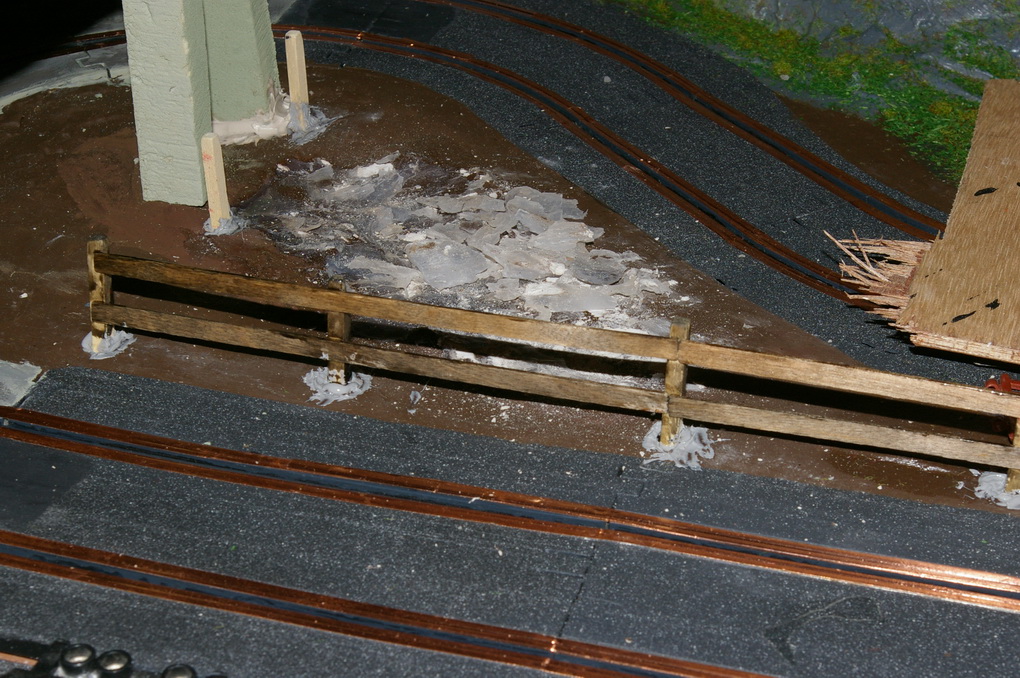
I thought I would have a go at seeing how clear silicone sealant would work as water and it was soon clear that it didn't work. One problem it that the silicone is to thick and cannot be got smooth over a large area. This area is just shallow flooded water which has run of the road above, so I might get away with one or more of Embers surgestions, but I don't think I will work for the pond and I will have to go with one form of magic water.
rally in a shed 2 0650
rally in a shed 2 0658
rally in a shed 2 0659
Please click thumbs to expand
Construction of the fence has started using good old coffee stirrers. One thing that again hasn't really worked is the grey silicone for the concrete around the posts so it will need a bit of paint although I may get away with leaving it as is. A crossing point in the fence with some damage to the old wood. And a coat of paint for the fence. As the fence is old and uncared for, the old quarry is now disused so nothing gets repaired or looked after, I've used Tamiya smoke from their clear range to paint the fence. It might need a second coat and was still wet when photoed.
rally in a shed 2 0647
rally in a shed 2 0648
rally in a shed 2 0649
rally in a shed 2 0650
rally in a shed 2 0651
rally in a shed 2 0660
rally in a shed 2 0661
rally in a shed 2 0662
Please click thumbs to expand
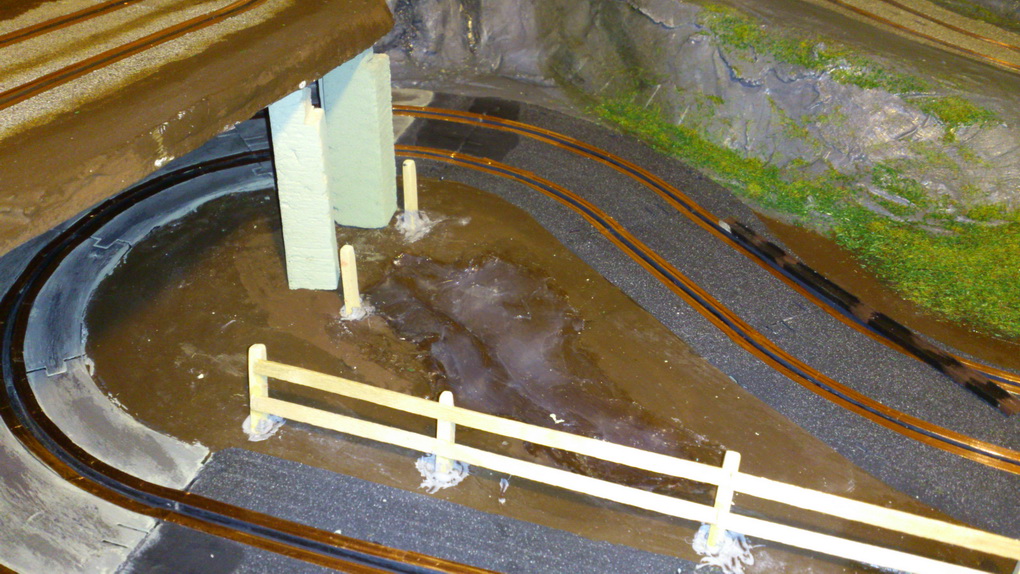
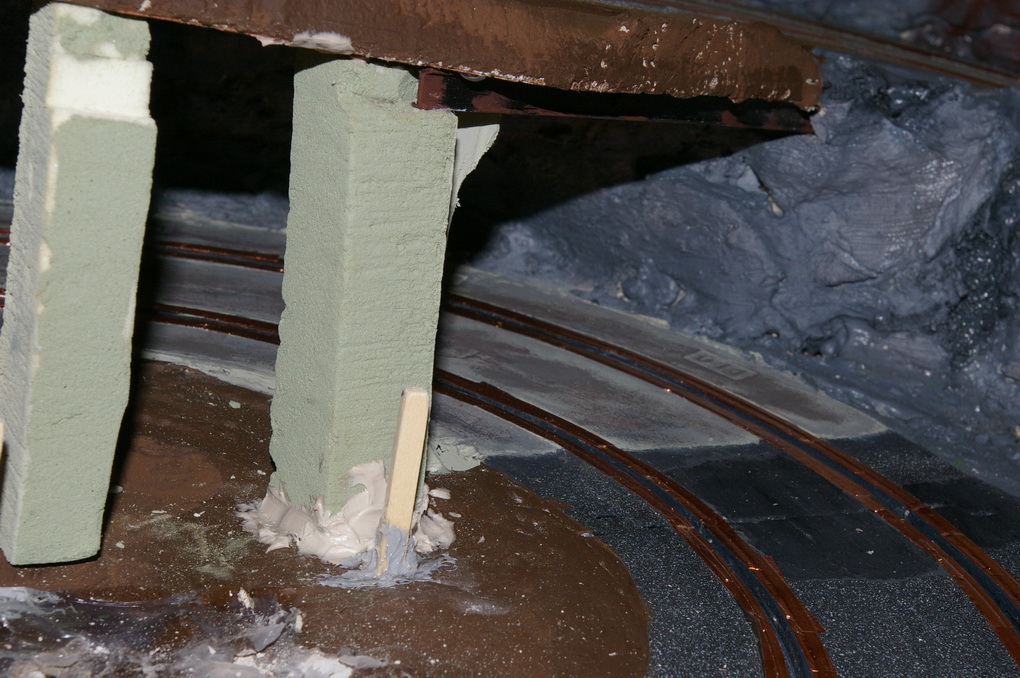
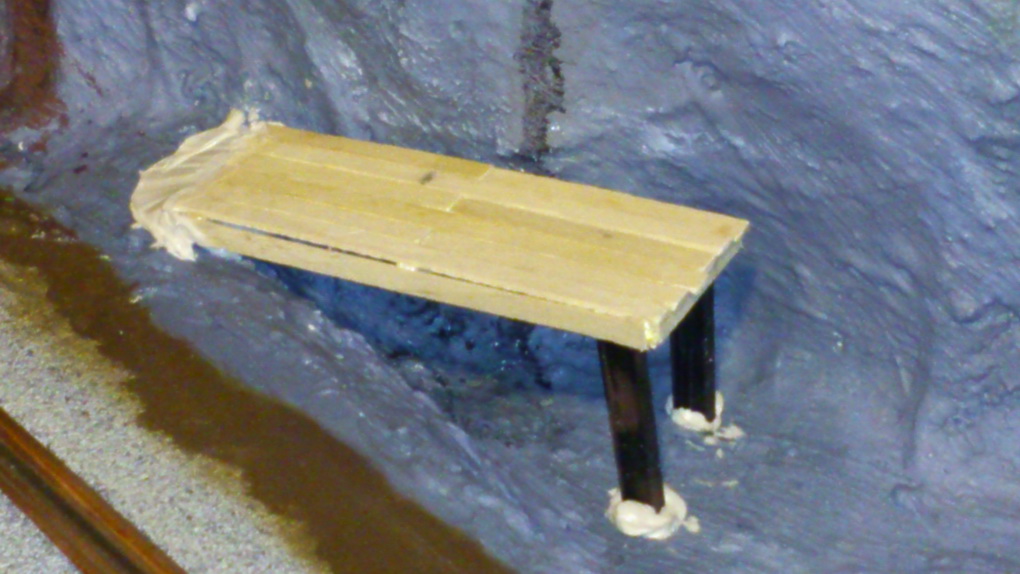
The girder and colume has now been fixed in place. Also started to try and remove the silicone which is not easy.
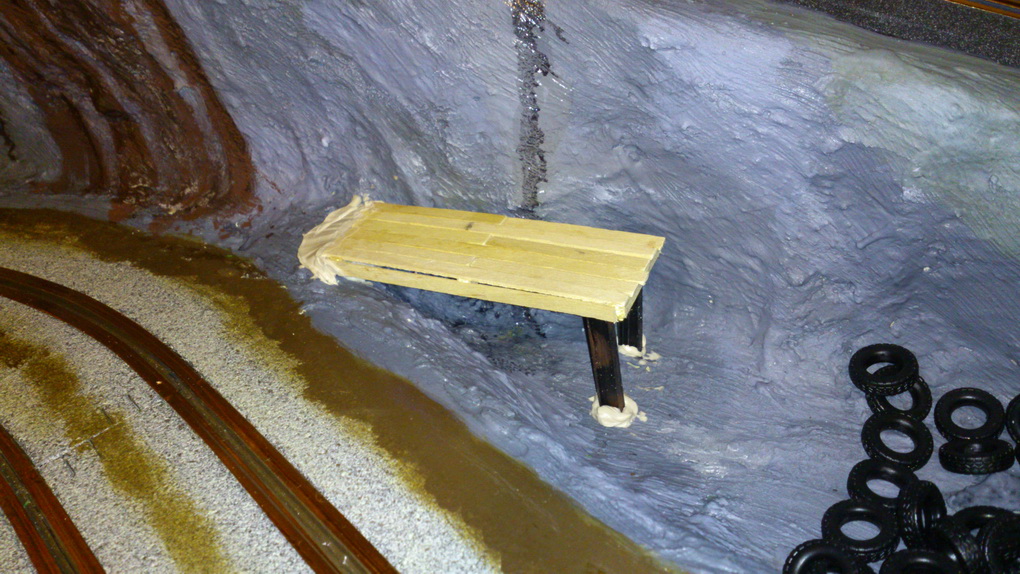
Built a little pier going out into the pond, just needs a fisherman at the end and a little idea for the far lefthand corner. Nothing fix in this corner yet as there is more background to go up yet.
rally in a shed 2 0657
rally in a shed 2 0663
rally in a shed 2 0665
rally in a shed 2 0674
rally in a shed 2 0675
rally in a shed 2 0675
Please click thumbs to expand
When all the track painting was done it became obvious that I had made a big mistake. The more I thought about it the more I reallised that all the gravel areas should have been tarmac and the tarmac loop at the front middle should have been the gravel area. There is no logical reason for this area to be tarmac when you think about it. It also would make a lot more sense if the two roads running down to the crossroads to be tarmac. However at this stage I'm not going to get into re-painting them.
 View on its own (if entry or VIDEO doesn't show)