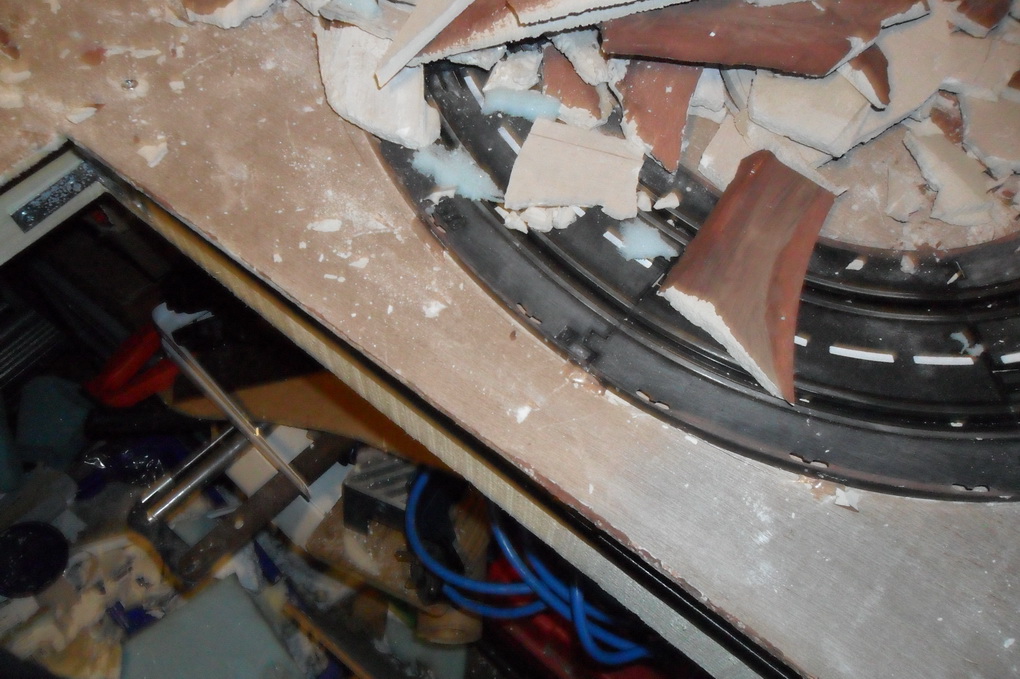
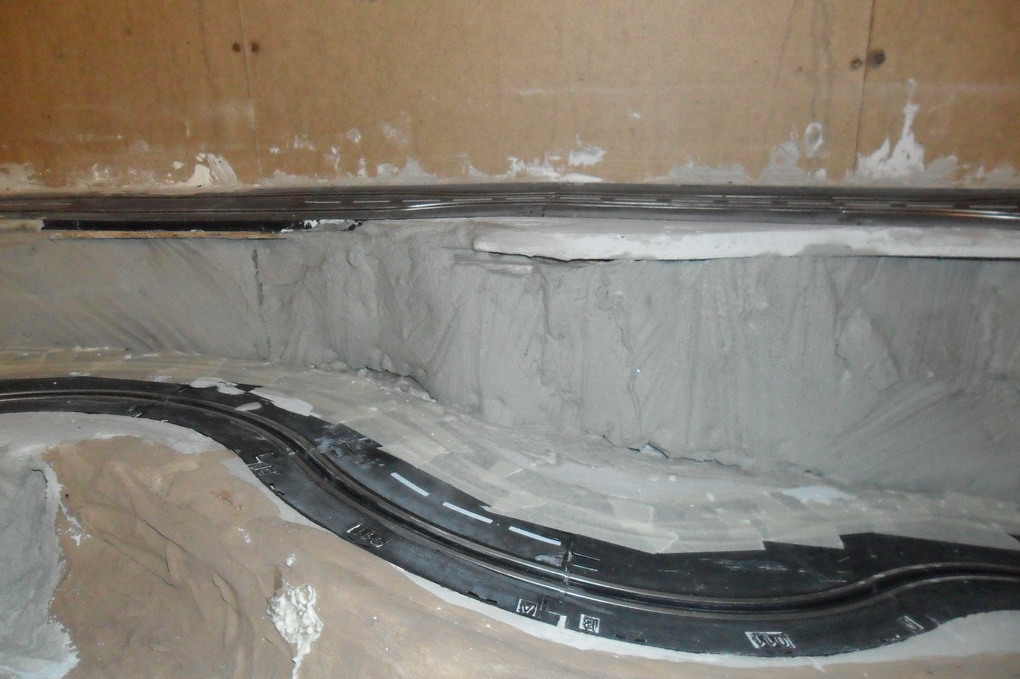
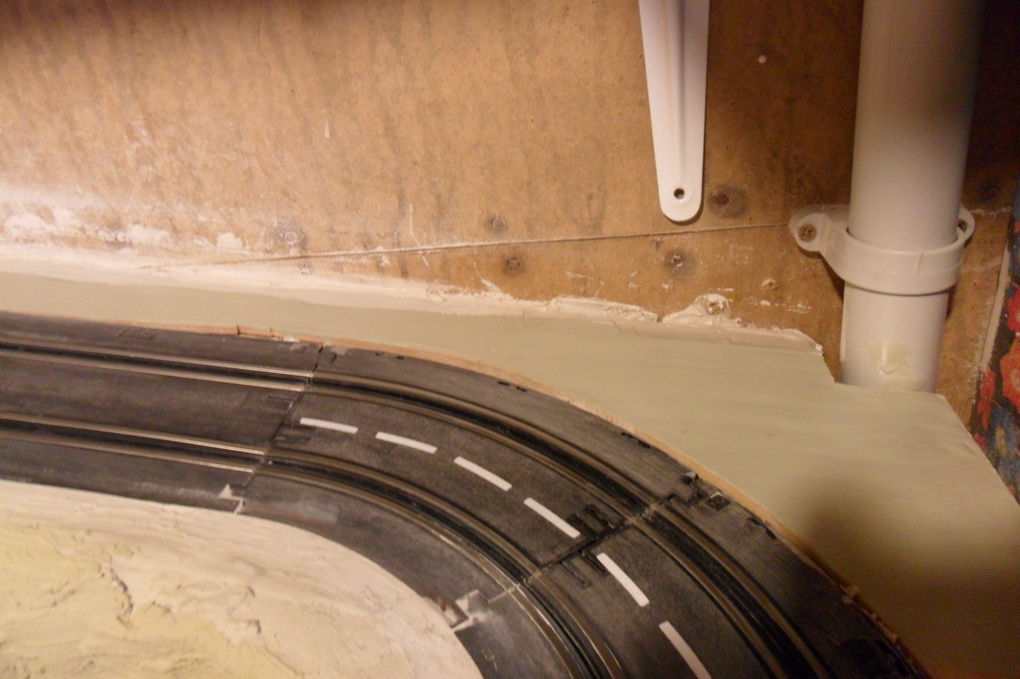
The more I thought about it the more I know that the right hand side of the track just was not working. The change from climb to flat and vise versa is just to sharp so I have decided on some major surgery. The idea is to remove some plaster from the top and bottom of the slope and all the way around to the crossover. Then I can remove the glue lift the bottom of the current climb and raise all the track from the crossover back to the current climb. A lot of work but hopefully it will be worth it. I have a feeling that I will also have to remove all the plaster on the slope to get the climb here much more gentel at the top.
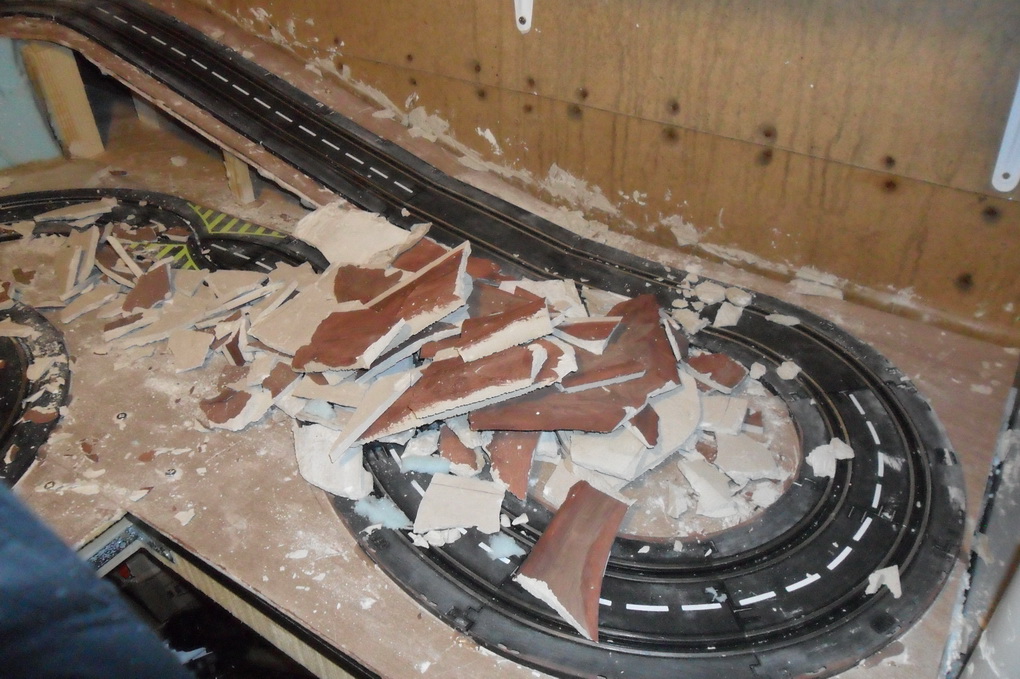
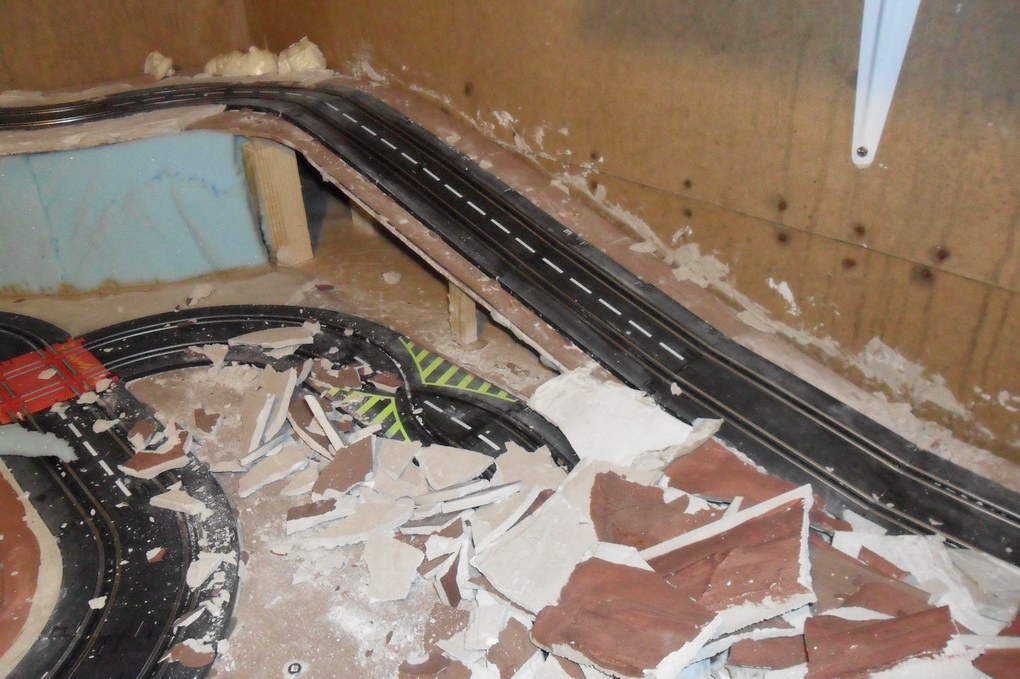
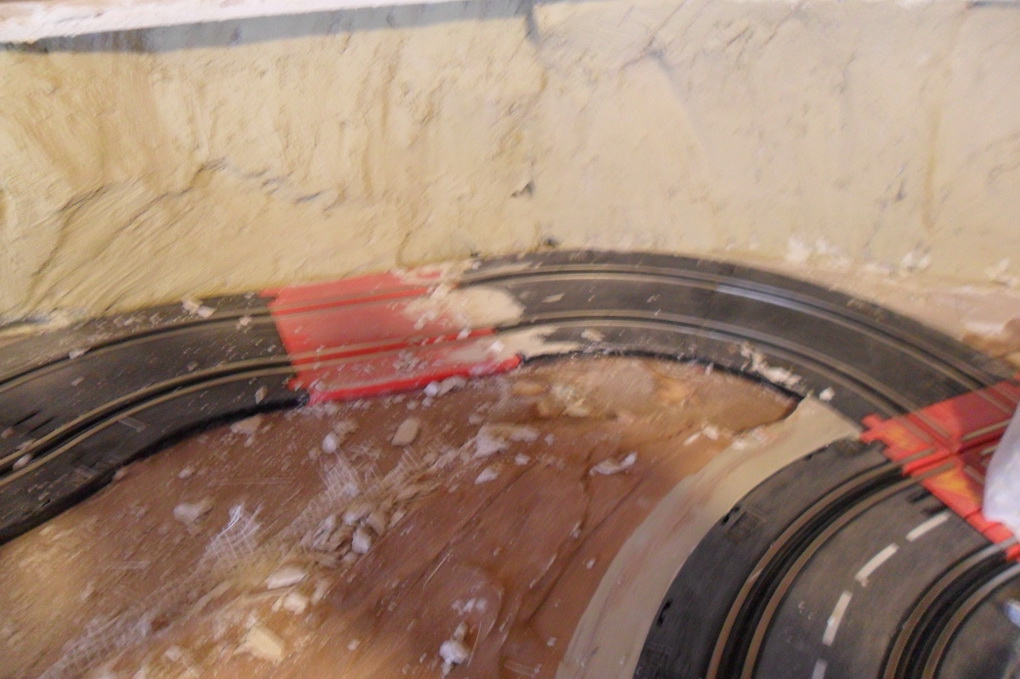
I bit the bullet and attacked the track with hammer and chisel. So now the right hand side of the track now has no plaster. Most of the track came up ok but I will have to replace a couple of straights.
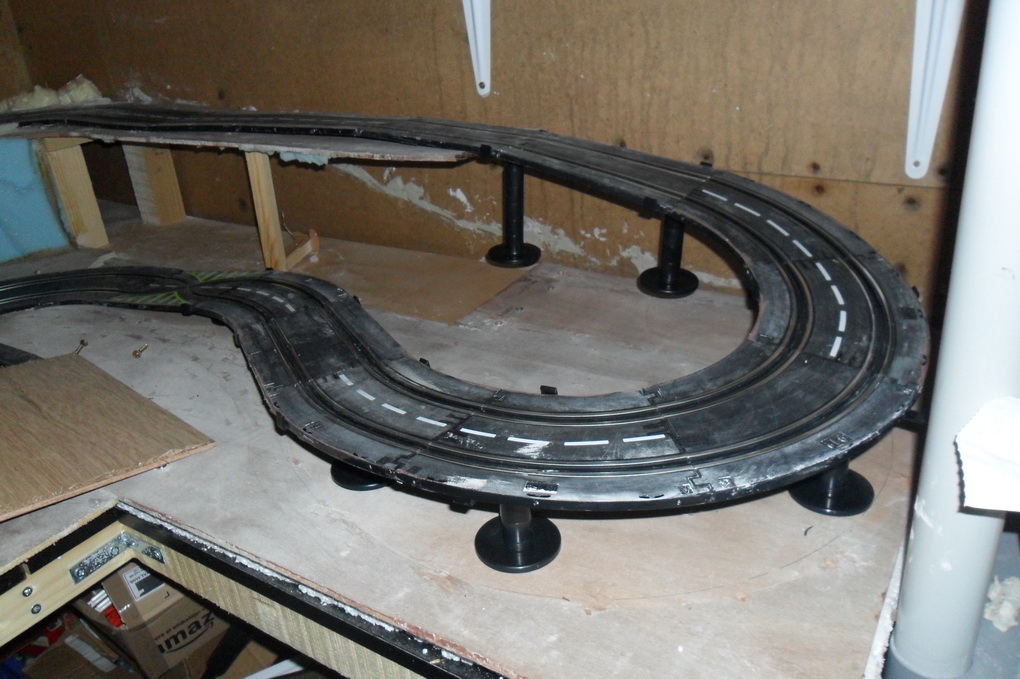
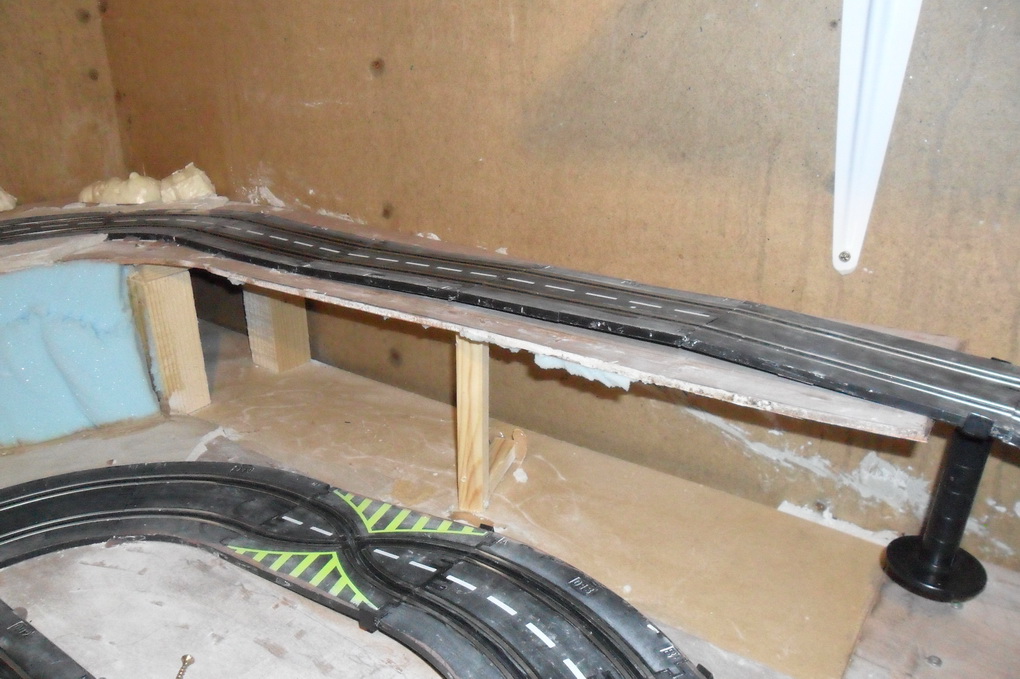
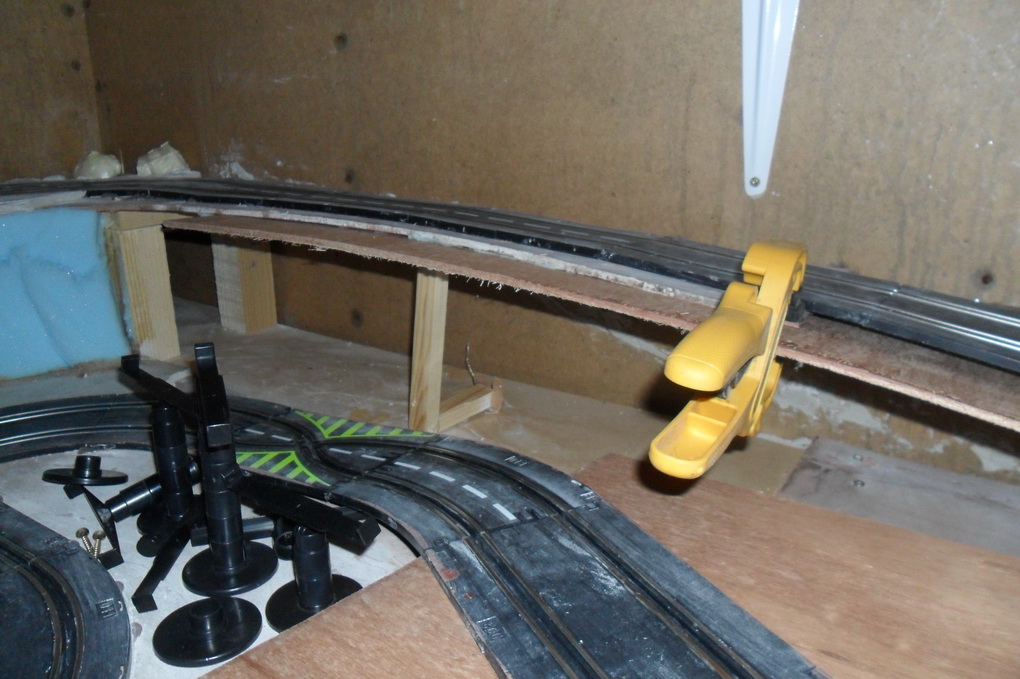
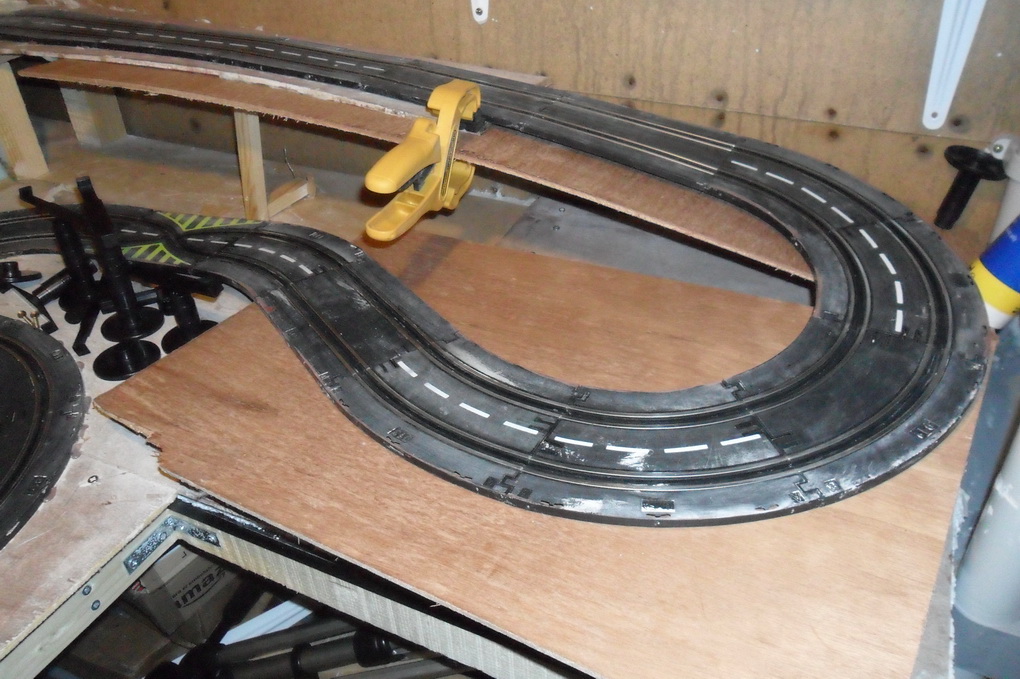
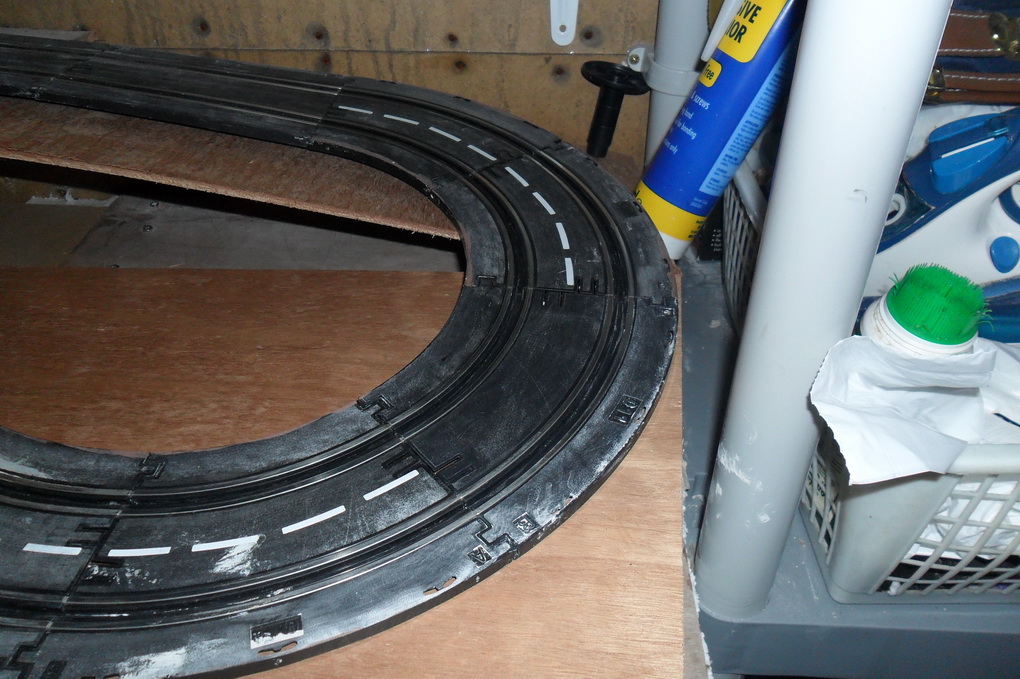
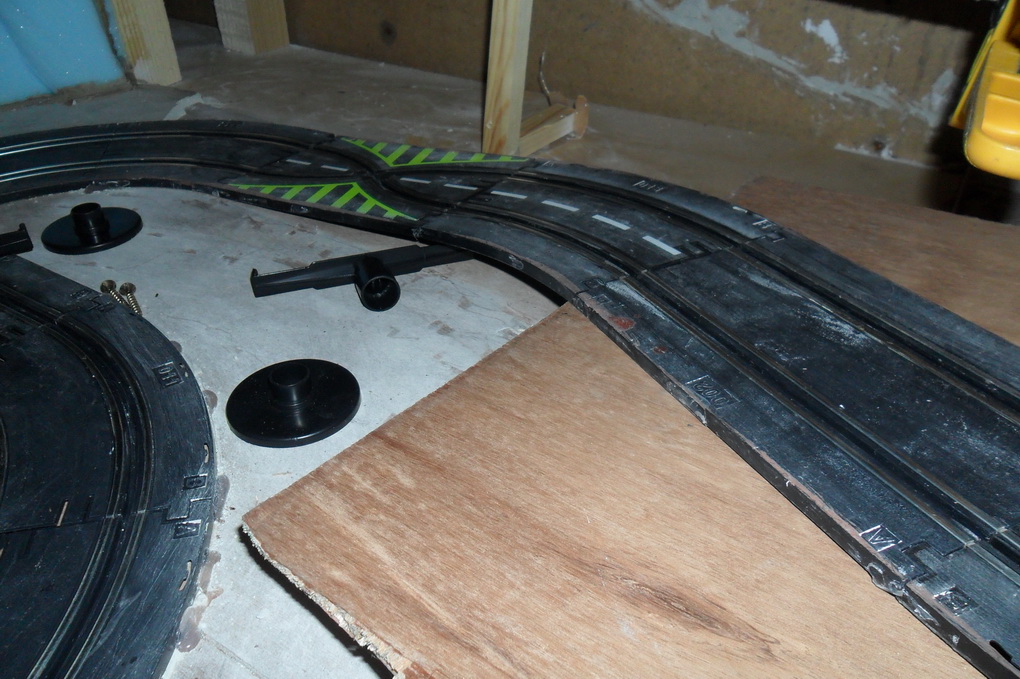
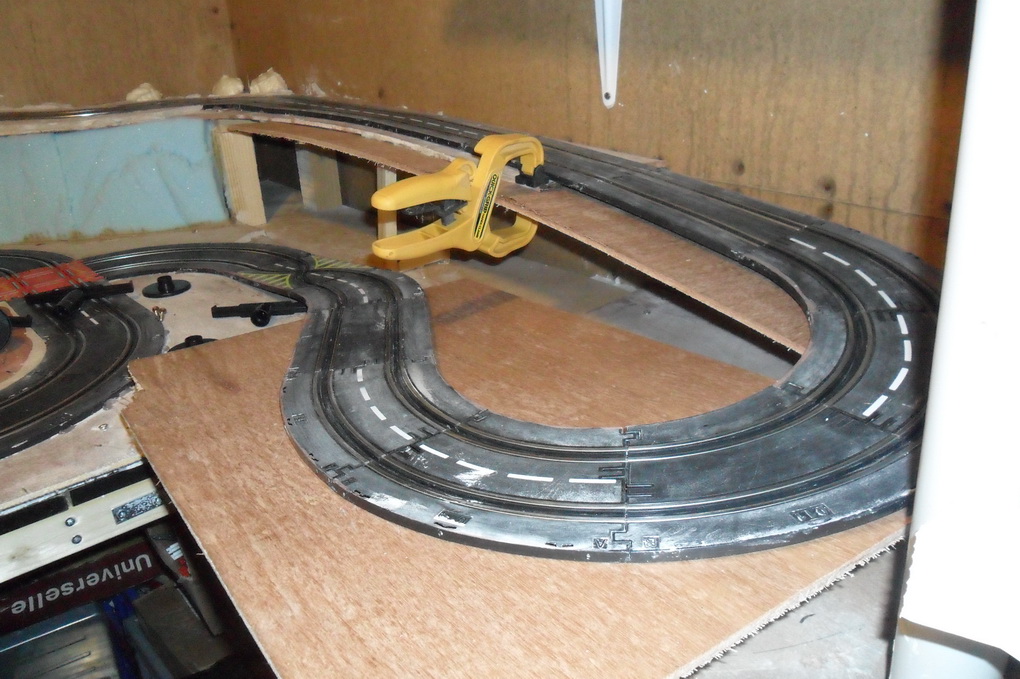
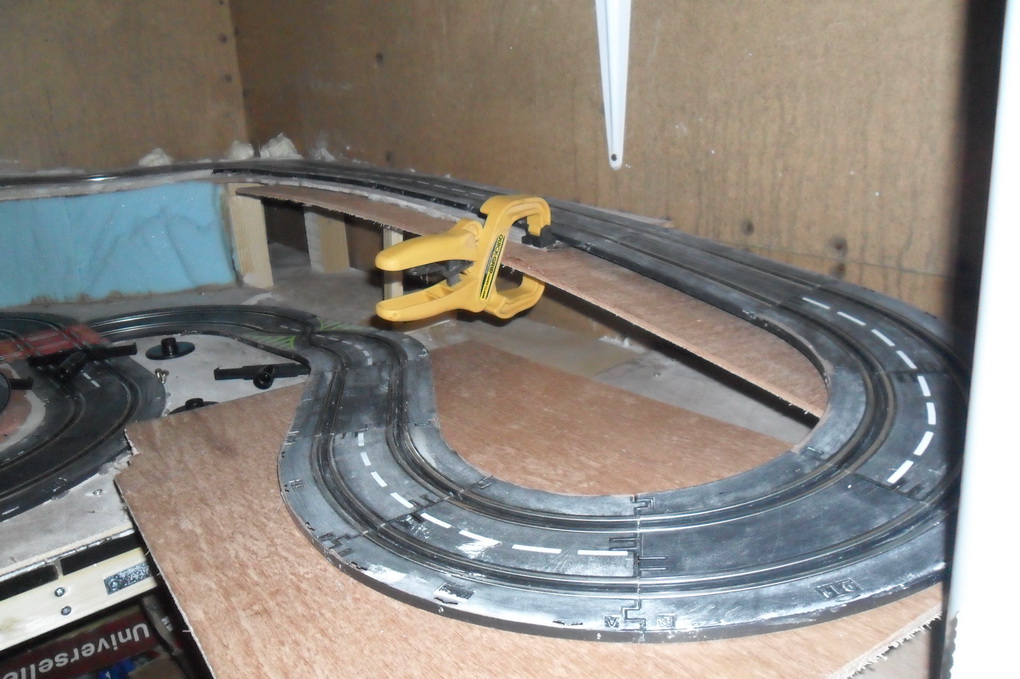
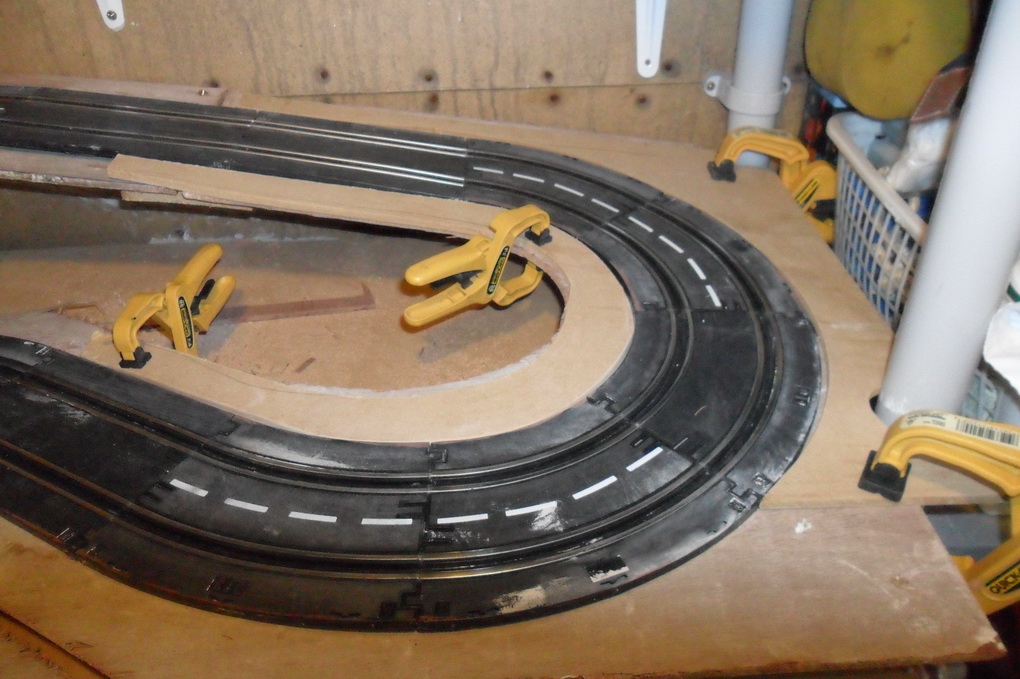
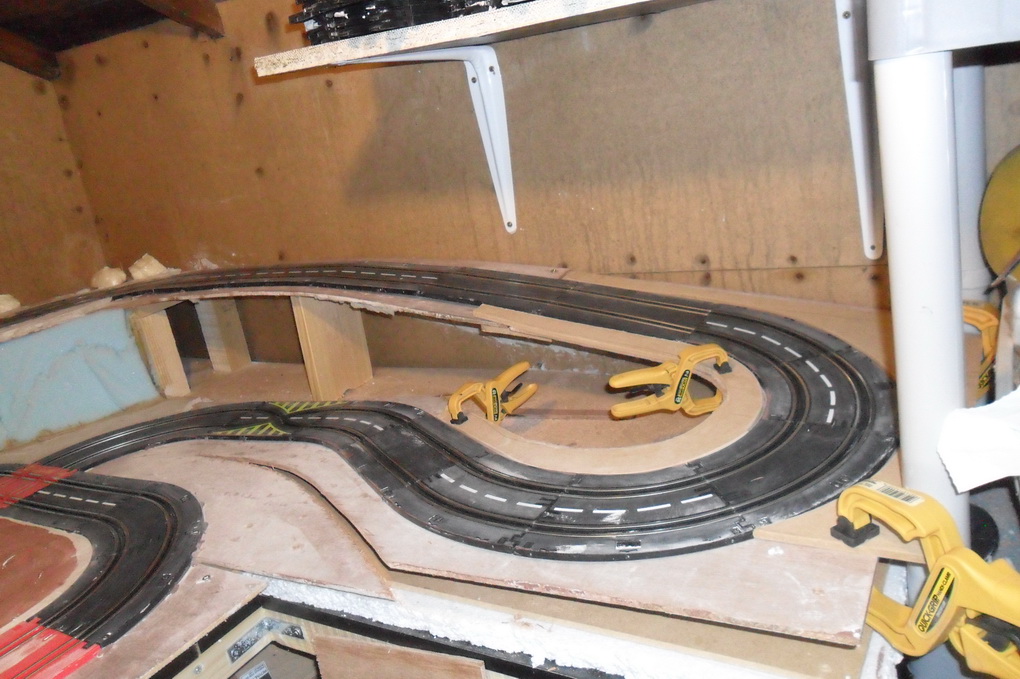
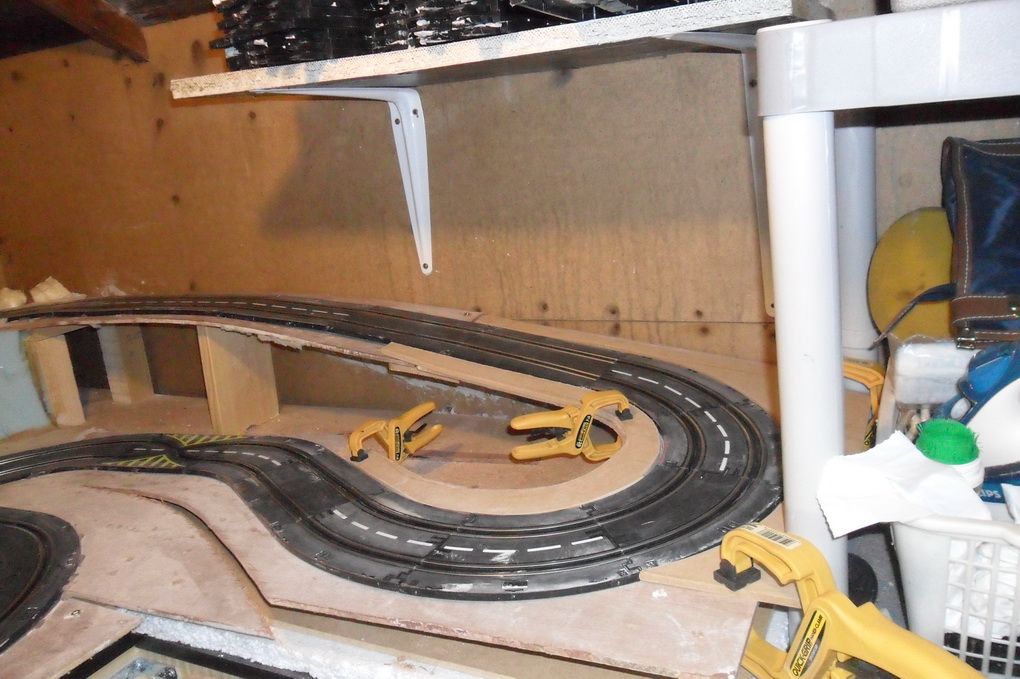
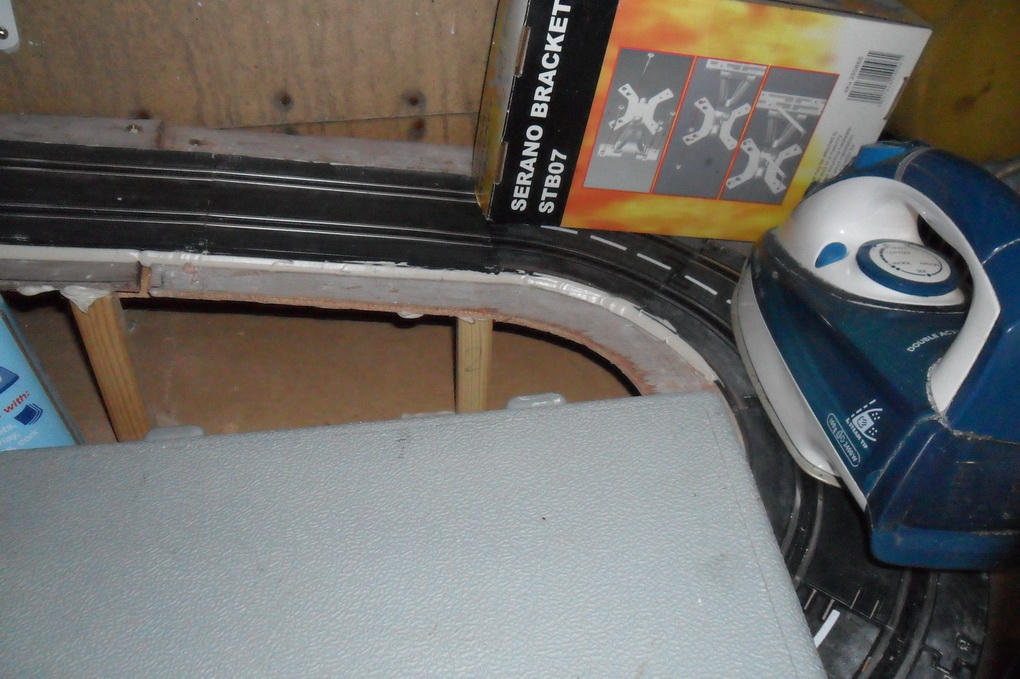
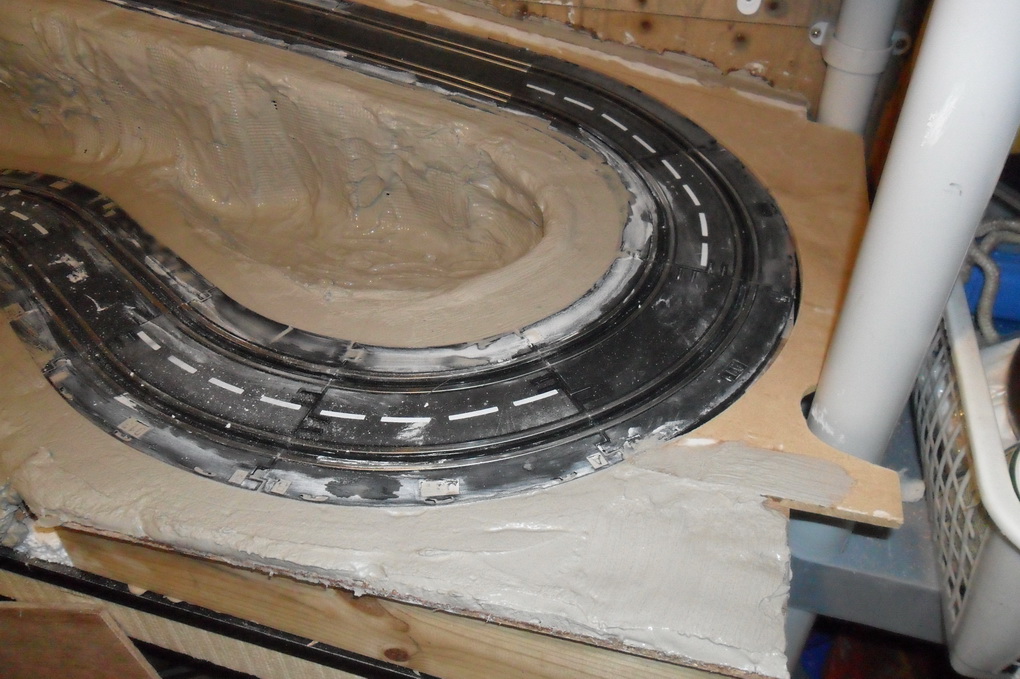
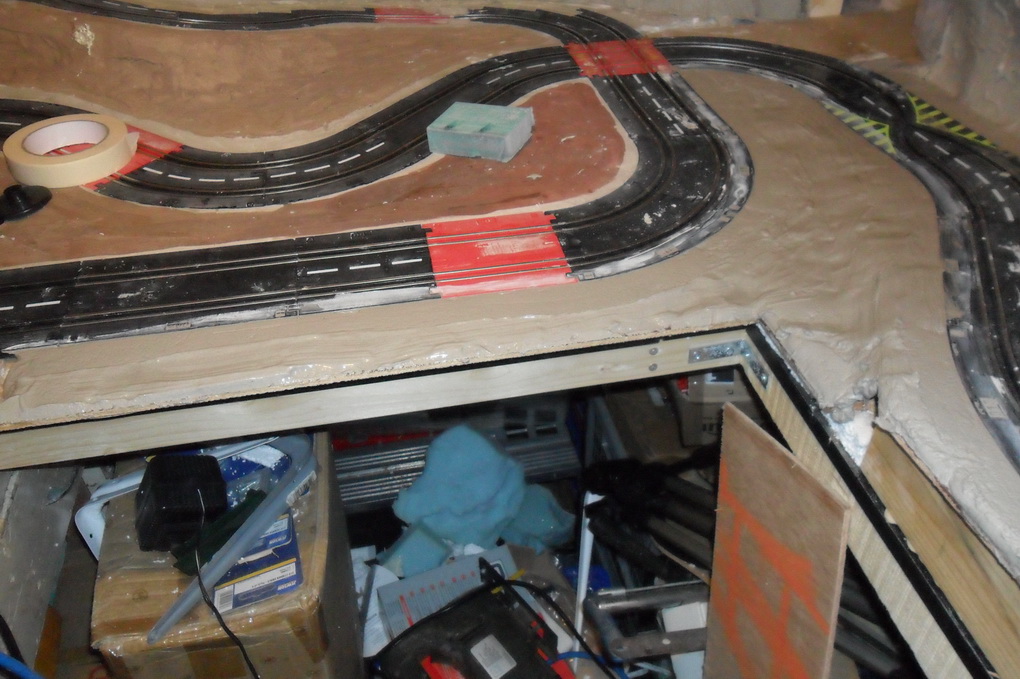
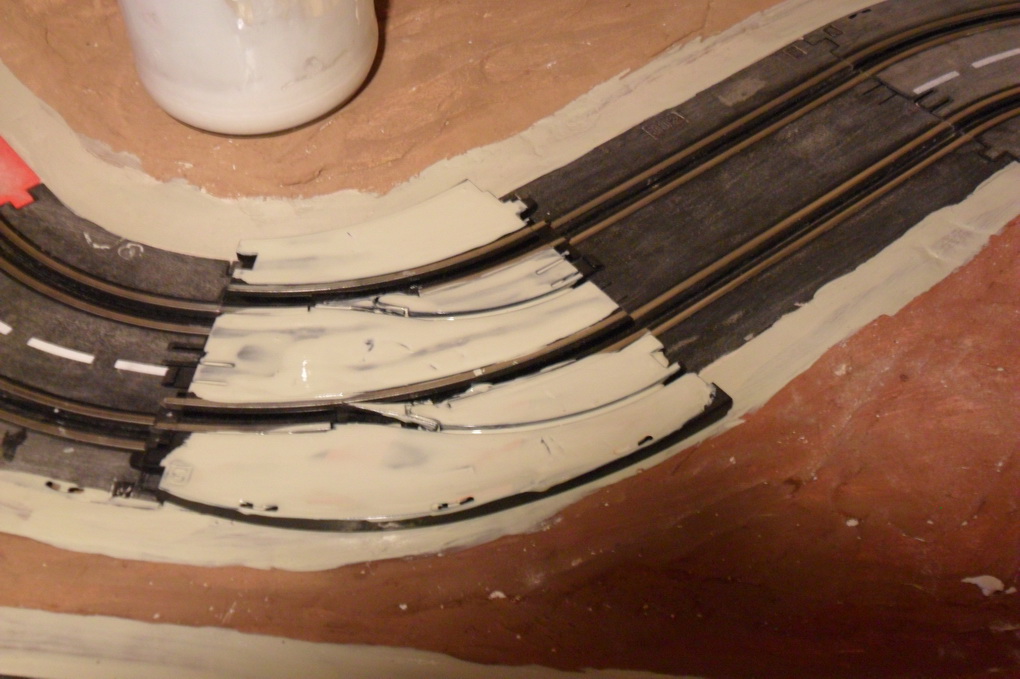
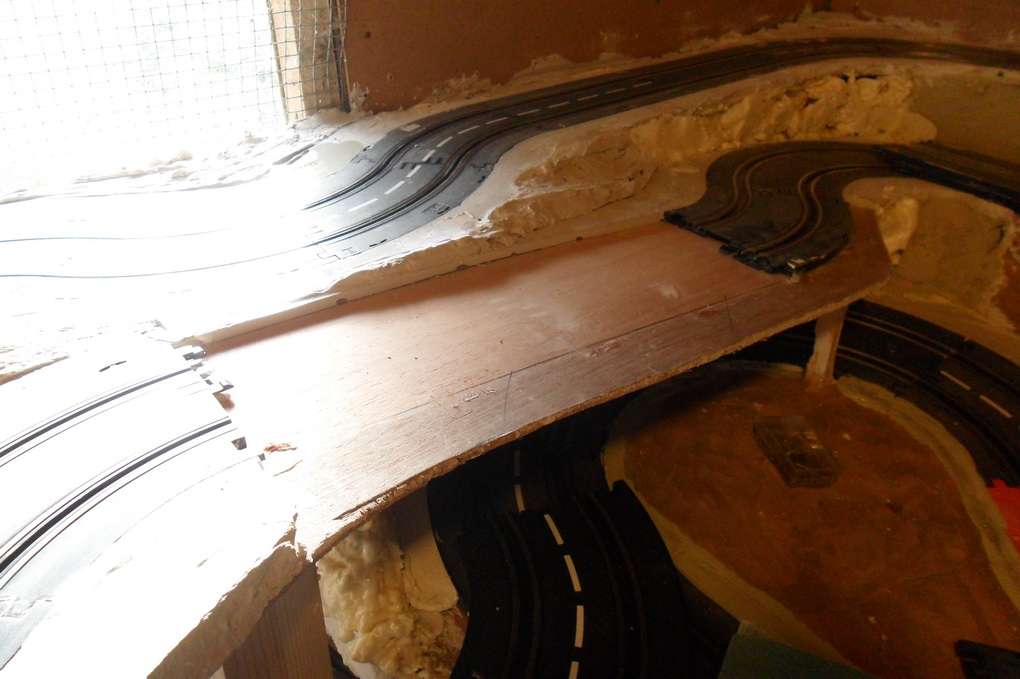
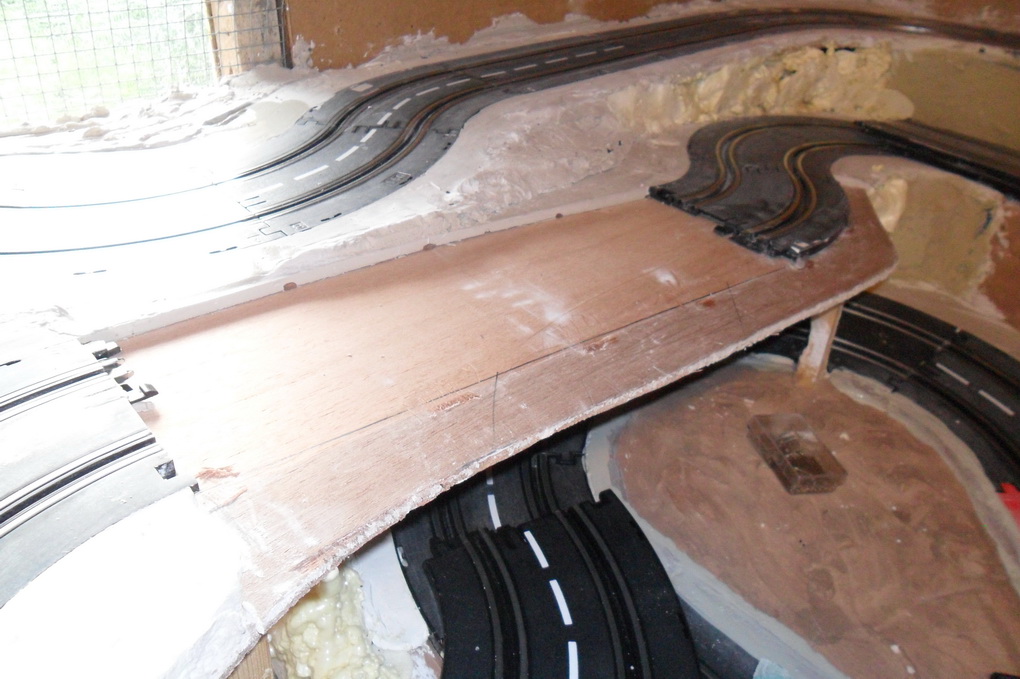
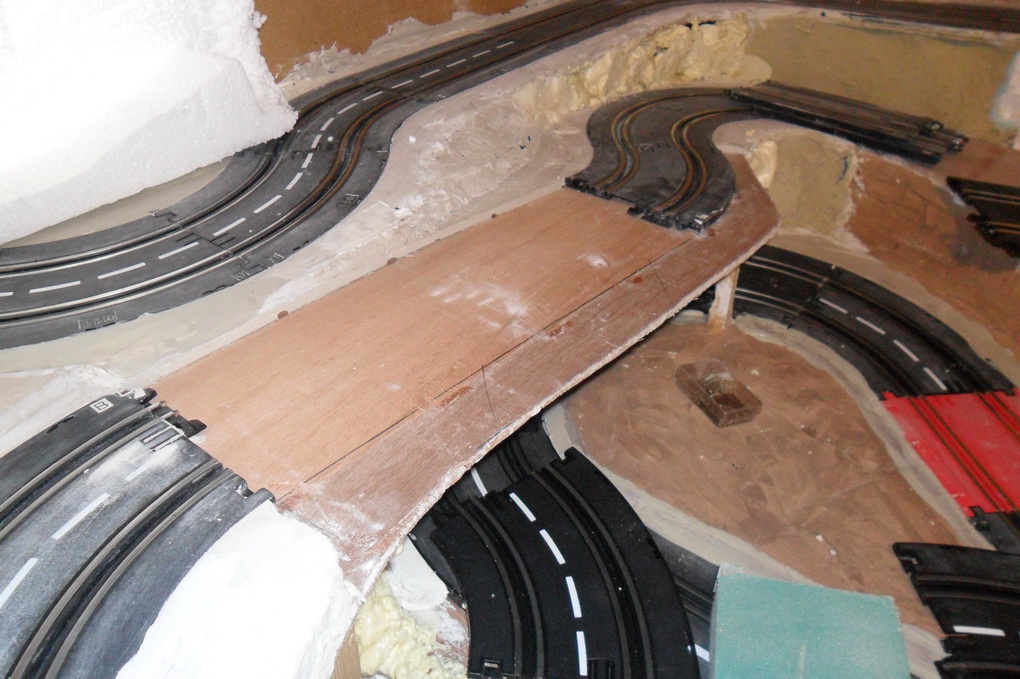
After some cutting of the plywood ramp and playing with levels the photos below show what I came up with. Don't know if it's because the Artin track if very rigid or because the straights a not that long but I found that I needed two level straight before the corner or some cars still deslot to easy. This time I won't force the track to follow the shape of the ply but will use packing pieces so the track follows it's own shape. The only thing I do want to try and get is a small camber on the 180 bend. I will also probably run the ply just into the shelf unit to have a bit more room on the outside of the bend.
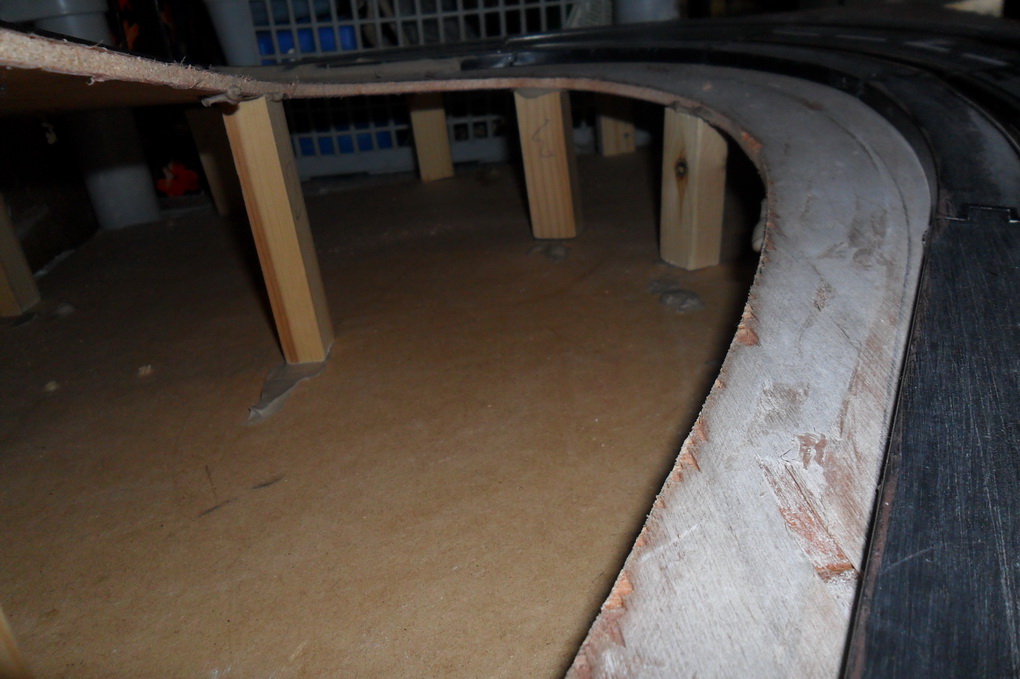
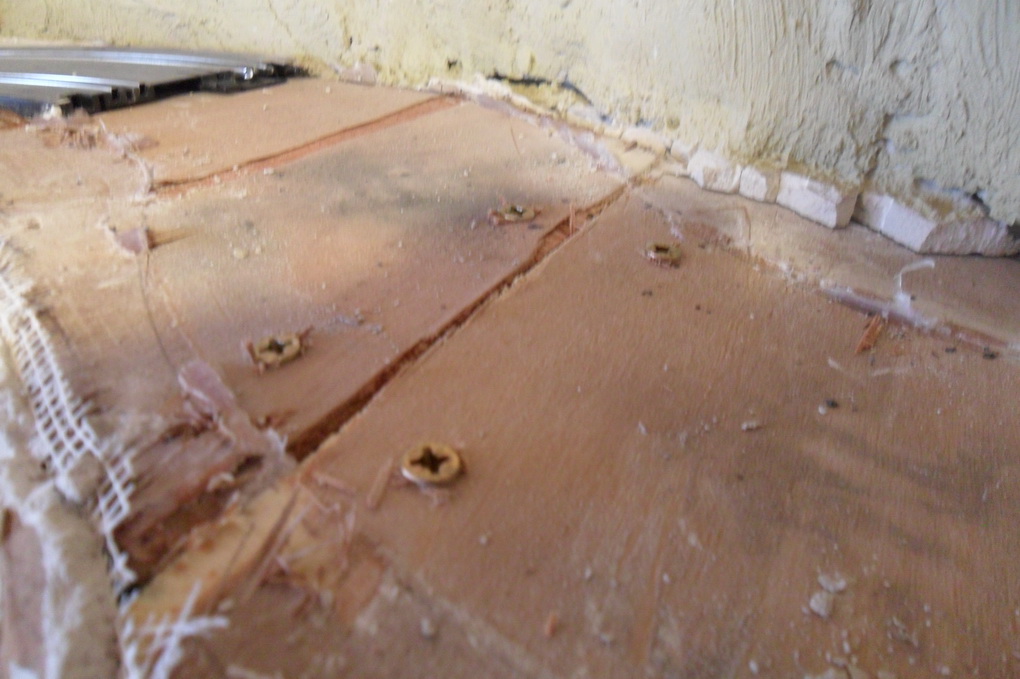
I have now removed the right hand section of the track and reworked the decent on this side. The idea being to to cut a new plywood section to support the track. To this end I had cut the original plywood at the base of the climb the new ply would be fixed to this and the baseboard near the crossing. having cut the ply I then started to encounter some problems the biggest one being the joint between the new pieces of ply. The solution was to unscrewed the baseboard and removed an oval shape from the centre and made a cut towards the crossing. Then I had to joint the ply together again but it wouldn't fit, I had to cut about 10-12mm away before I could join it back together.
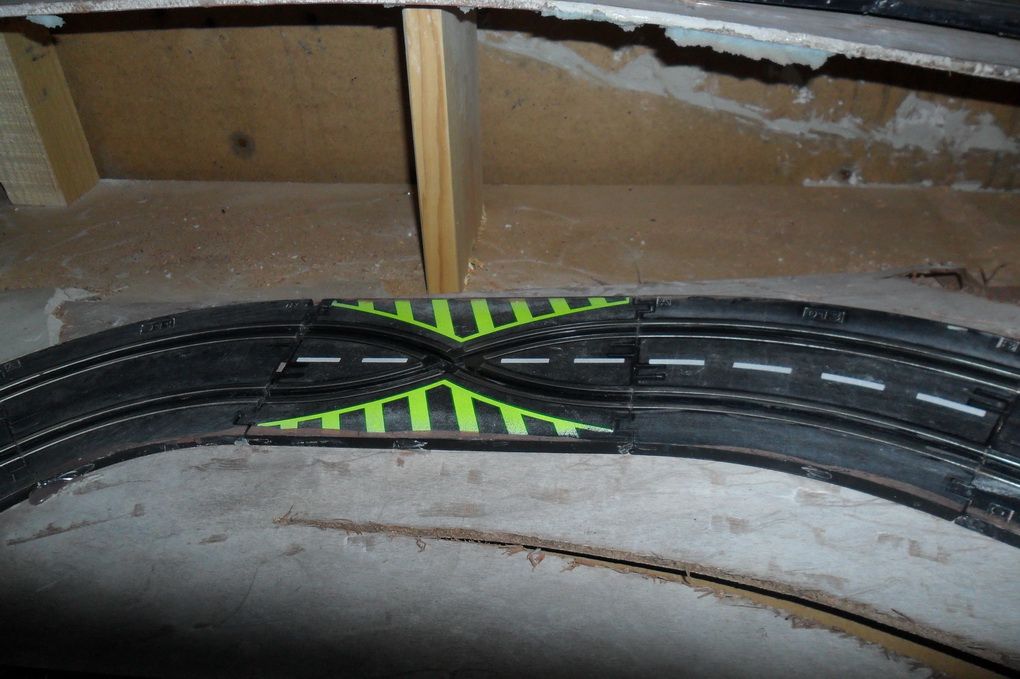
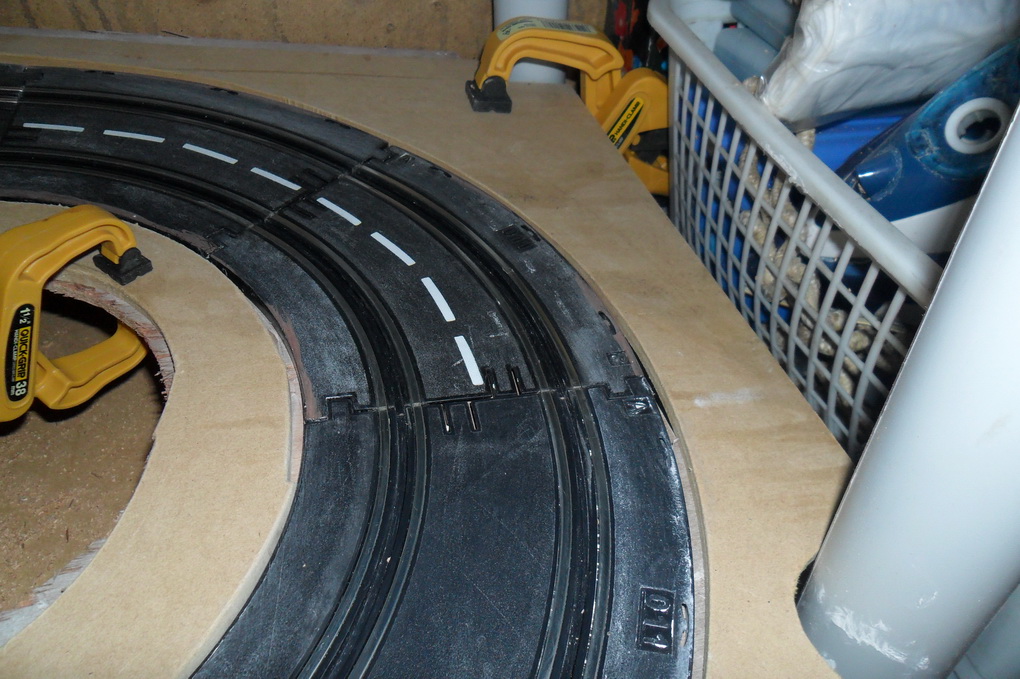
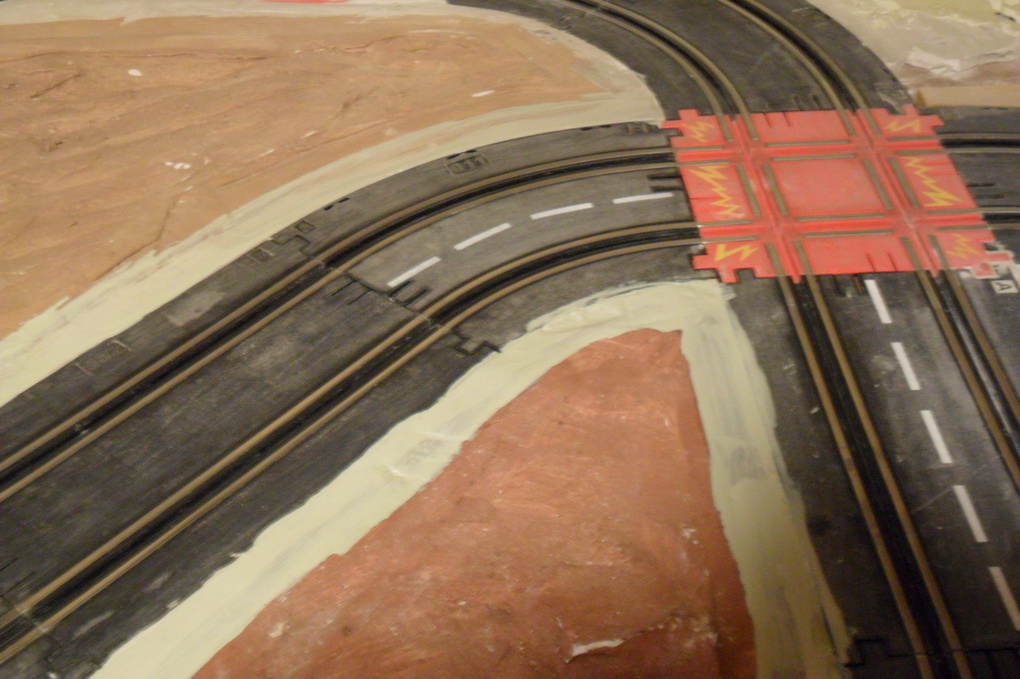
The Artin track and 6mm MDF are both the same thickness so I have tried a little experiment with MDF borders. I Think I will keep the outer boarded as it gives a wider edge to the track but the inner one may go as I think it is not helping with the track joint.
The track has now been tried with most of my cars and going up the climb the all appear to be fine and they all get down ok as well.
rally in a shed 0242
rally in a shed 0243
rally in a shed 0244
rally in a shed 0245
rally in a shed 0246
rally in a shed 0247
rally in a shed 0248
rally in a shed 0249
rally in a shed 0250
rally in a shed 0251
rally in a shed 0252
rally in a shed 0253
rally in a shed 0254
rally in a shed 0255
rally in a shed 0256
rally in a shed 0257
rally in a shed 0258
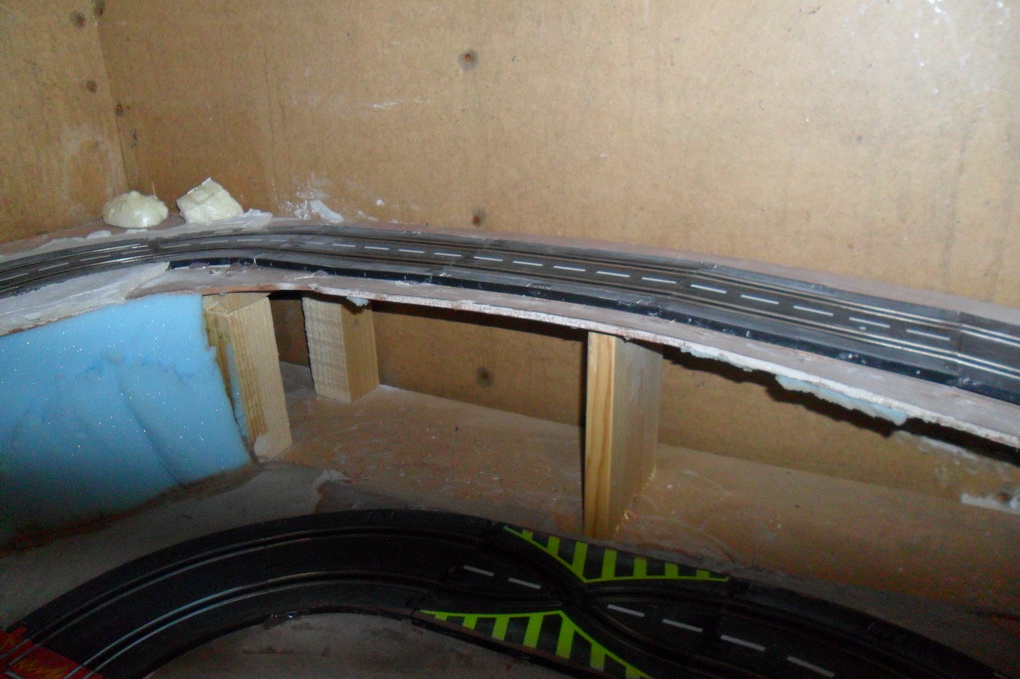
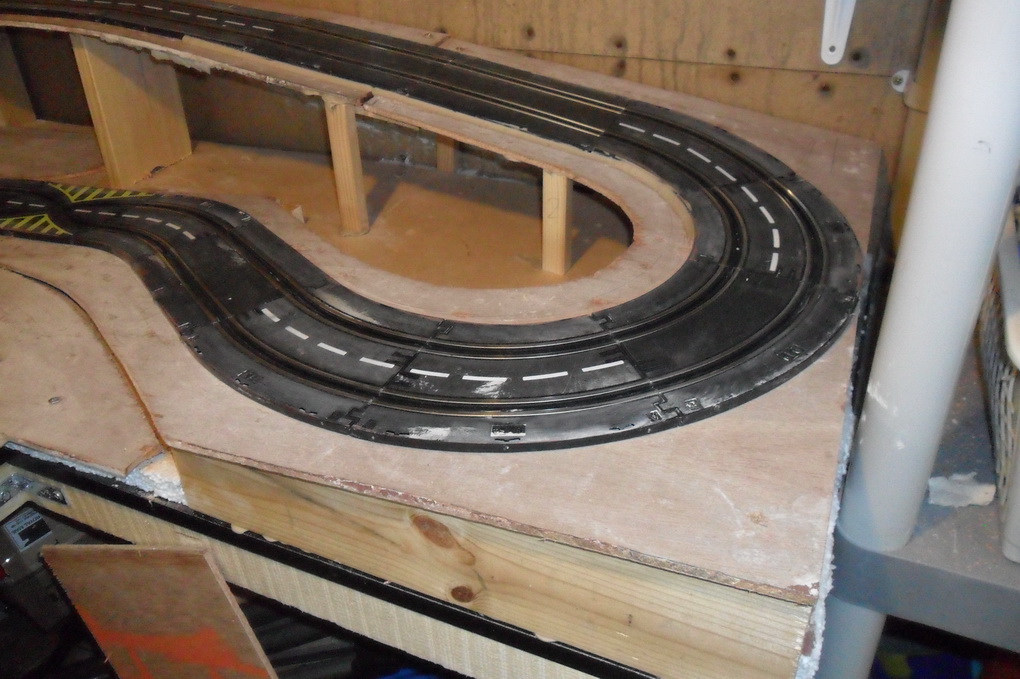
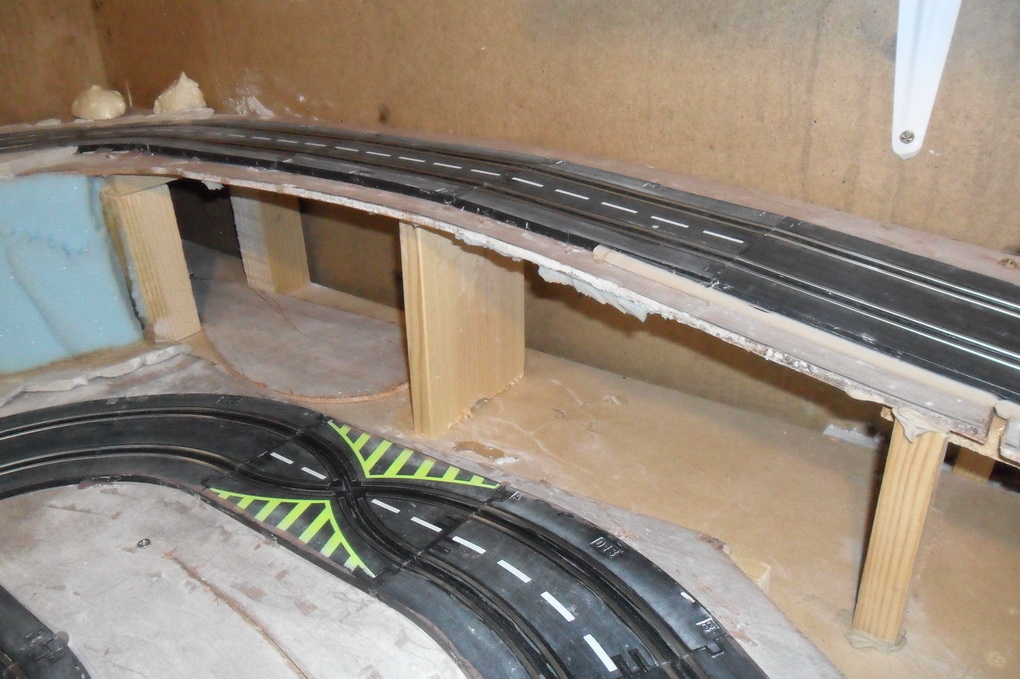
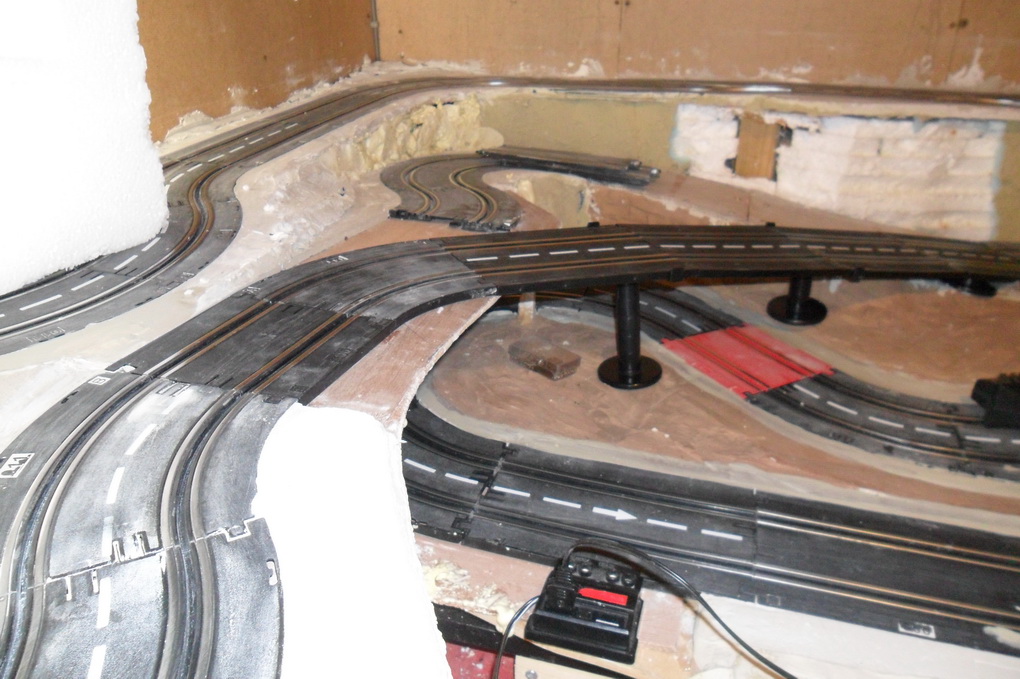
Glued the props under the plywood, this time I have let the plywood find its own slope and the track find its own level on the plywood. The props have been fixed with grab adhesive pushed just into place so as not to change the lay of the plywood. The front edge has been filled with a solid piece of wood. Instead of forcing the track down on the plywood with hot glue I've used grab adhesive to glue and fill the gap between track and plywood which will hopefully keep the track smoother. And all weighted down till the glue sets.
rally in a shed 0274
rally in a shed 0275
rally in a shed 0276
rally in a shed 0277
rally in a shed 0278
Gave the track a good testing with all cars and and this part of the track is driveable with all the cars in both directions.
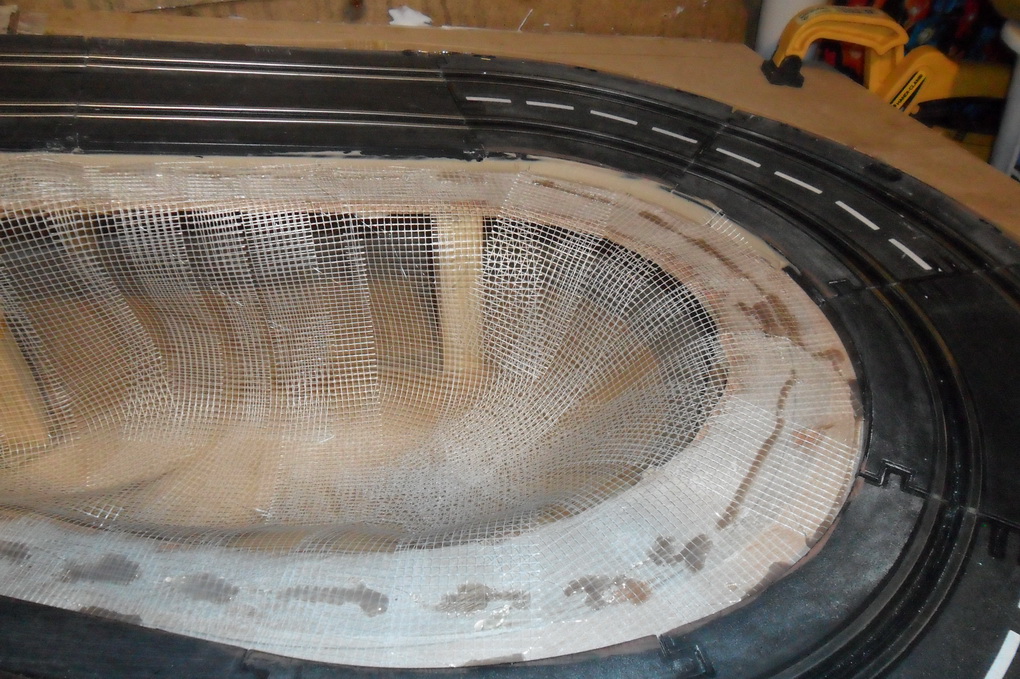
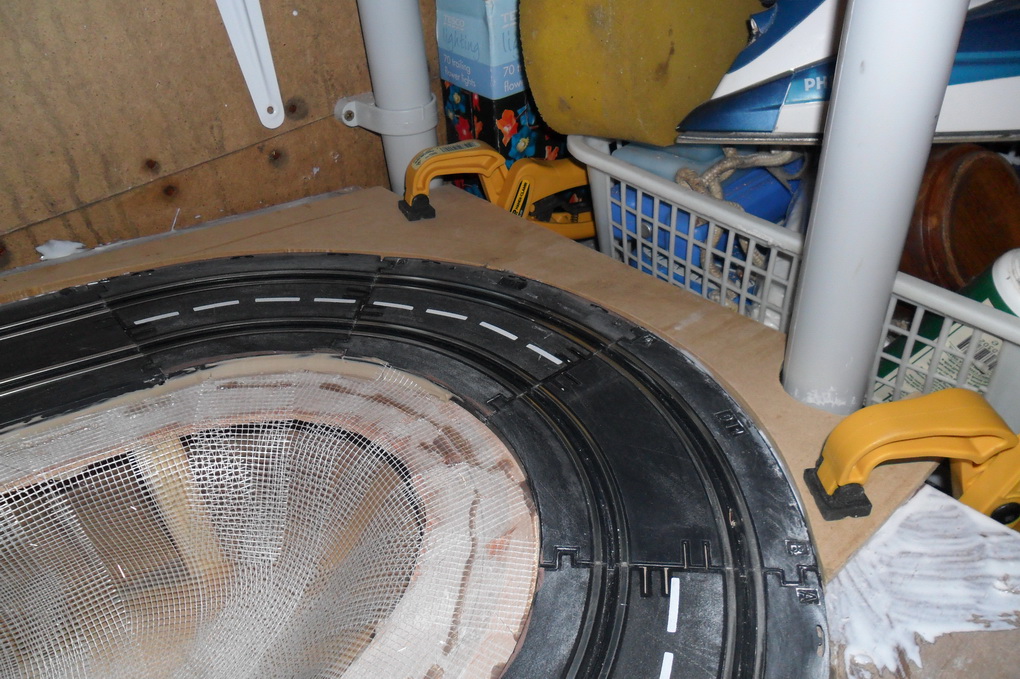
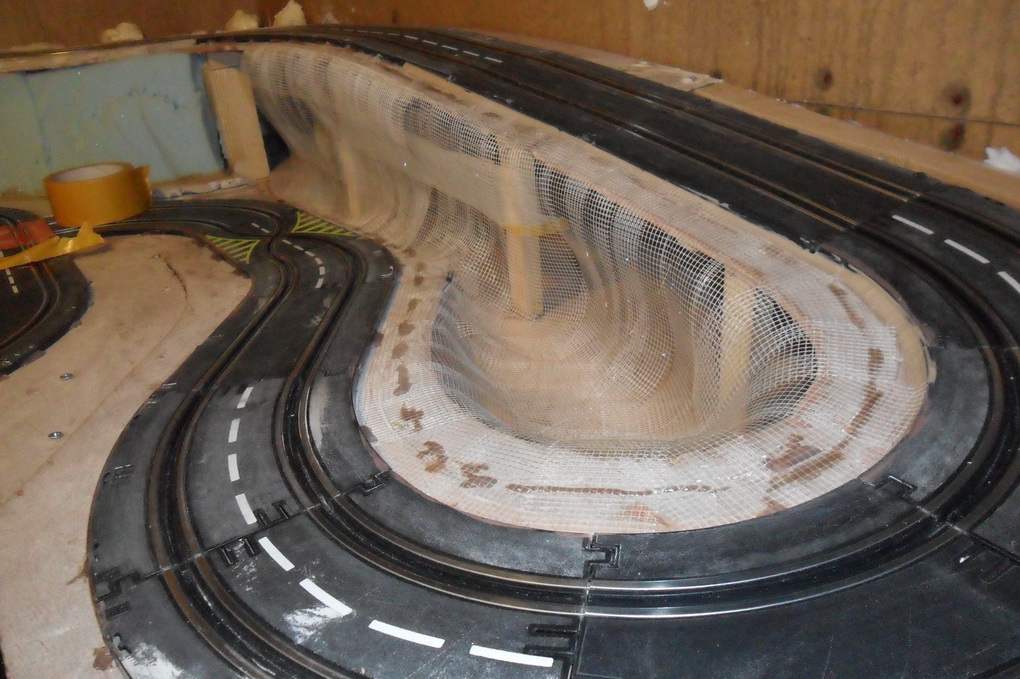
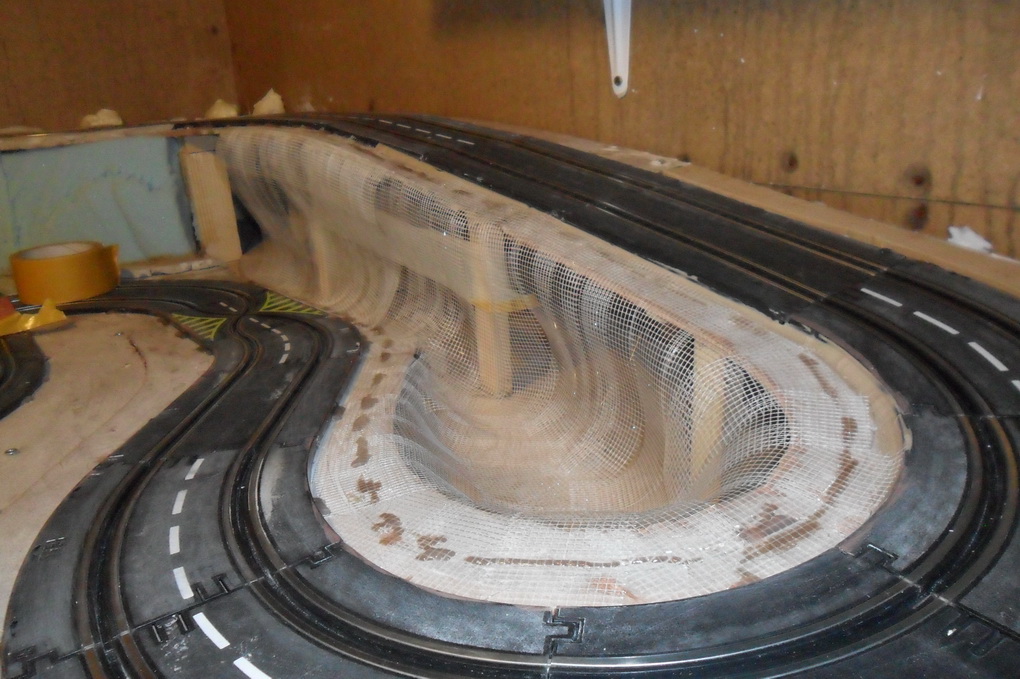
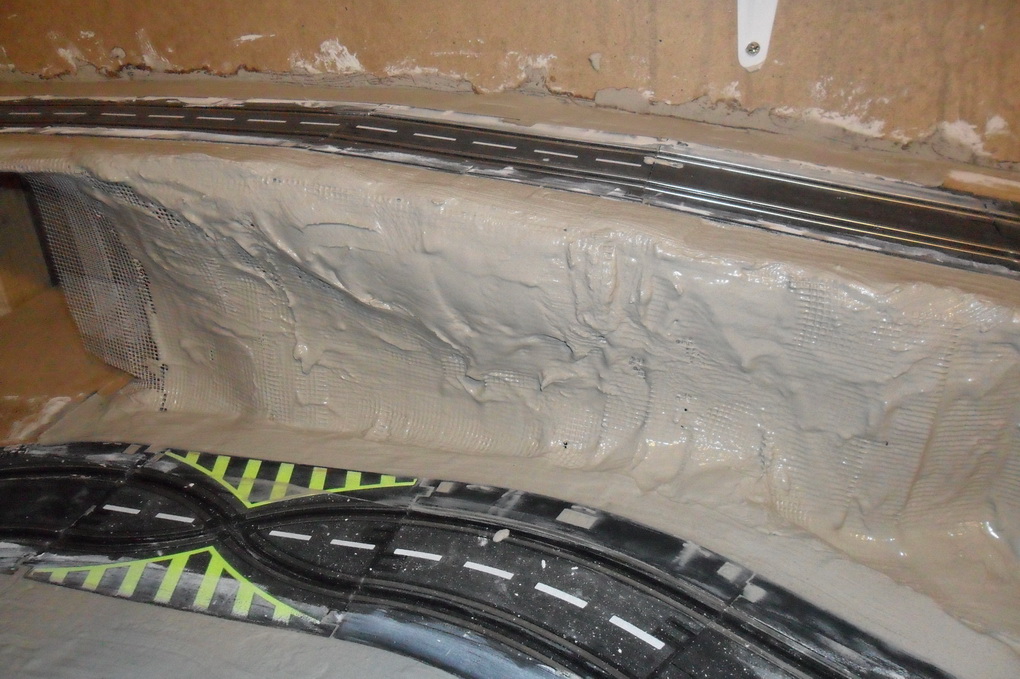
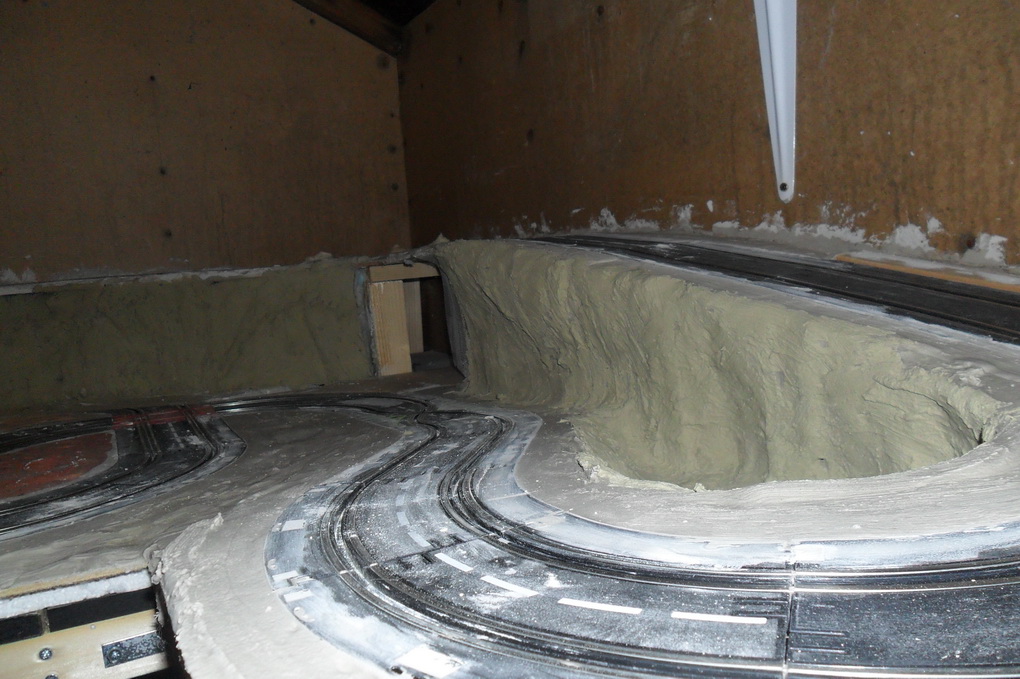
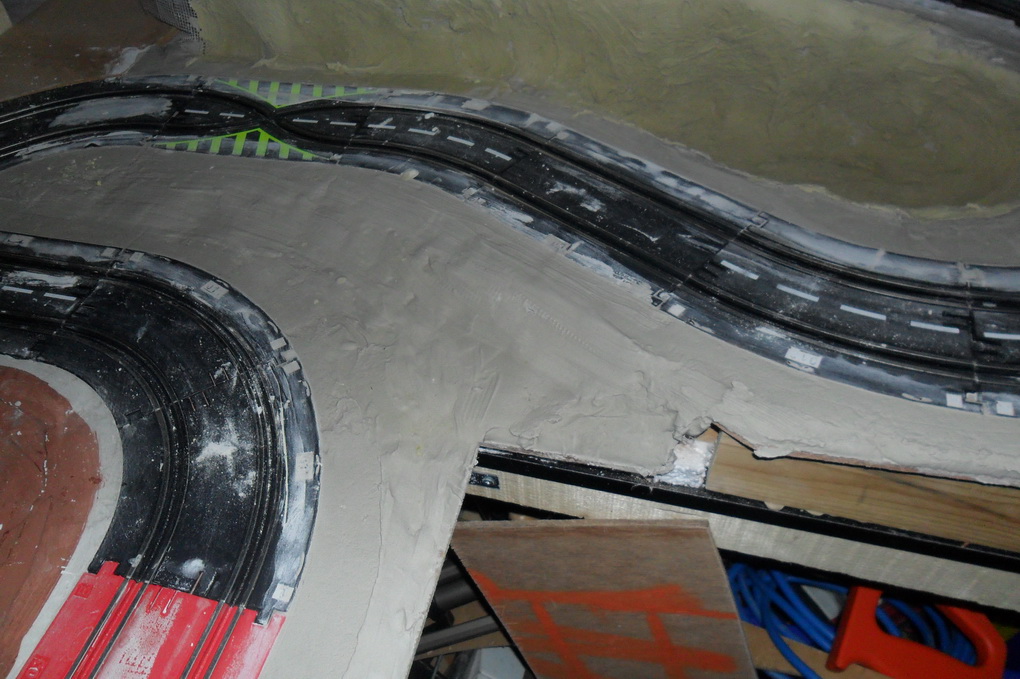
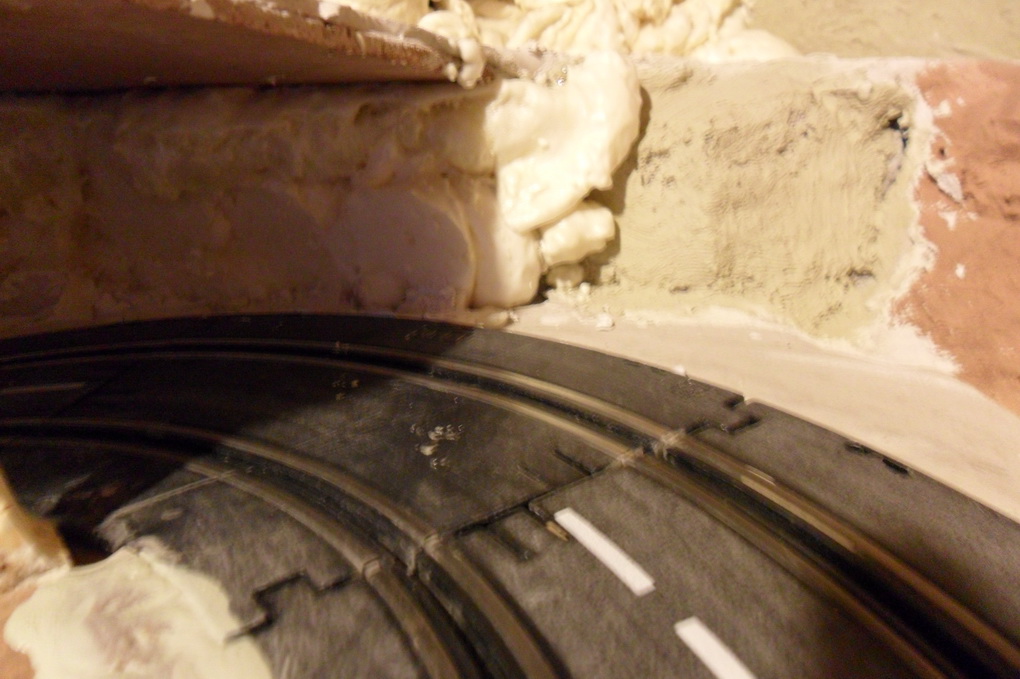
This time I have fixed wallboard tape (self adhesive scrim) in place before I plaster the borders which is what I should have done first time and this will hopefully allow me to build up some hills and with luck a rock face up to the tunnel entrance. The tape does not go all the way to the baseboard at the curve end so it will have a slope at the bottom following the slope of the track. Don't know if the tape will hold together when I start plastering it but if it does come apart at the bottom it doesn't really matter as I can leave it level or just build the plaster up to give the same effect.
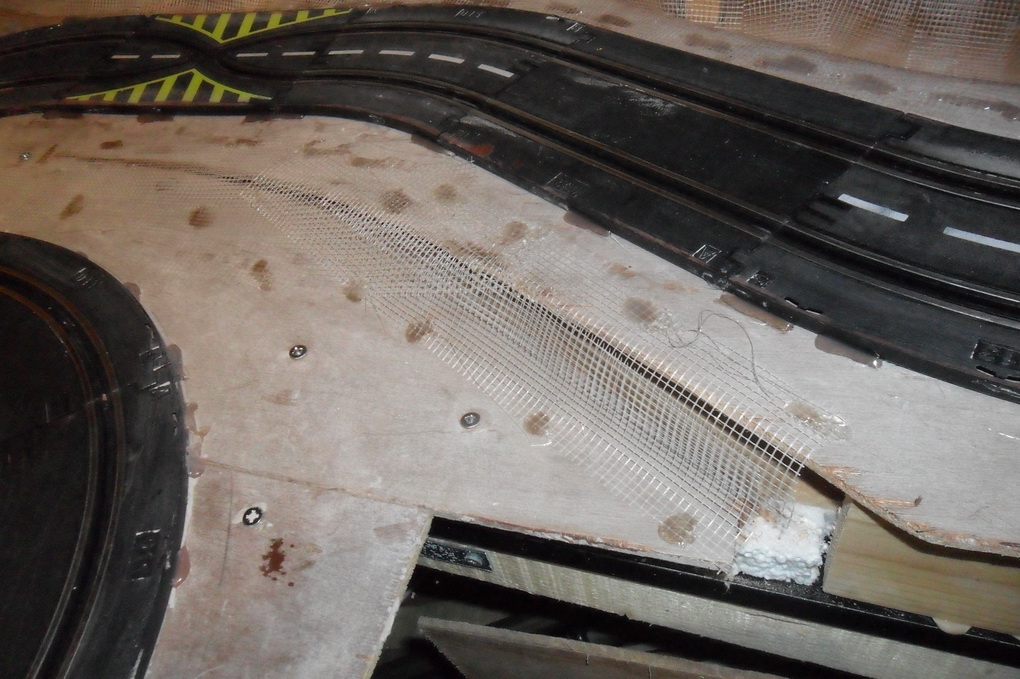
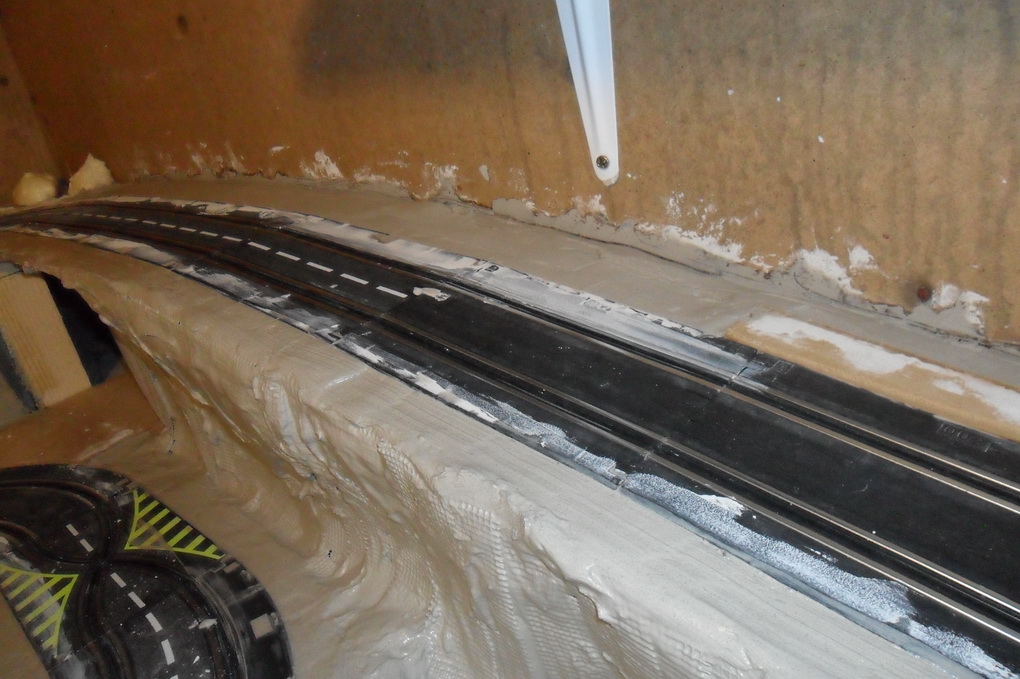
I've also glued the MDF border in place around the bend at the bottom of the climb. This gives me a nice flat area for the "road" to continue straight on at the bottom of the hill and extends the width of the track around the bend and before the track here was right on the edge of the baseboard. Also taped up this part of the track ready for plastering.
rally in a shed 0279
rally in a shed 0280
rally in a shed 0281
rally in a shed 0282
rally in a shed 0283
rally in a shed 0284
rally in a shed 0285
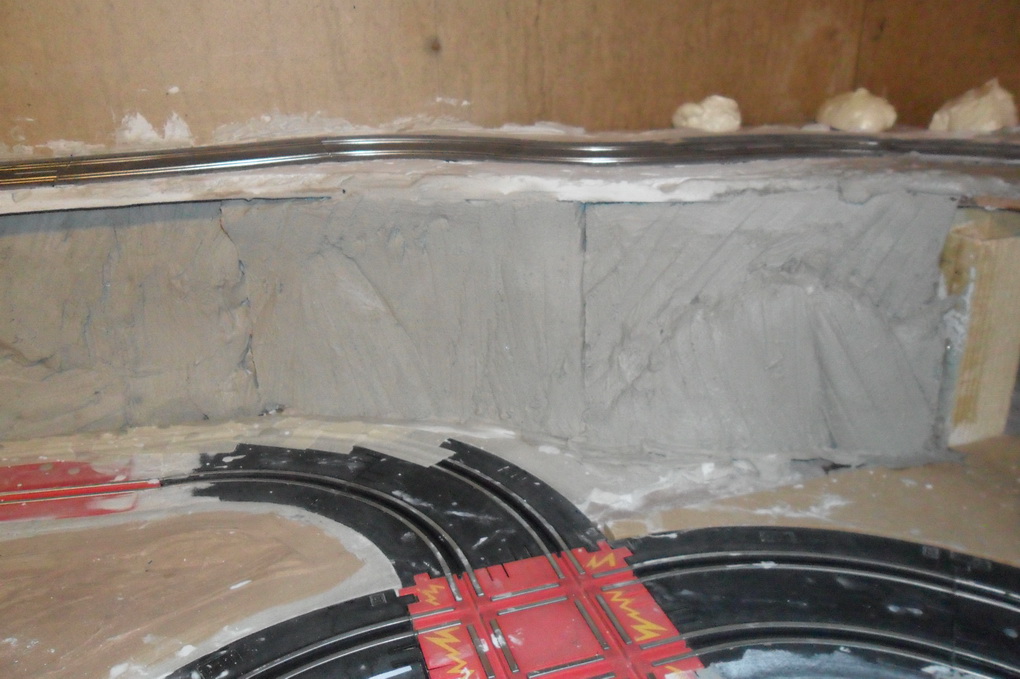
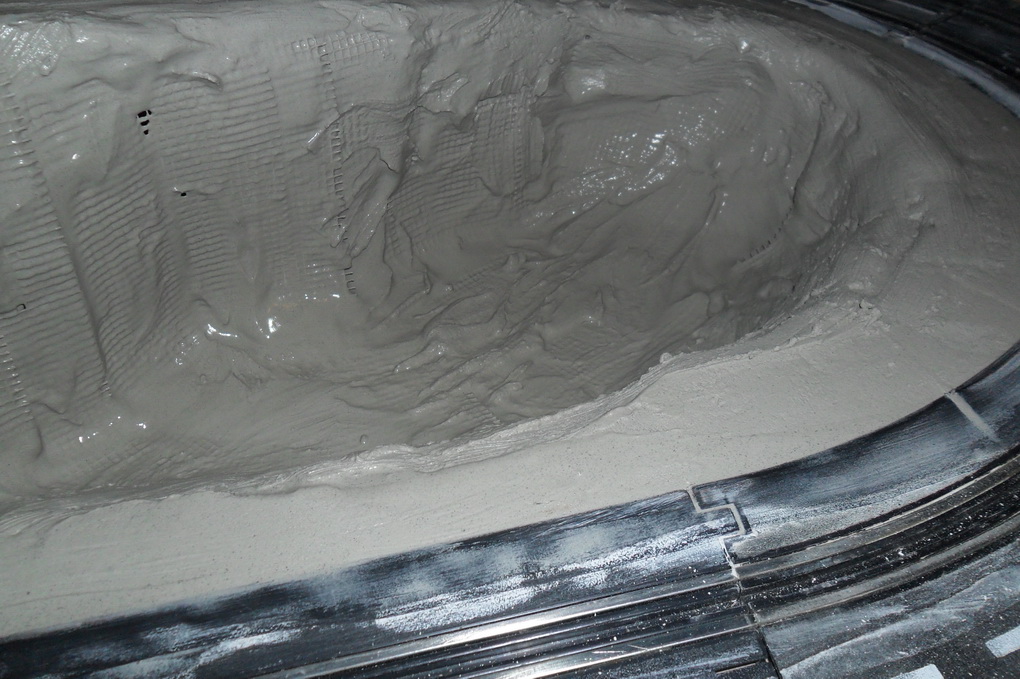
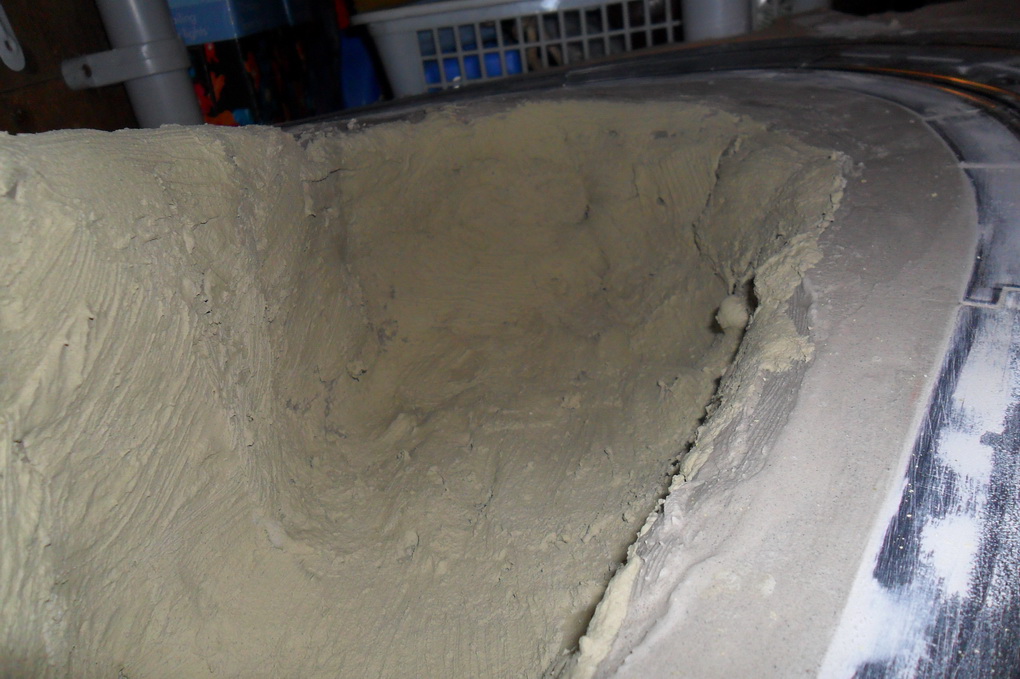
First coat on the foam for the FRocks and while at it I re-did all the plaster I had to break away to change the track, tried to get the borders as smooth as possible this time so less sanding. And covered all the tape with a basecoat of plaster. Tried putting a thicker coat on but the tape moved about to much so a thin coat to set the tape in place. The MDF has been glued in place for the road in the tunnel.
rally in a shed 0289
rally in a shed 0290
rally in a shed 0291
rally in a shed 0292
rally in a shed 0286
rally in a shed 0287
rally in a shed 0288
rally in a shed 0293
rally in a shed 0294
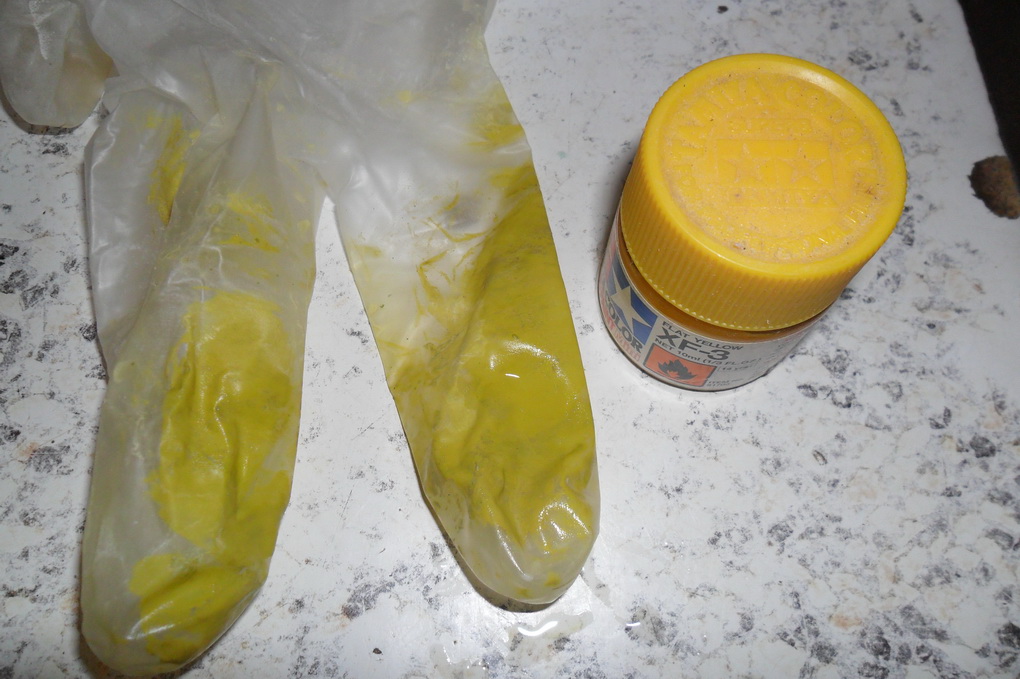
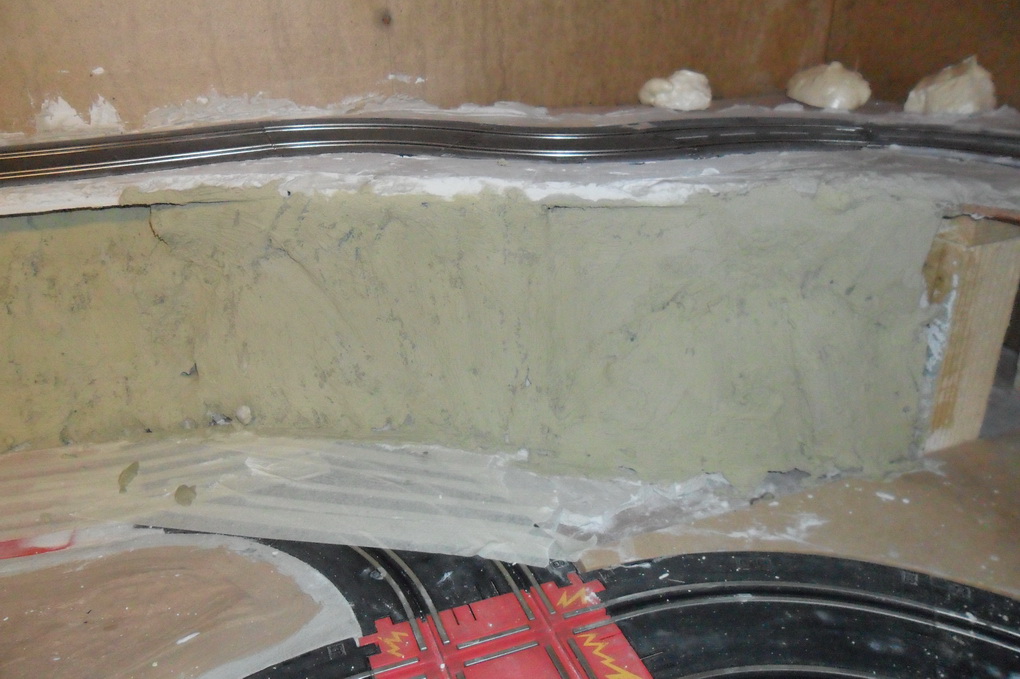
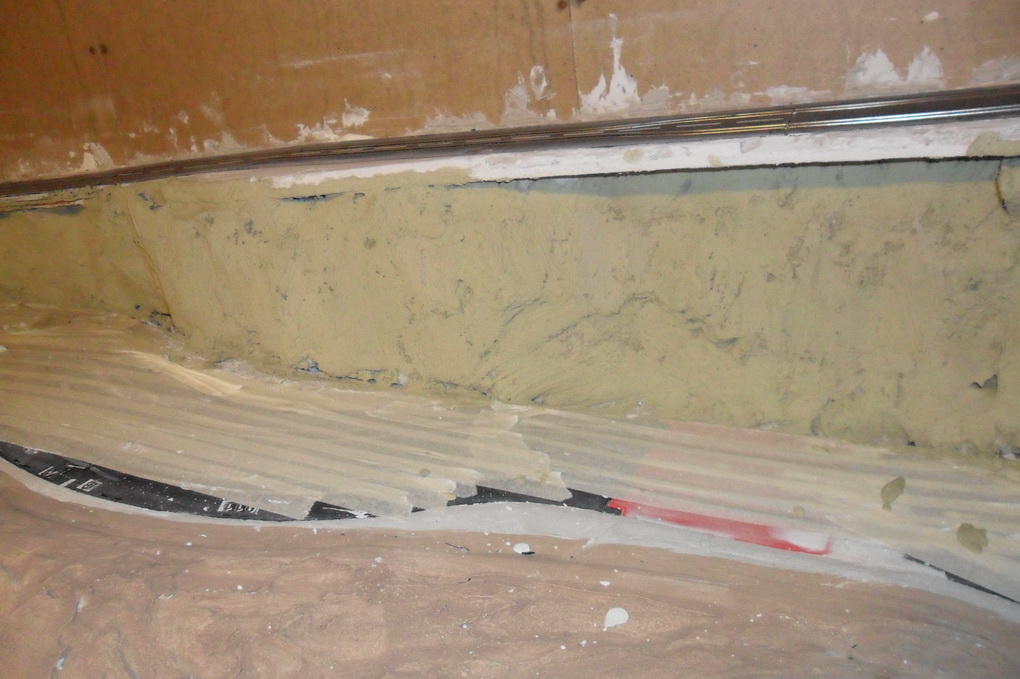
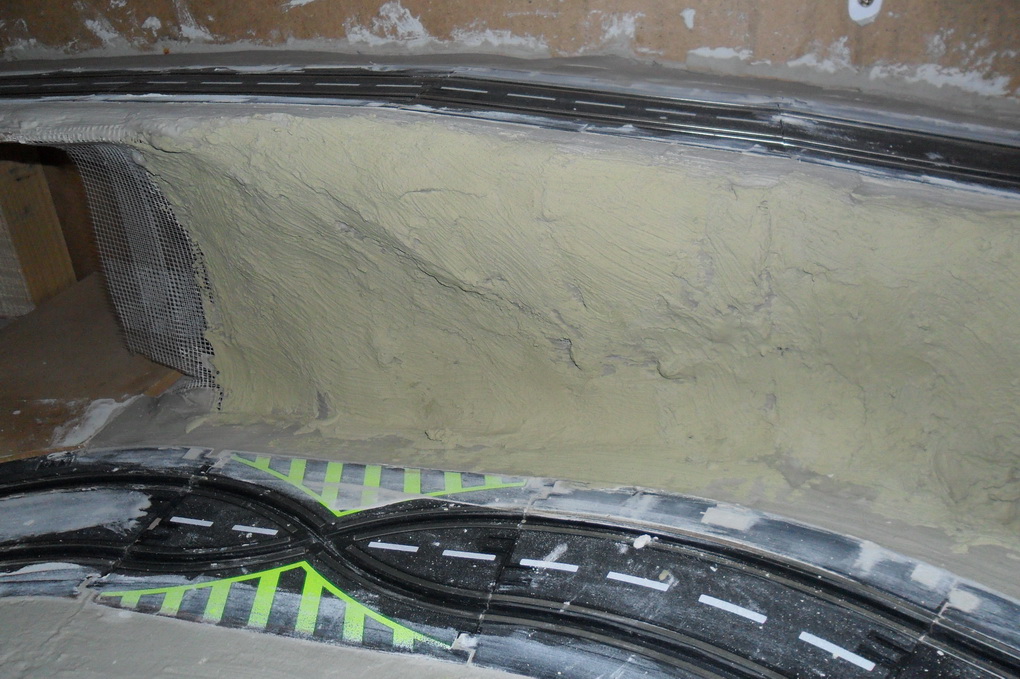
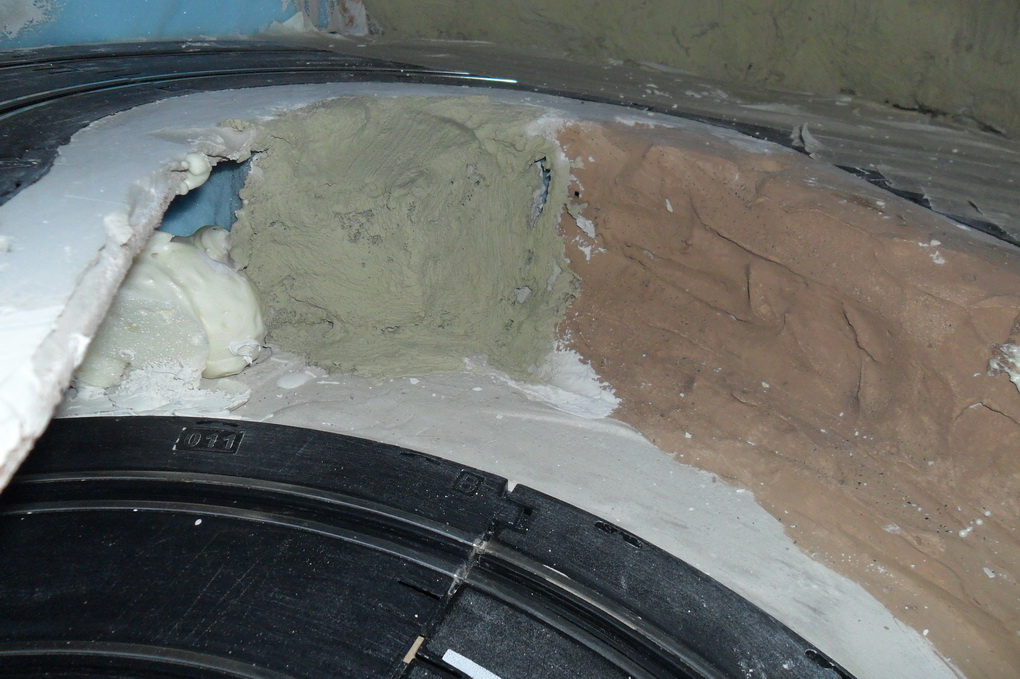
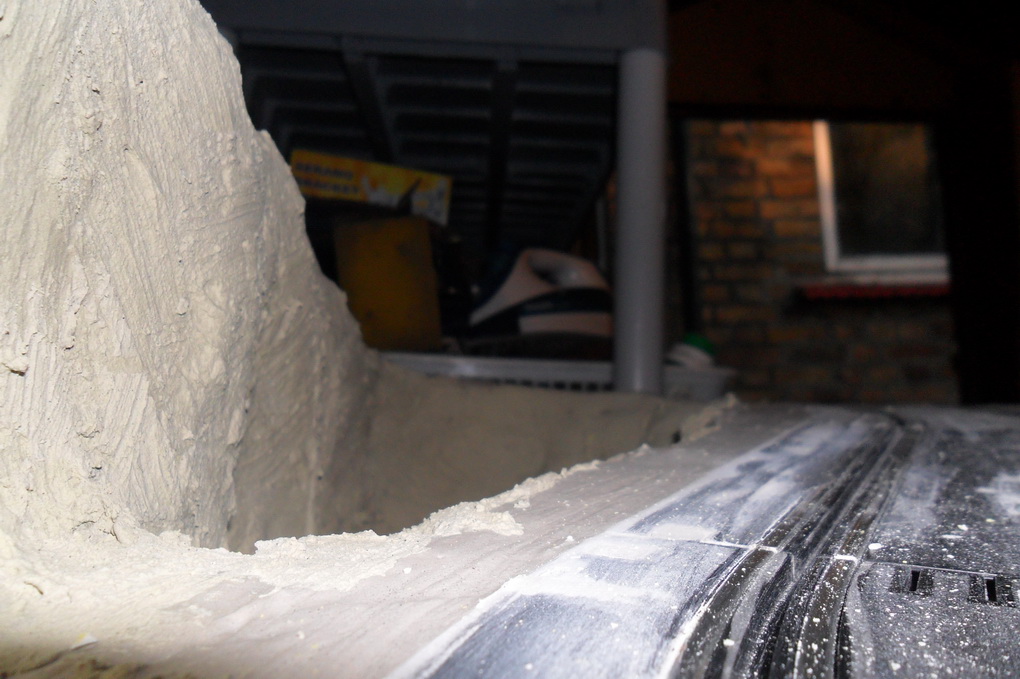
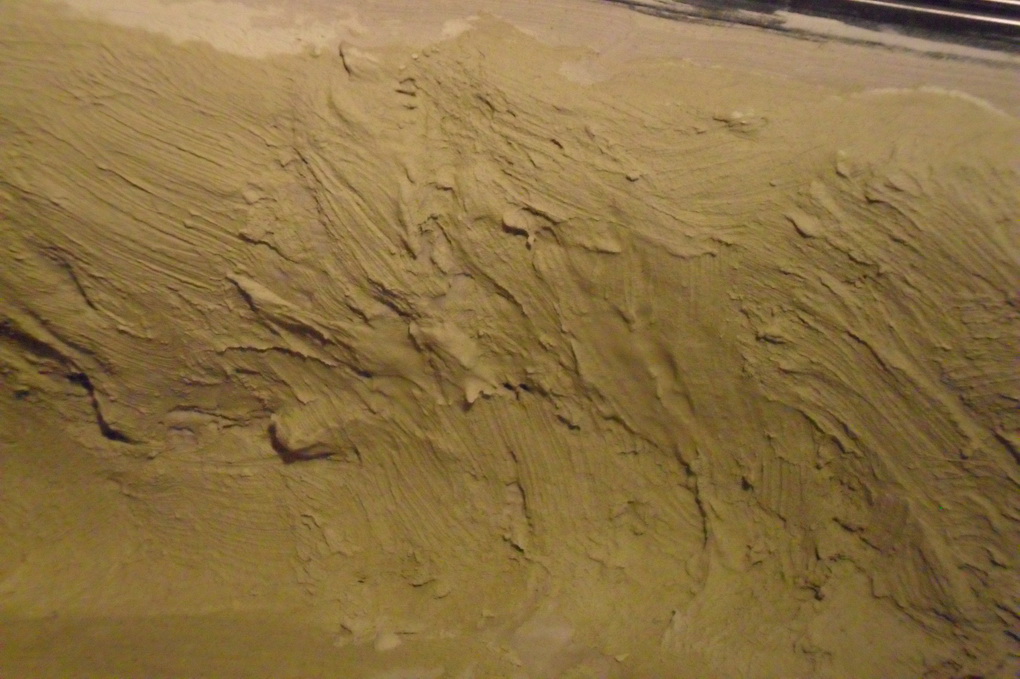
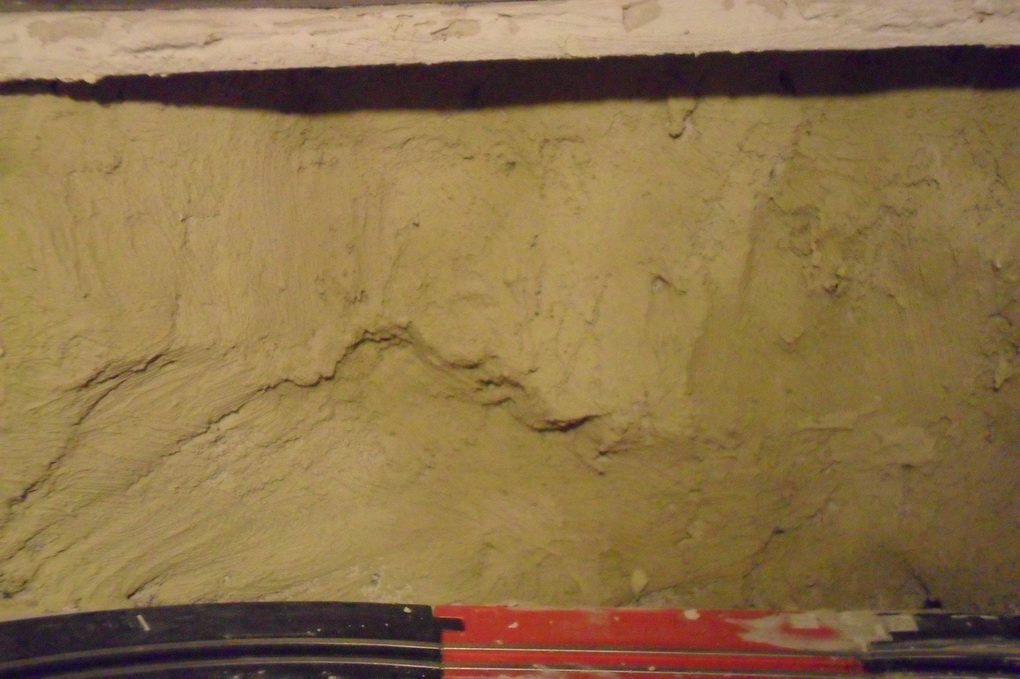
The plaster on the FRock foam is now dry, didn't think the foam would still be so flexible - hope I'm doing this right.Anyway time for a second coat of drywall adhesive which I thought I would tint with a buffy yellow colour as seen on the glove here (not the colour in the jar). Don't know what colour it's going to dry but as you will see it turned out to be a green colour when mixed in the plaster. I mixed it so that it was just about brushable but still thick enough to cove some of the small gaps and holes. I thought I had covered all the first coat of plaster but the photos have shown up lots of missed spots. I've been applying the plaster with a very cheap nylon brush, supermarket special 4 assorted for £1, and as you can see in the side and 'hole' photos the bruch leaves some nice marks in the plaster. As long as the tape isn't showing through anymore on the side and 'hole' I should get away with just the two coats as the tape was rock hard after the first coat. Will I need to give the foam a third coat, should I give it a third coat anyway??
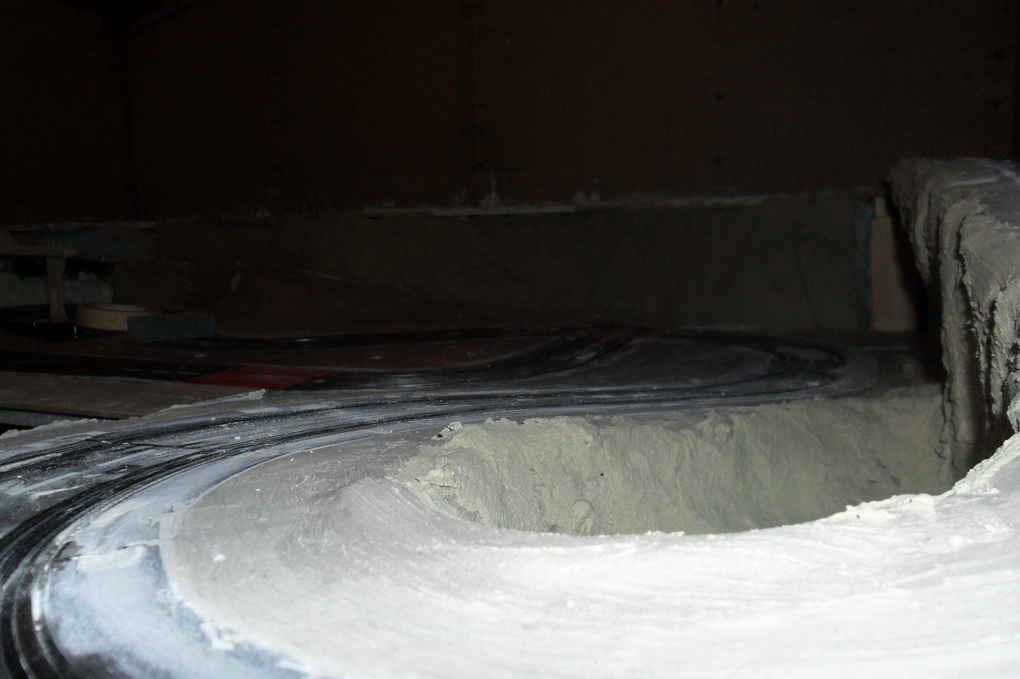
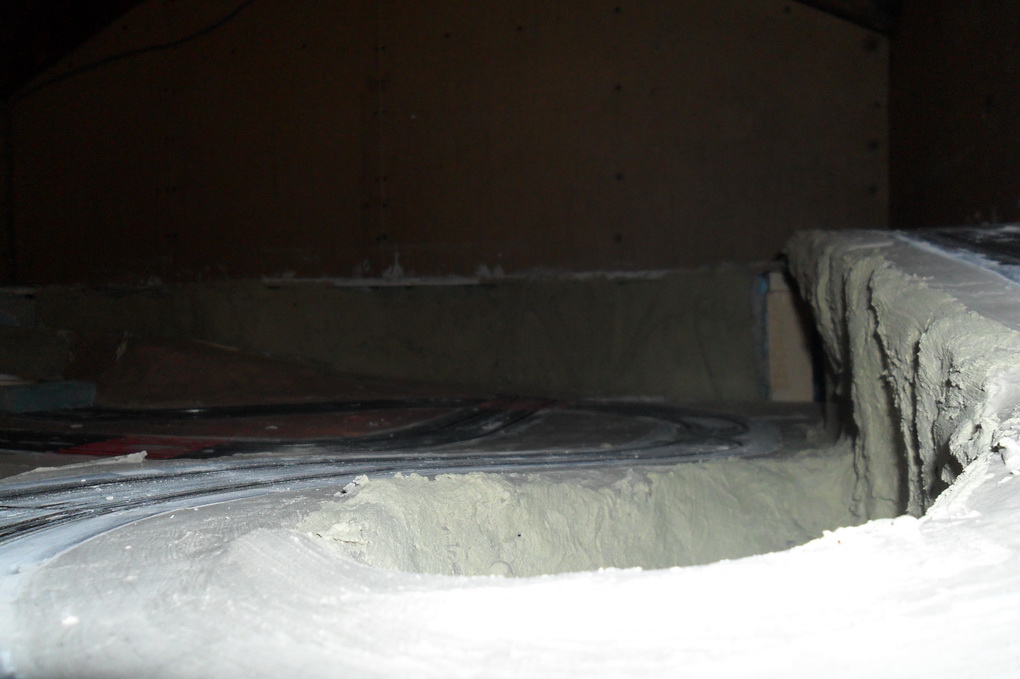
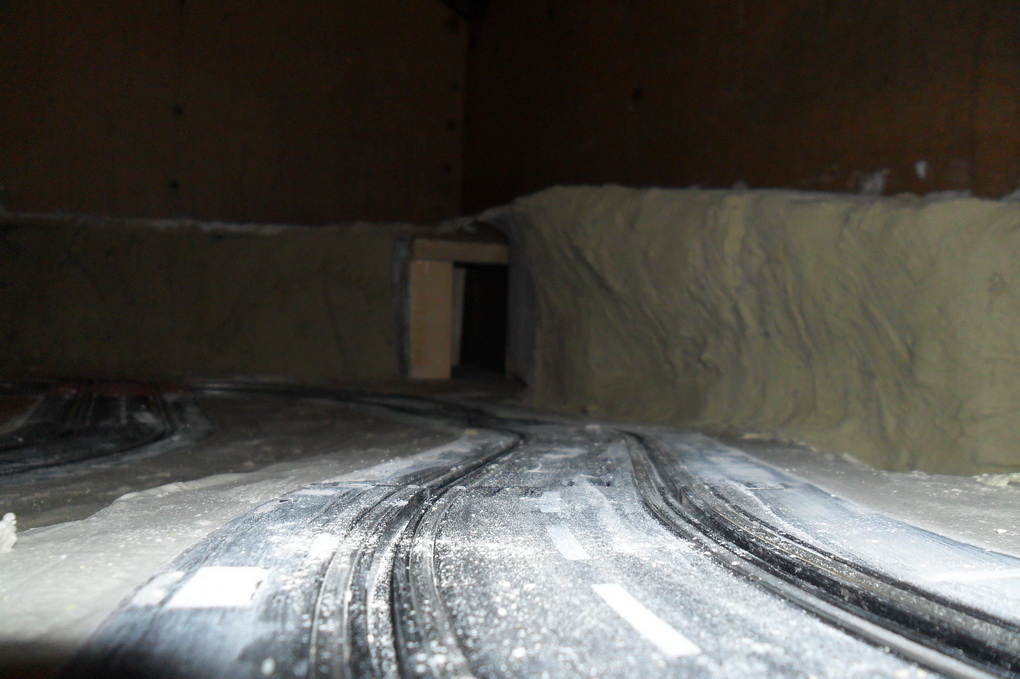
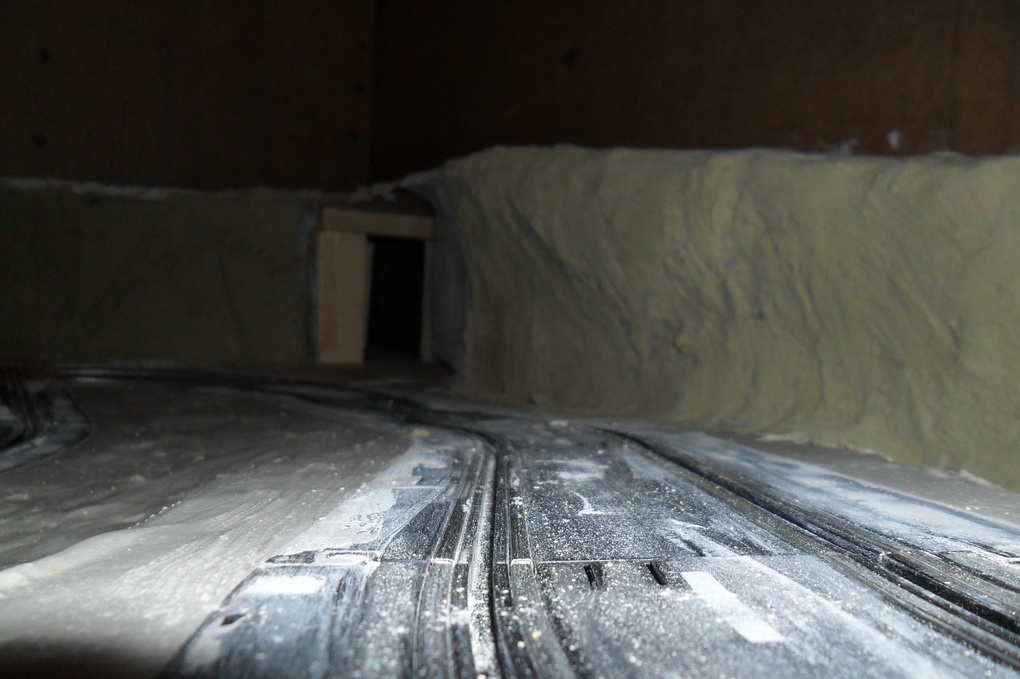
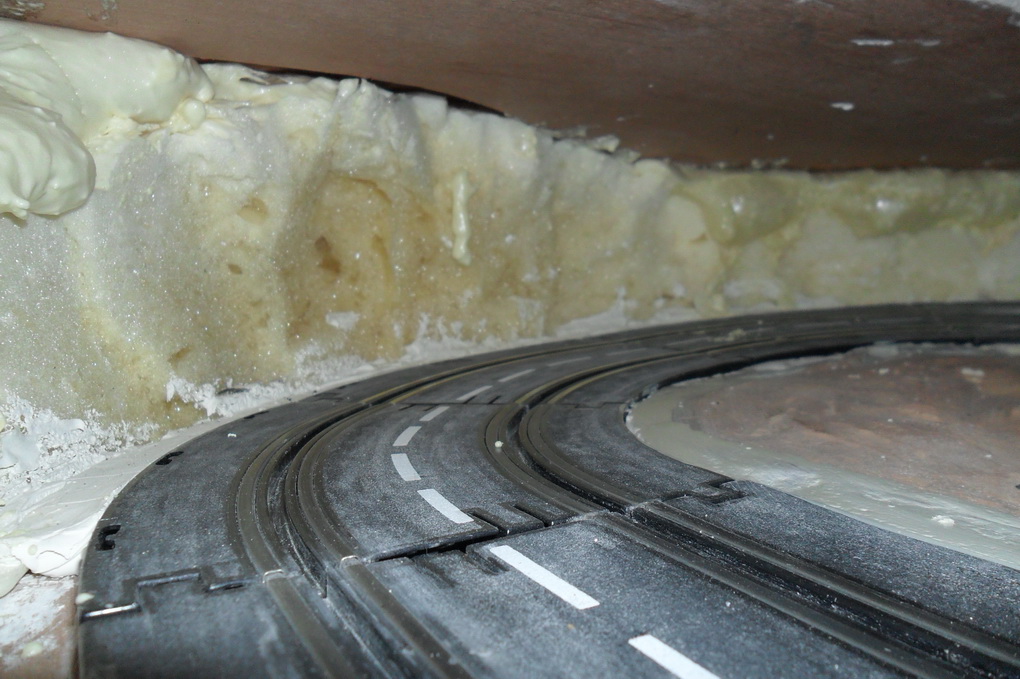
Also some shots taken at eye level around the track.
rally in a shed 0295
rally in a shed 0296
rally in a shed 0297
rally in a shed 0298
rally in a shed 0289
rally in a shed 0300
rally in a shed 0301
rally in a shed 0302
rally in a shed 0303
rally in a shed 0304
rally in a shed 0305
rally in a shed 0306
rally in a shed 0307
rally in a shed 0308
rally in a shed 0309
rally in a shed 0313
rally in a shed 0314
Was expecting the colour to get lighter just wasn't expecting it to be green. Problem is because I'm using drywall adhesive (mud) and not true plaster it doesn't dry white. In most of the photos it looks white but this is an optical effect of the flash, the closer the plaster to the camera the whiter it appears. Took the last photo without flash and you can see the true colours. As you can see the plaster is a light grey which has turned the yellow green as you can see in the above. I think the yellow may have had a slight green tint to it anyway. Will give the FRock another thin coat, the taped areas don't really need a further coat but if I can get the drywall adhesive to turn yellow I will give them a thin coat.
I'm going to try the bright yellow that was in the photo with the gloves. Could be I need to mix more paint in? At the moment in line with working to a tight budget I'm using up some of my old modelling paints. I may try a very dry mix add as mush yellow as I can find then mix to the required wetness.
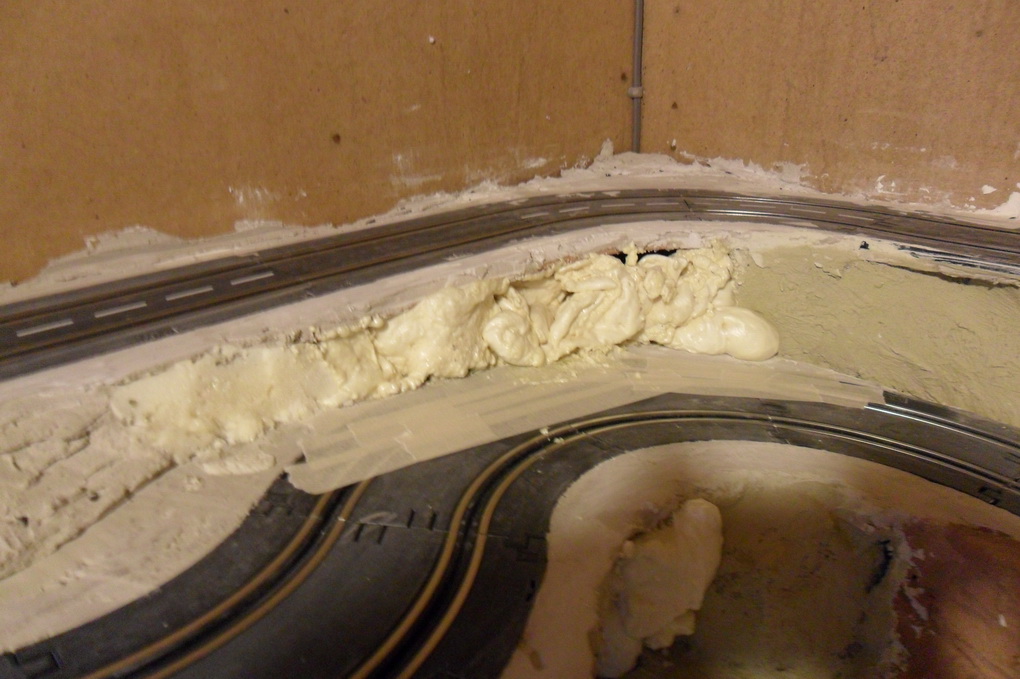
Next job was to have another play with that devil expanding foam and this time no major dramas. I filled in the holes under the overpass and it just needs a thin coat of plaster to finish it of.
I also filled the gap I had at the start of the left hand slope before the FRock starts. I tried filling this with live foam but it just kept falling backwards so I let this semi set and filled the gap with more semi set foam, again this now need plastering.
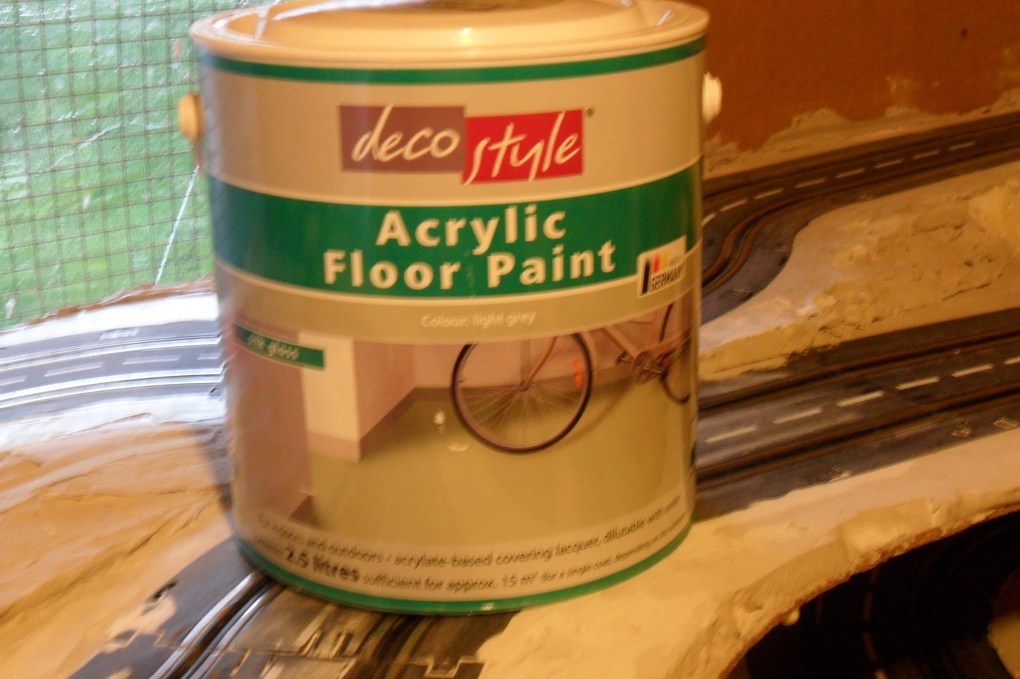
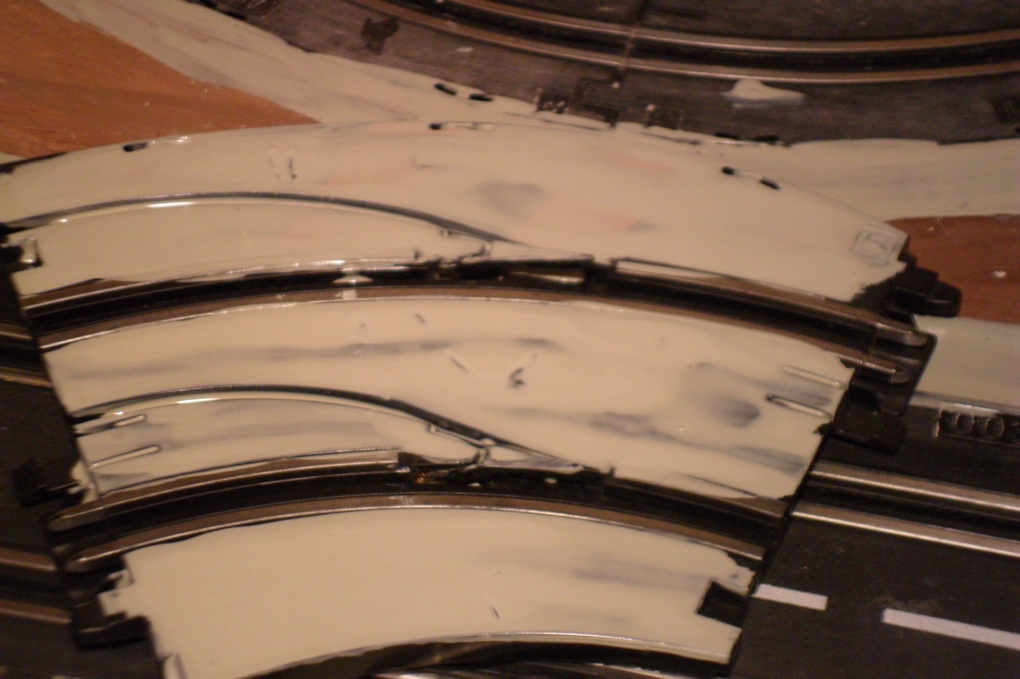
I thought I would have a test with the grey floor paint I had bought for painting the track. This is an acrylic floor paint which was available quite cheap for a while from Aldi. Anyway I tried it on a piece of old track but it didn't like going directly on to the plastic track and was still not dry when this photo was taken sometime later. I also tried it on the plaster around the track as the painted road will be wider than the plastic track in a lot of places. I also painted some of the MDF boarder to give an idea how the road will continue at the bottom of the righthand climb and you can see what a full width painted track and board will look like. Problem is that the paint is way to light and I don't think it looks like concrete even yet alone tarmac and has quite a gloss shine so back to the drawing board on the paint. As I intend to use PlastiKote over the base paint colour I might give dark grey undercoat a try but just wonder if it will mark to easy as it will be very matt and quite porous.
Also some shots taken at eye level around the track.
rally in a shed 0317
rally in a shed 0318
rally in a shed 0319
rally in a shed 0325
rally in a shed 0321
rally in a shed 0320
rally in a shed 0323
rally in a shed 0324
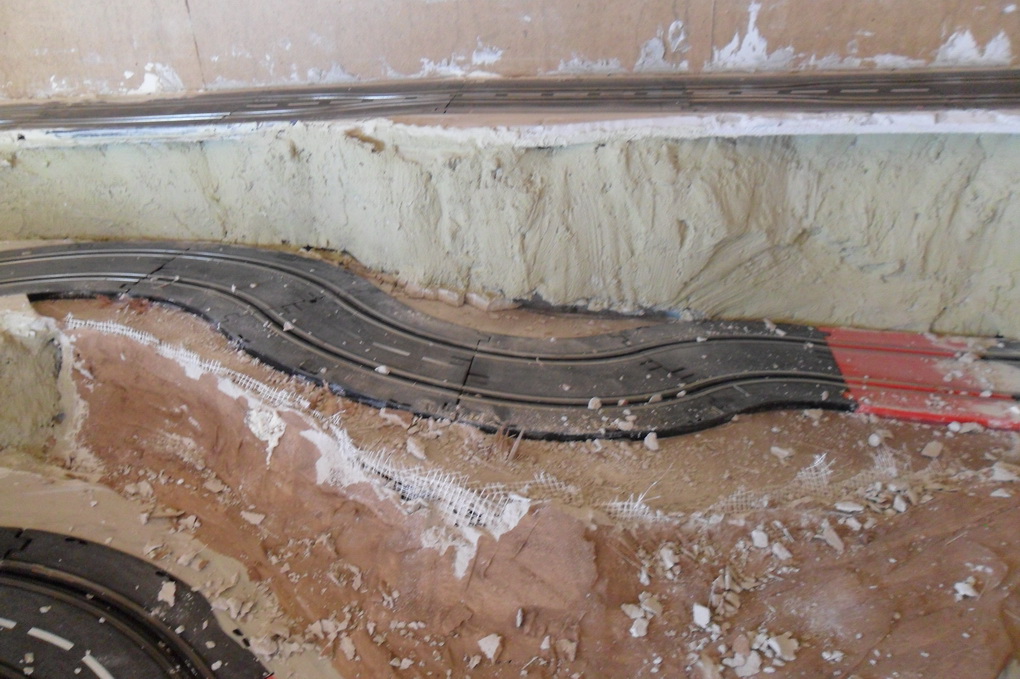
I've also been giving a lot of thought to the problem area on the back slope were the cars keep deslotting and I can see only two options 1) only drive the track in one direction, up the long slope and down the righthand slope but the was not the way the track was intended to be driven most of the time. Some cars, mainly the 1/43rd with magnets can go both ways but some still will not take that section in either direction. 2) Rip all the track on the back slope up along with all the plaster and try to get a smother run to the slope.
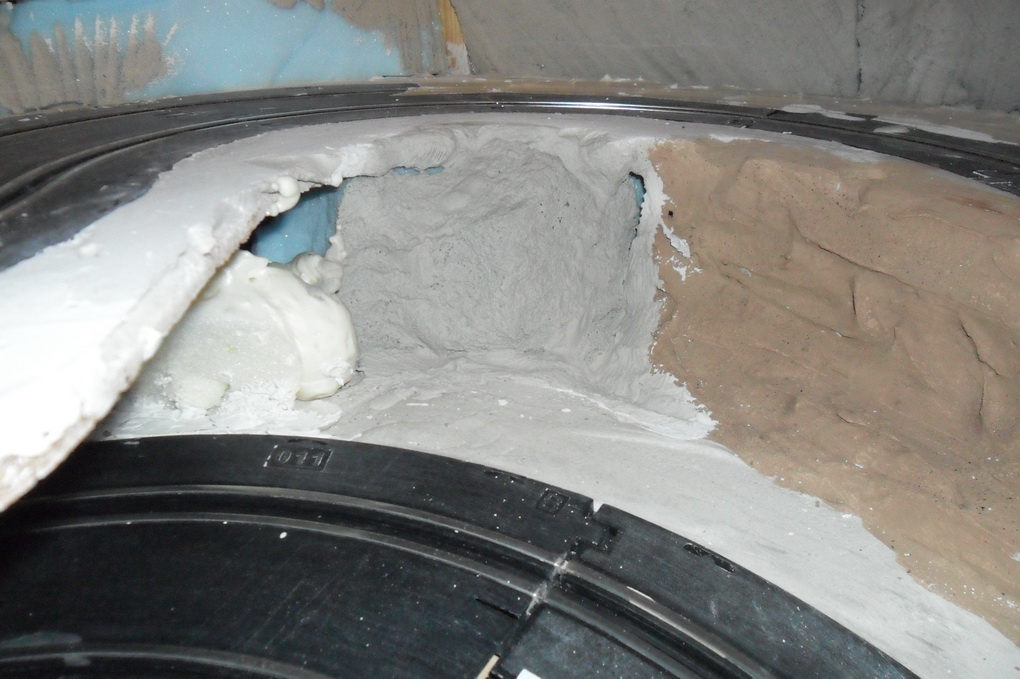
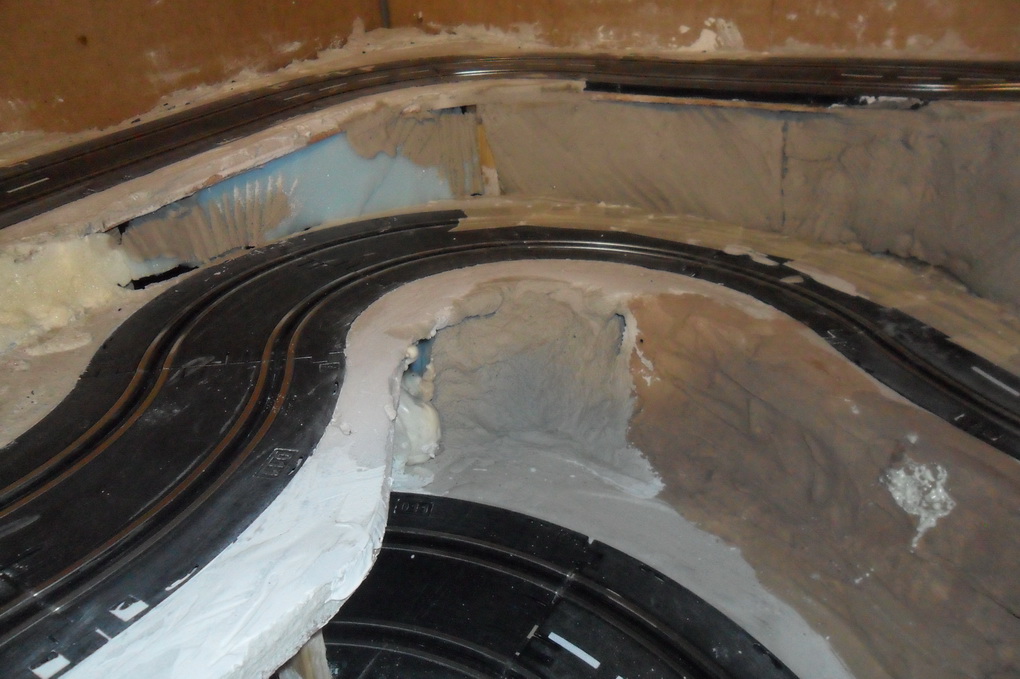
It had to option 2 so out with mallet and chisel (and eyes shut) I attacked the plaster and track. First I removed all the plaster around the problem track area and with the track lifted the problem became apparent and was just what I thought it was. To get the ply home it had been cut into 3 pieces and the join between the left and centre pieces was right under the outer lane joint between the two problem bends. The inner lane missed the join which is why I don't think this gave a problem. There is also a change in angle of slope between the left and centre pieces the centre piece being steeper. Even though the joint is supported by a piece of 3x1 under it the slope change is at the joint. I then decided to bypass this area altogether and take the track from the back of the cross roads up to the start of the lefthand loop, so more plaster came up.
Then a new elevated section to fill the gap. I don't know if shows up in the photos but the new section of track is slightly short and most of the joints are quite wide.
rally in a shed 0326
rally in a shed 0327
rally in a shed 0328
rally in a shed 0329
rally in a shed 0330
rally in a shed 0331
rally in a shed 0332
rally in a shed 0333
Then it was time to see if my problem car, the AutoArt Evo, would take this new section ok, both up and down.
Yes it does but this video also shows some of the problems I was having with the Evo and with it's deslotting all over the place.
With the size of the gaps it would mean a lot of filler and wiring each piece of track together. Apart from this one option I have been thinking about is to copper tape over the rails as I have found that some of my 1/32 cars do not like the narrow power rails in the Artin track. I have to keep adjusting the braids to get the cars to run well and I think copper tape would not only cure the problem but also eliminate the power drops that are noticeable with some cars in certain places around the track.
I now had a new climb going diagonally across the track. There was two problems with this first I had removed one of the more technical sections of the track and the gaps between track sections would need a lot of work and each joint would need wiring to ensure electrical contact. So I have tried at least a dozen different layouts and each one had the same problem no matter what the mix of pieces there was always a gap of about an inch or so. So in the end it came back to a modified original layout.
The difference being the I have moved the 2/3 straight from the bottom to the middle of the climb and raised the bottom section to flatten most of the climb out. However I had to remove some Frock at the bottom of the climb as I couldn't get the curves to fit back in there with the foam in place, the Frock further up had been removed when I was trying a straight slope and the foam and polystyrene was in the way of the straight track. So now I've got lots of plaster and foam to replace.
rally in a shed 0326
rally in a shed 0327
rally in a shed 0328
rally in a shed 0329
rally in a shed 0330
rally in a shed 0331
rally in a shed 0332
rally in a shed 0333
Then it was time to see if my problem car, the AutoArt Evo, would take this new section ok, both up and down.
I still wasn't happy with the layout and the EVO was still deslotting unless I has the speed just right so I tried another change. I moved the 2/3 straight towards the top of the slope this put the middle of a curve over the join in the plywood and all that was needed was a small extra piece of ply under that part of the track.
Now it was time to try the cars on the modified track but first I had to do some repairs to the Evo. I Had been trying to pack out the guide to stop it lifting and ensure full guide contact with the track to see if the would help overcome the deslots. While I had the body of I managed to disconnect a wire from the motor. The was soldered back on and the car tried with the body just pushed on to the chassis...
Before I go any further here is a small videos of my other cars on the new layout.
The last car is a Carrera Go!!! Fiat 500 that's just as it came in the set with nothing done to it but it can be run just about flat out all around the track.
Now it has to be remembered that apart from the Cortina no other cars had any real problems with the old layout. The Evo however would not take the rear slope over the plywood join on the rear track in either direction and would also deslot in other places, for instance when going under the overpass in an anticlockwise direction it would deslot in two places on the outer track.
And now the Evo on the new design..
With the body not fixed to the chassis I found the car completely different to drive, all the deslotting problems disappeared almost as if by magic. I know a lot of people recommend loosening the body screws and I did have them undone by about a 1/3 of a turn. In the above videos they have been undone by over a full turn. I can't believe it's all down to the weight of the body and body roll but as you can see it's now great fun to drive.

 2024
2024