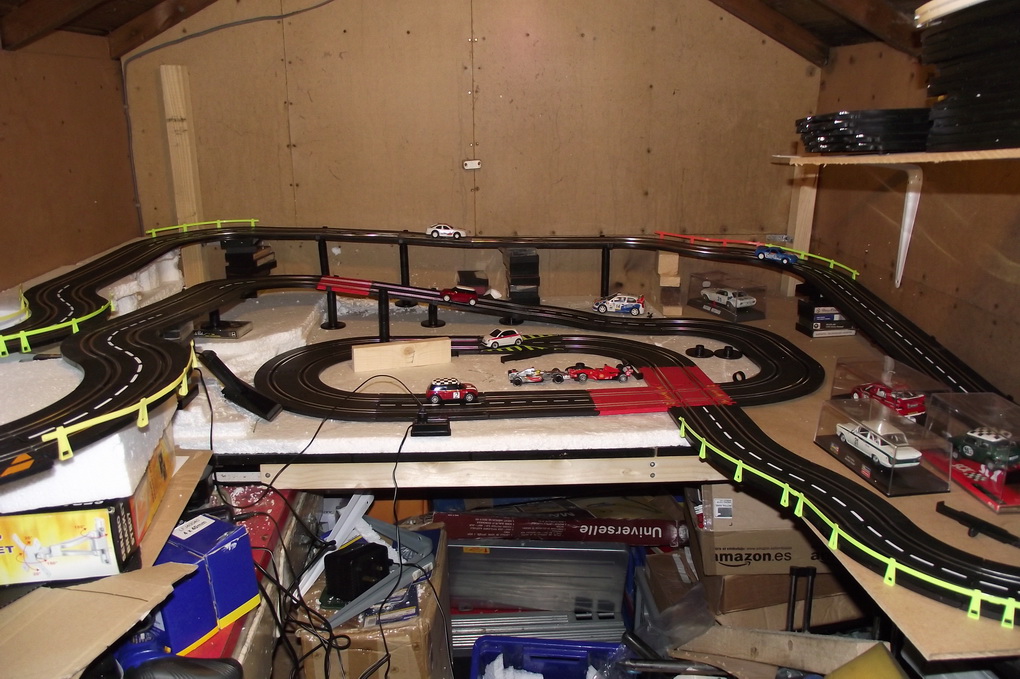
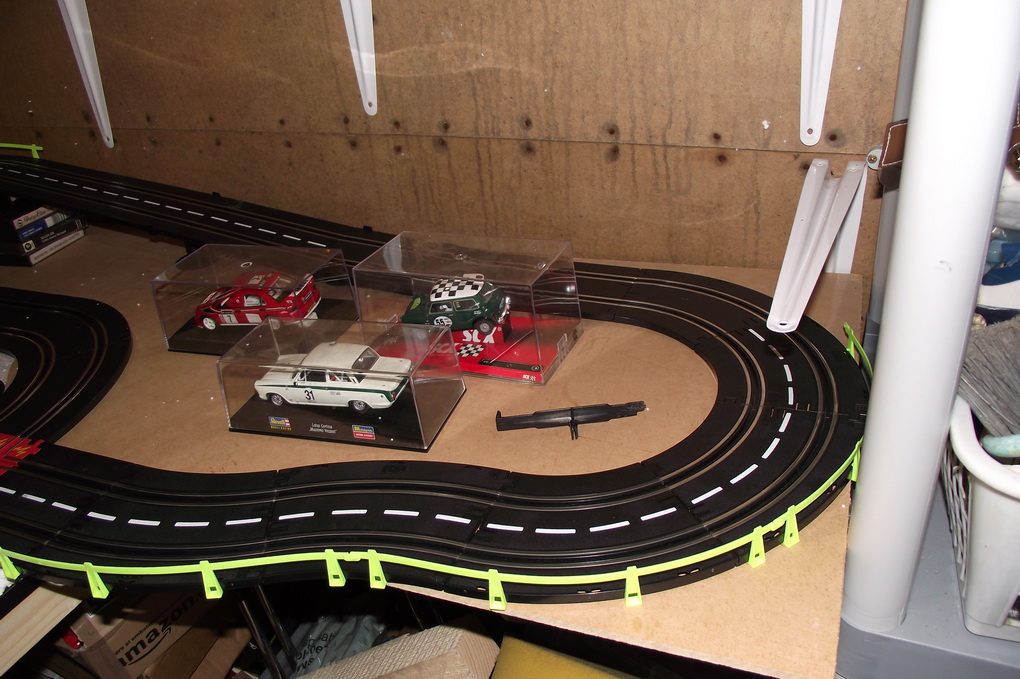
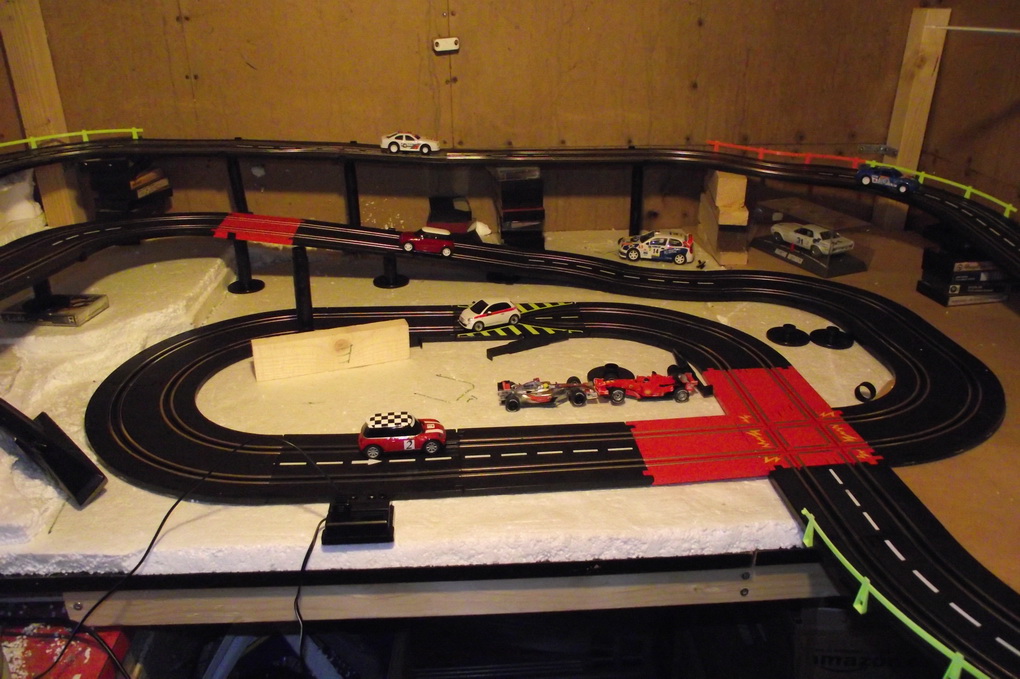
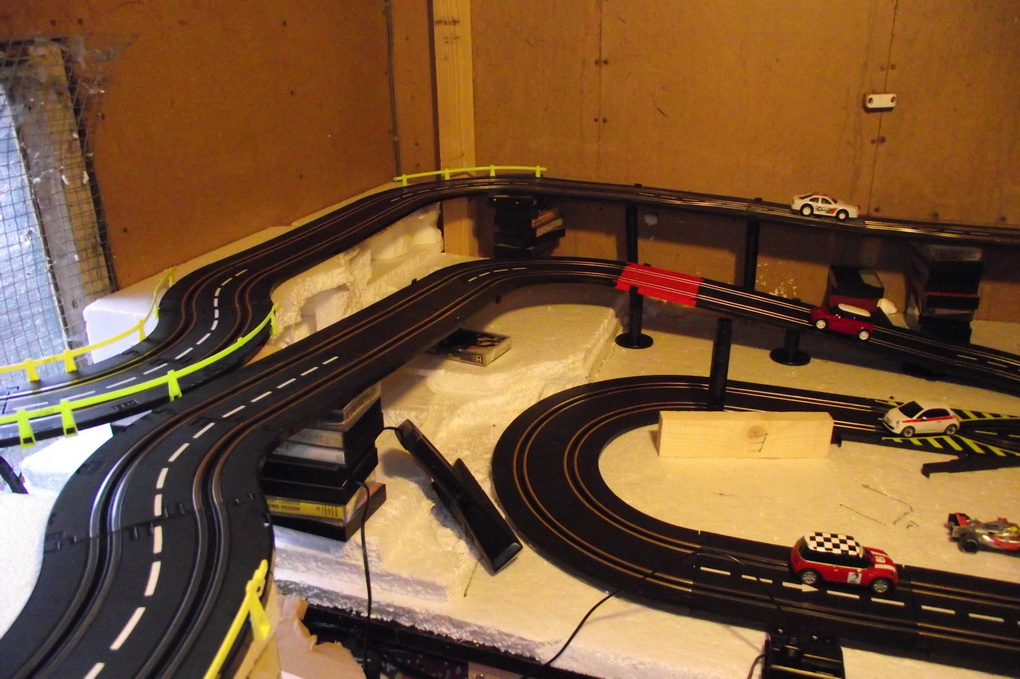
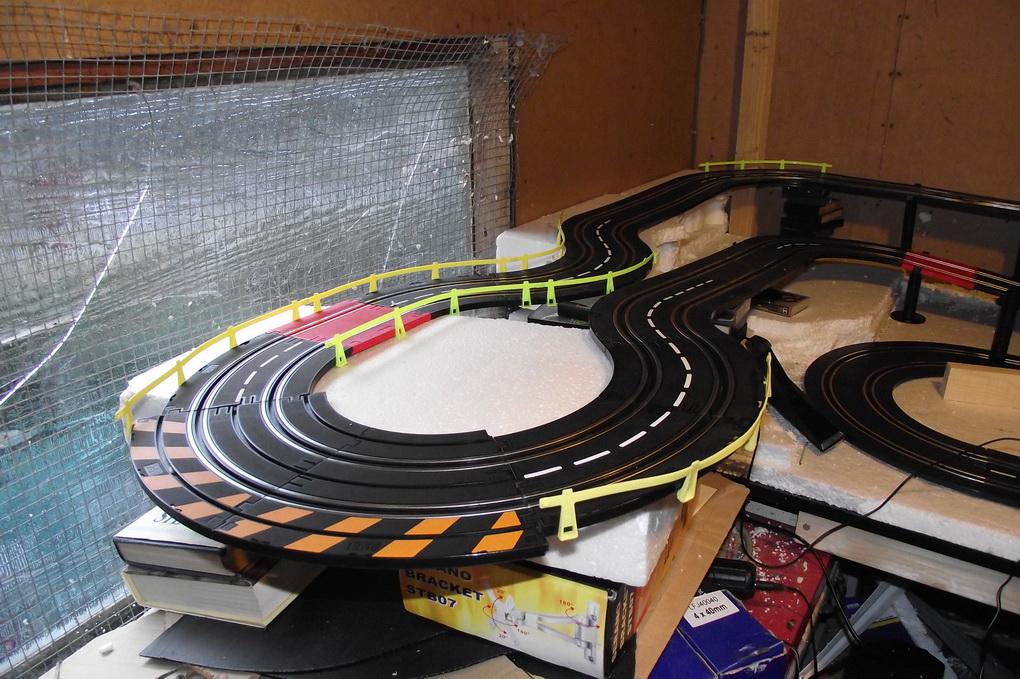
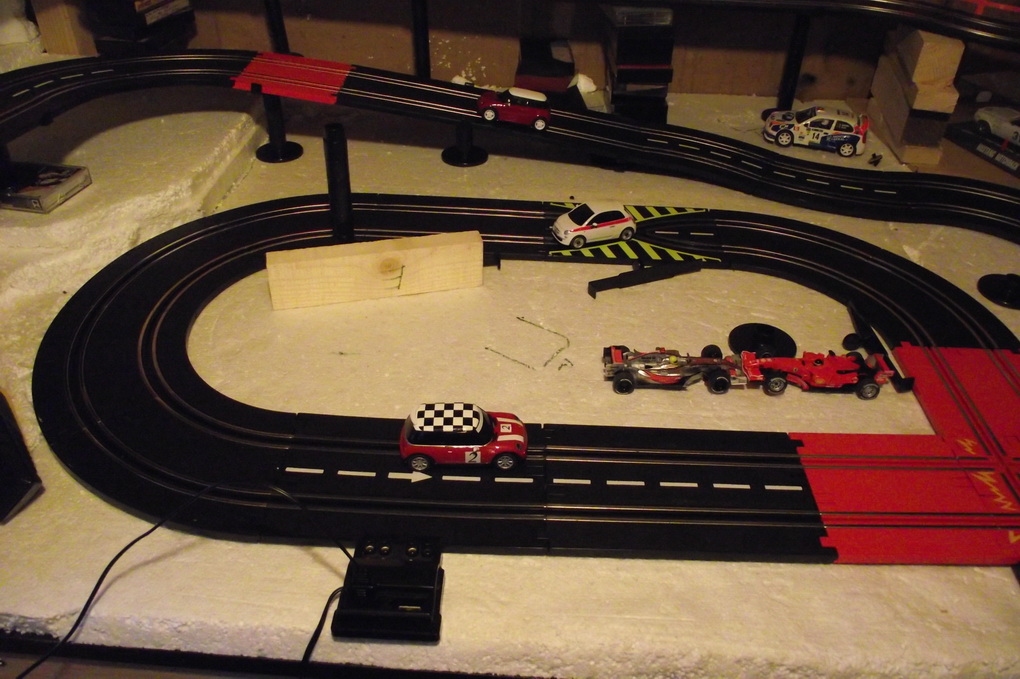
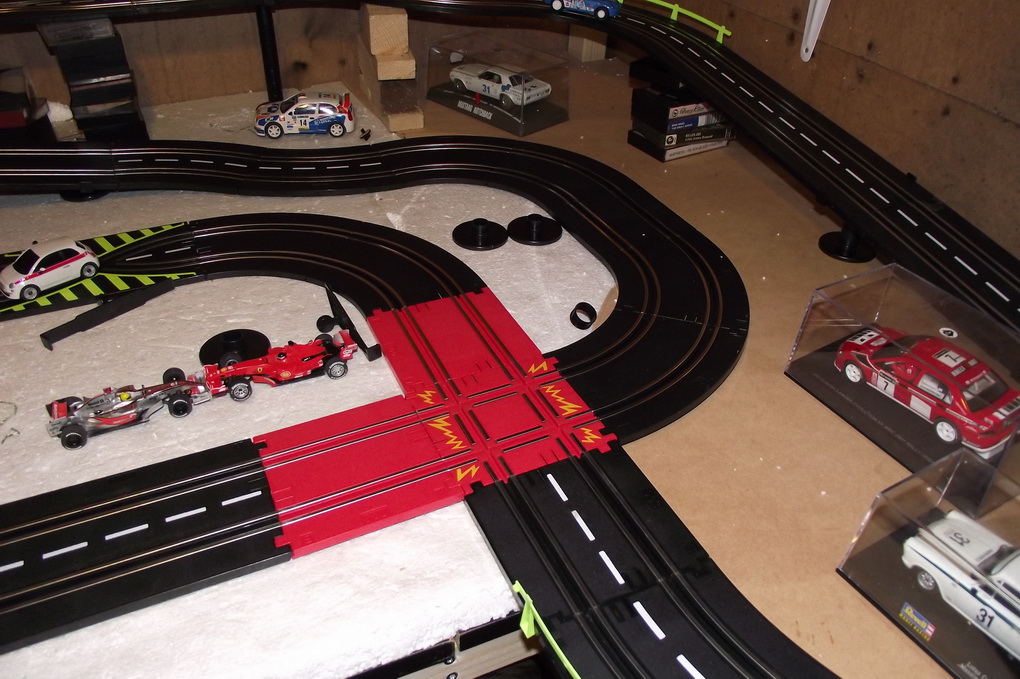
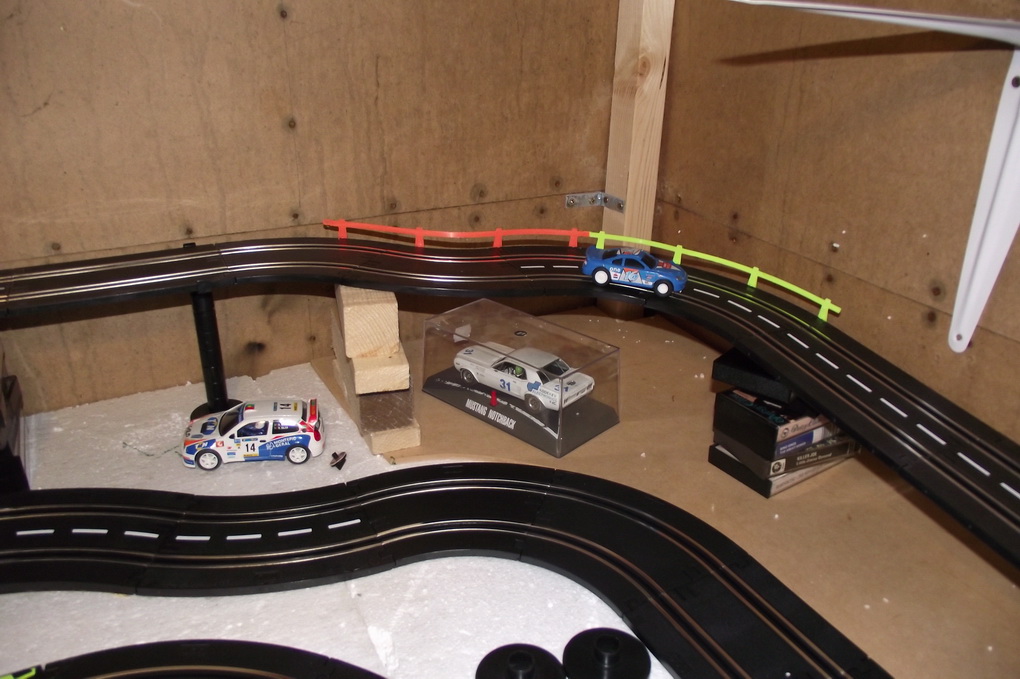
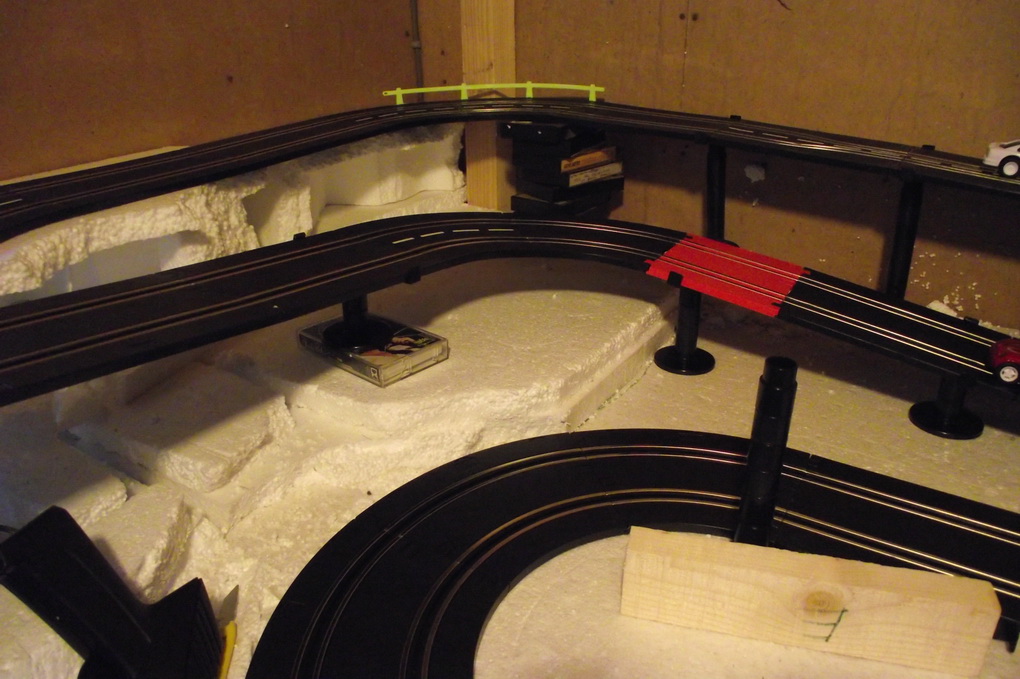
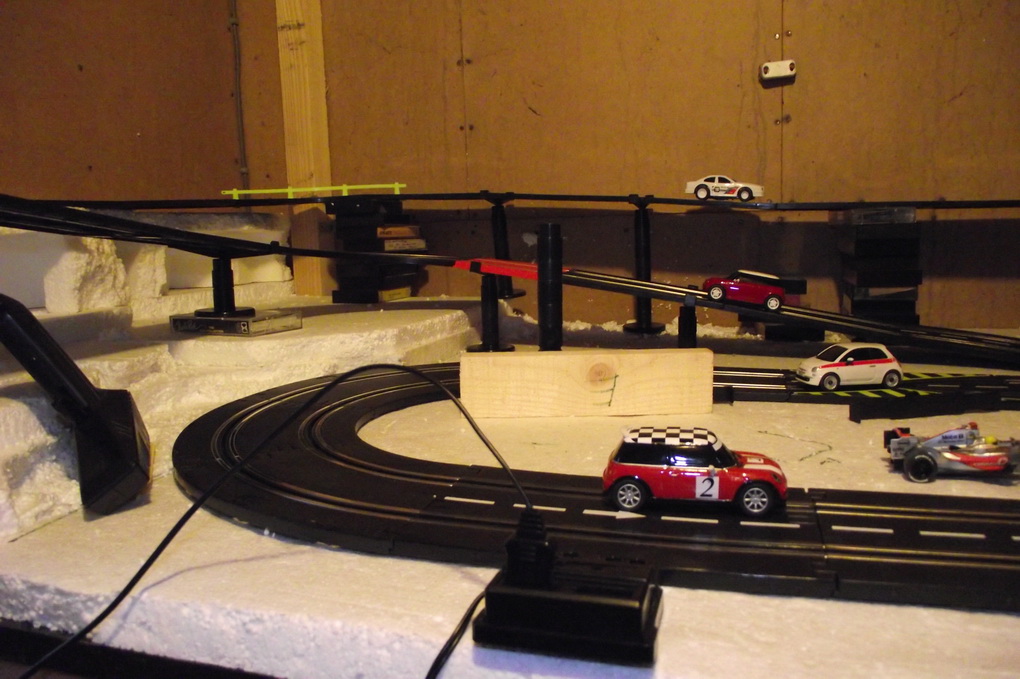
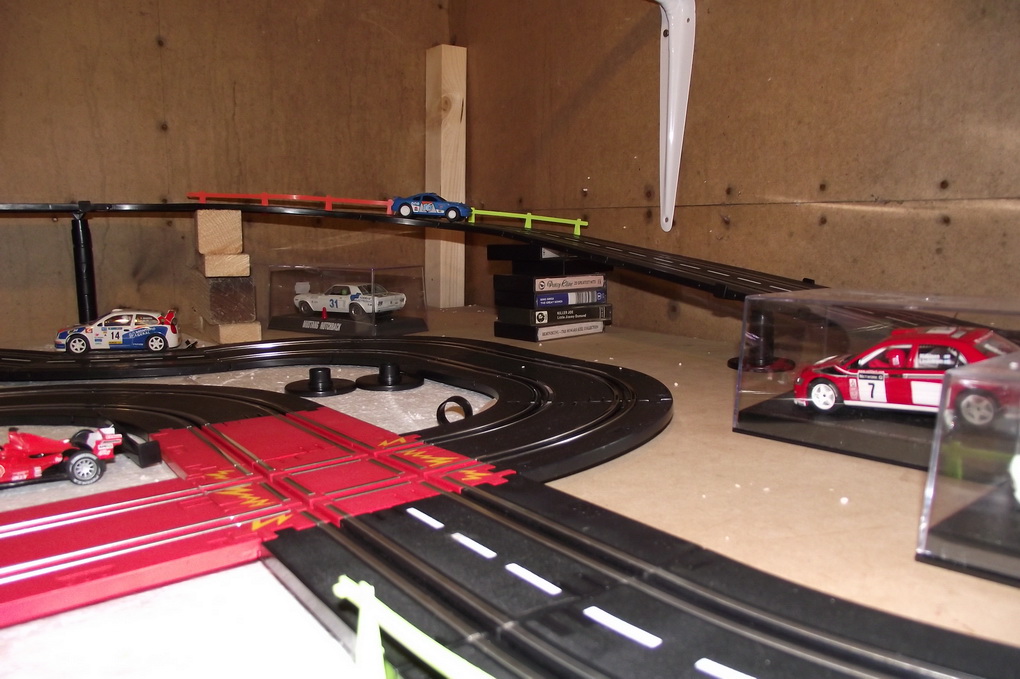
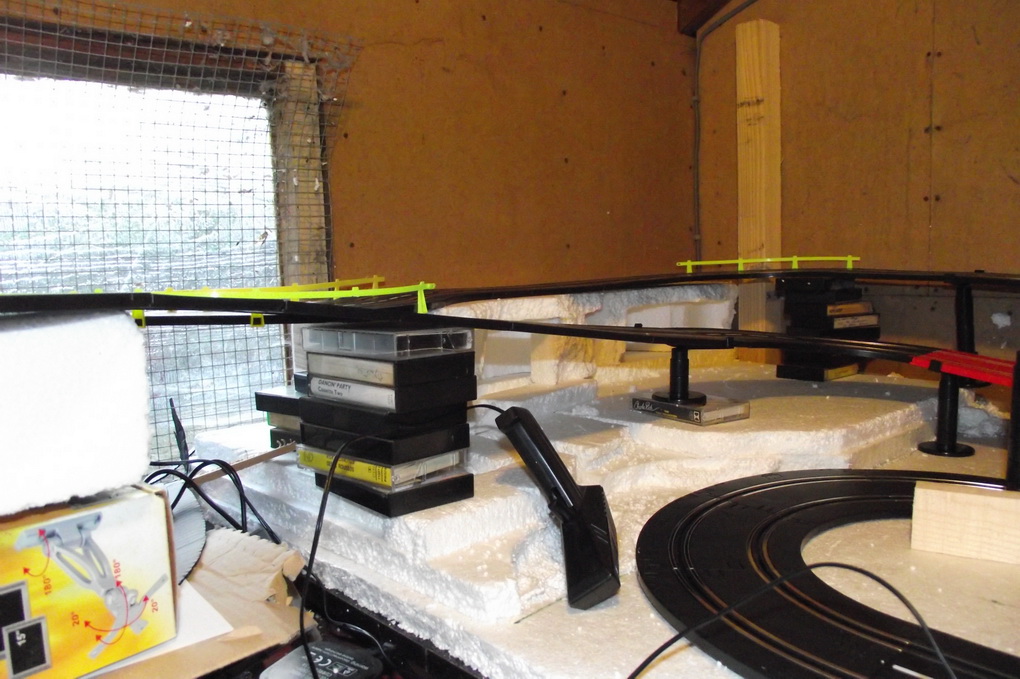
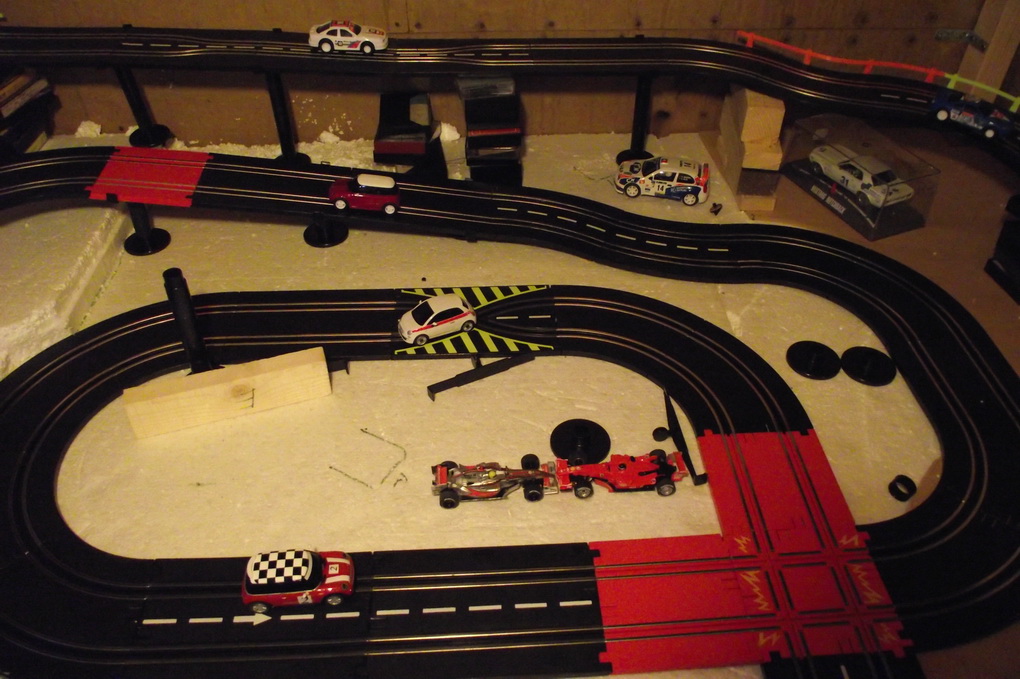
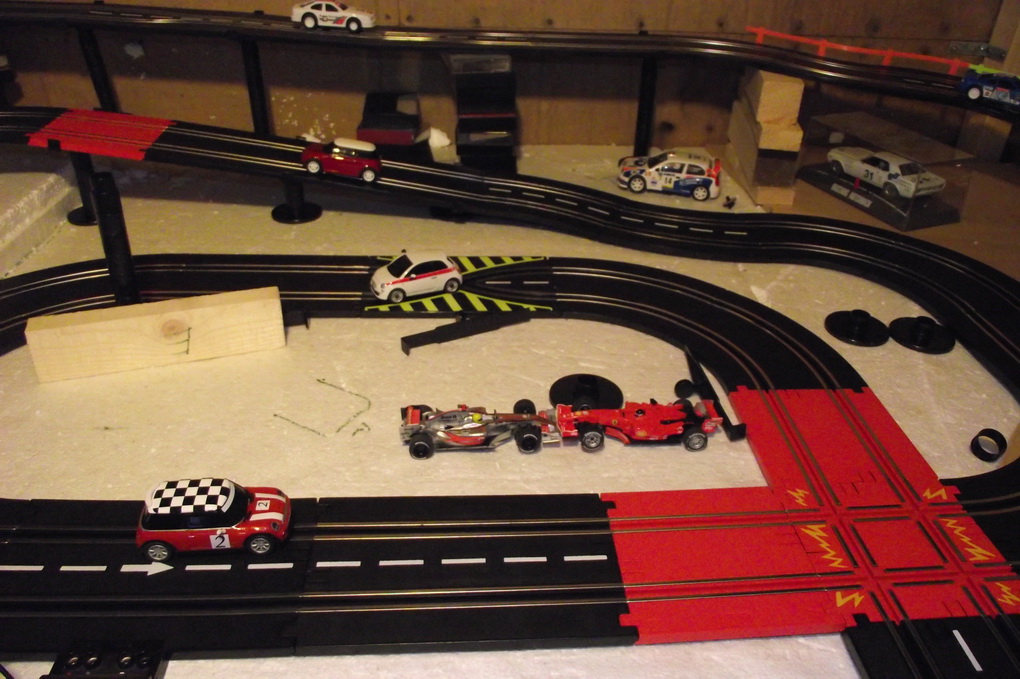
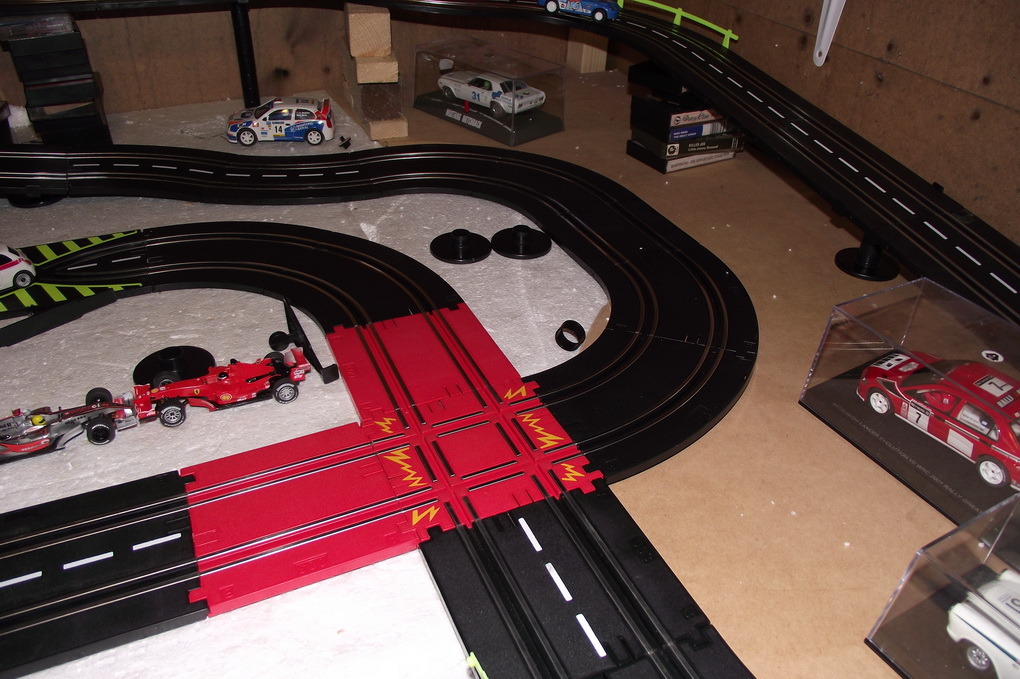
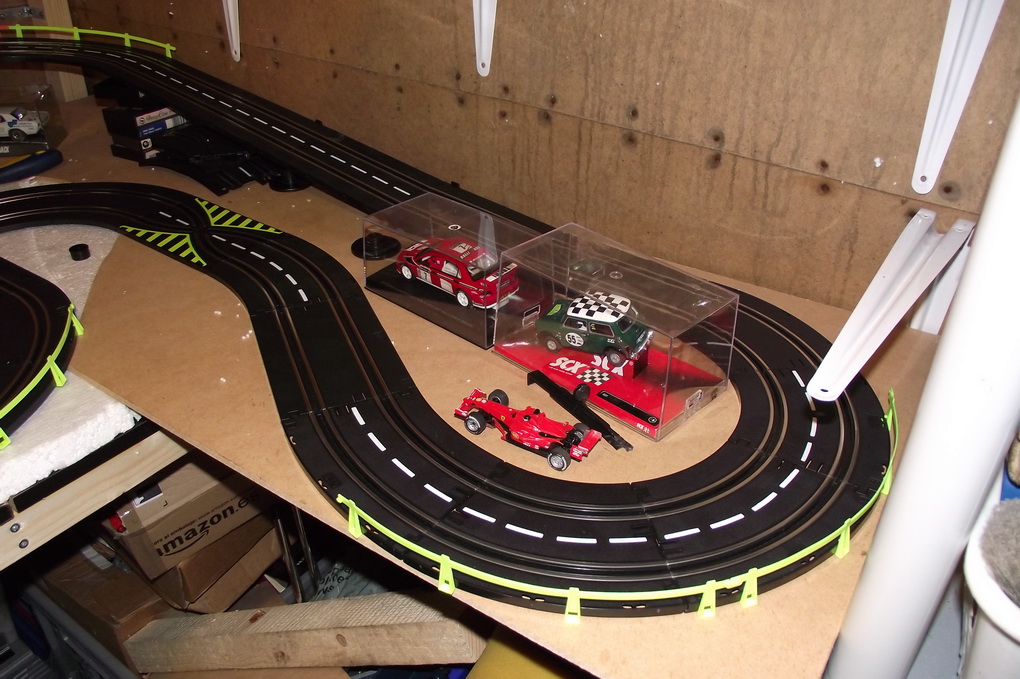
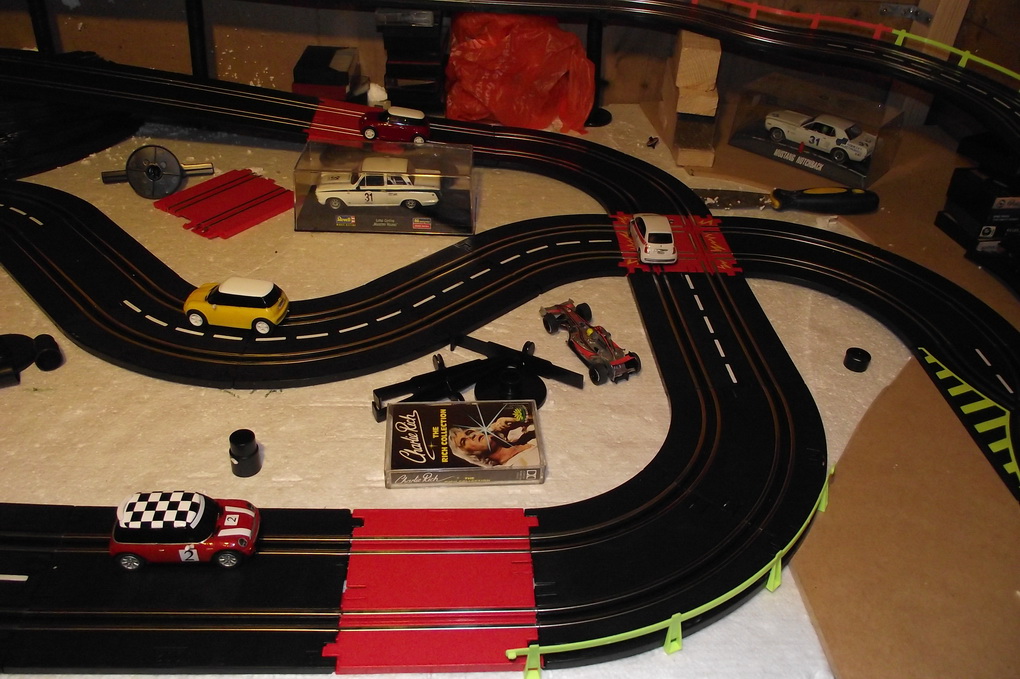
Got an early birthday present a Chad Valley (Artin) crash 'n Go set this is an elongated figure eight with a banked 180 and crossover section and two Mini Coopers. So the idea was to try a layout with a crossroads junction in it.
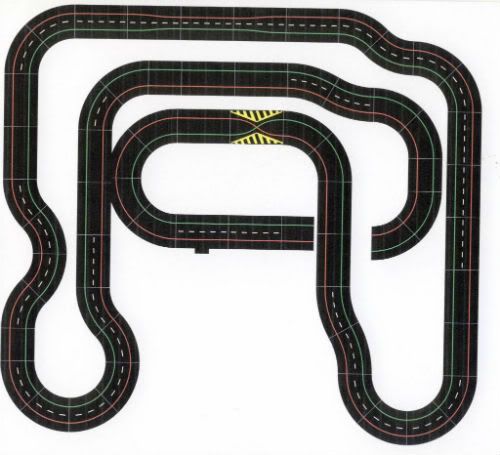
I had to change the righthand loop to get to the crossroad in, and the center piece is just a simple oval connected to two arms of the crossover and the only other change as above is the removal of the entry and exit of the drift curve.
rally in a shed 0058
rally in a shed 0059

rally in a shed 0060
rally in a shed 0061
rally in a shed 0062
rally in a shed 0063
rally in a shed 0064
rally in a shed 0065
rally in a shed 0066
rally in a shed 0067
rally in a shed 0068
rally in a shed 0069
rally in a shed 0070
rally in a shed 0071
rally in a shed 0072
rally in a shed 0073
rally in a shed 0236
This runs fine when taking the centre loop clockwise but is not so good in the other direction.
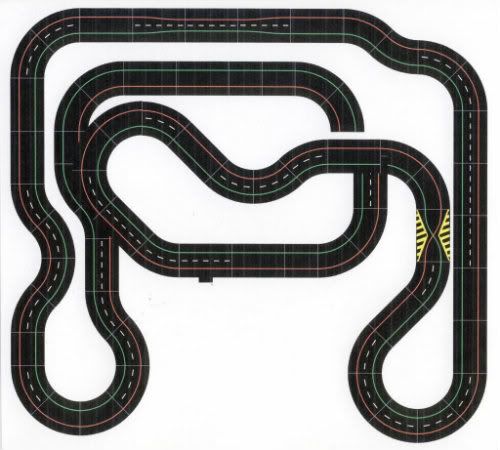
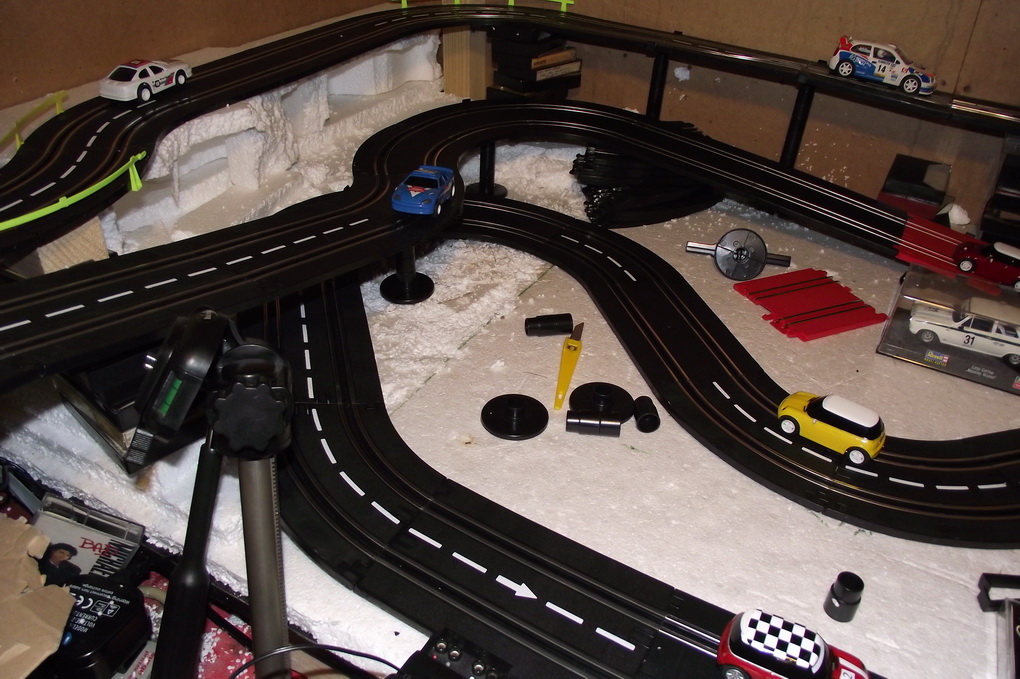
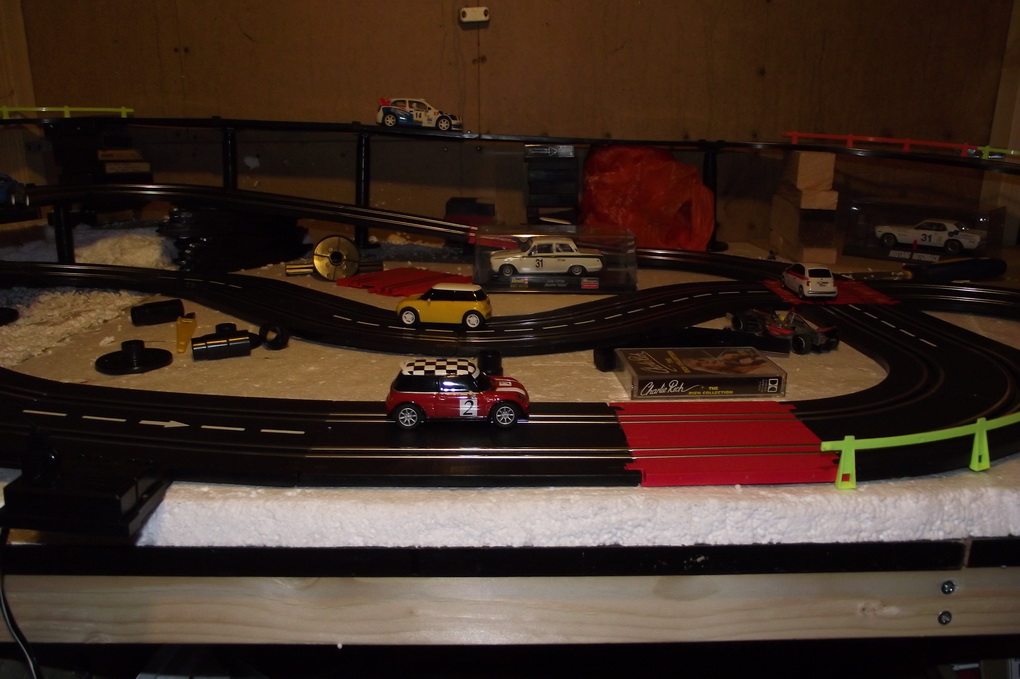
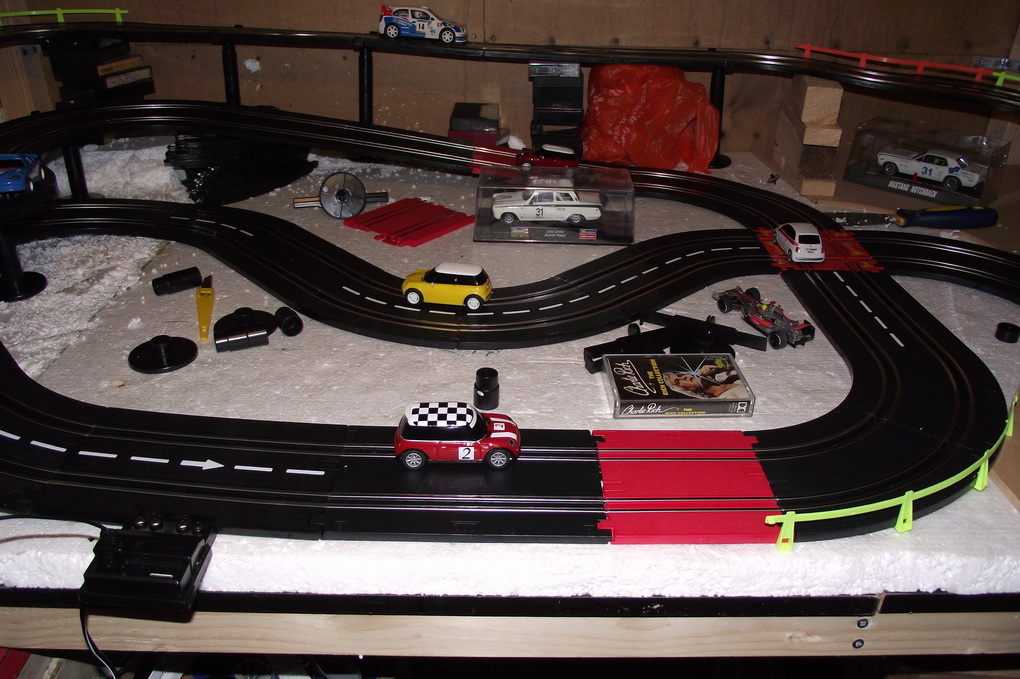
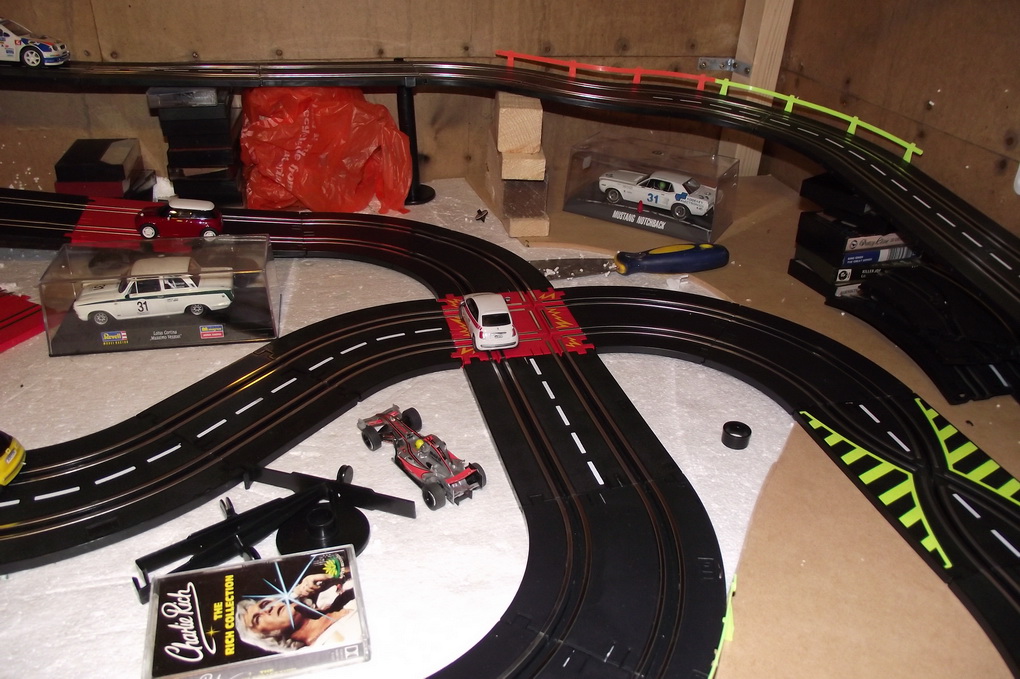
Next I tried a change with the crossover moved to the righthand edge of the centre board. This meant changing the track on the right going to the crossover. the climb in the centre section and the centre loop which I change the shape of to make it more interesting.
rally in a shed 0237
rally in a shed 0075
rally in a shed 0077
rally in a shed 0078
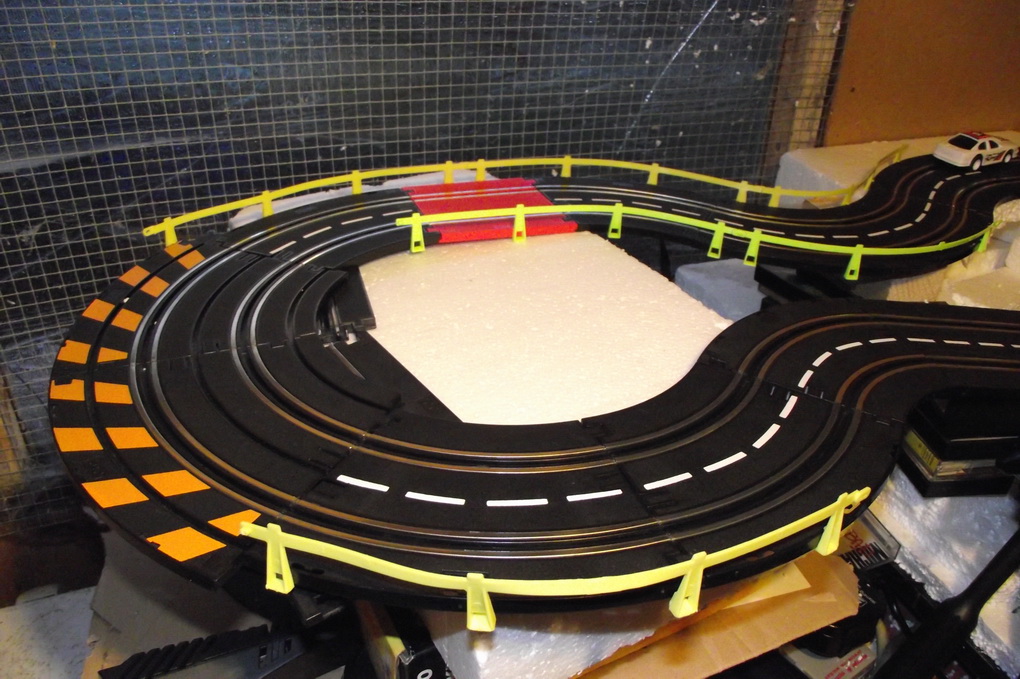
rally in a shed 0079
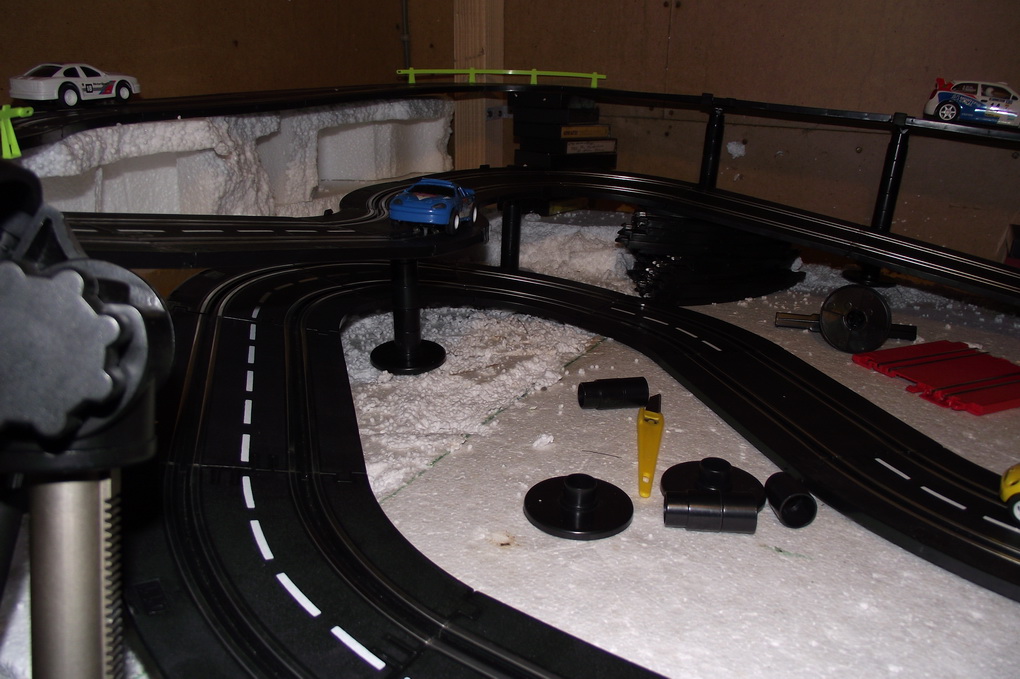
rally in a shed 0080
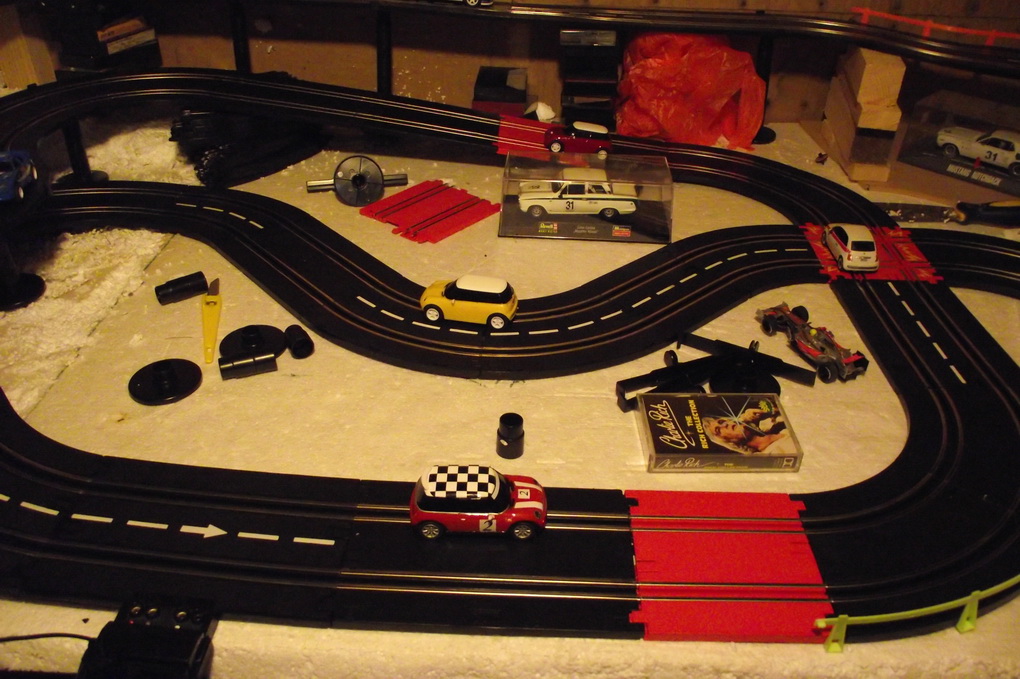
rally in a shed 0081
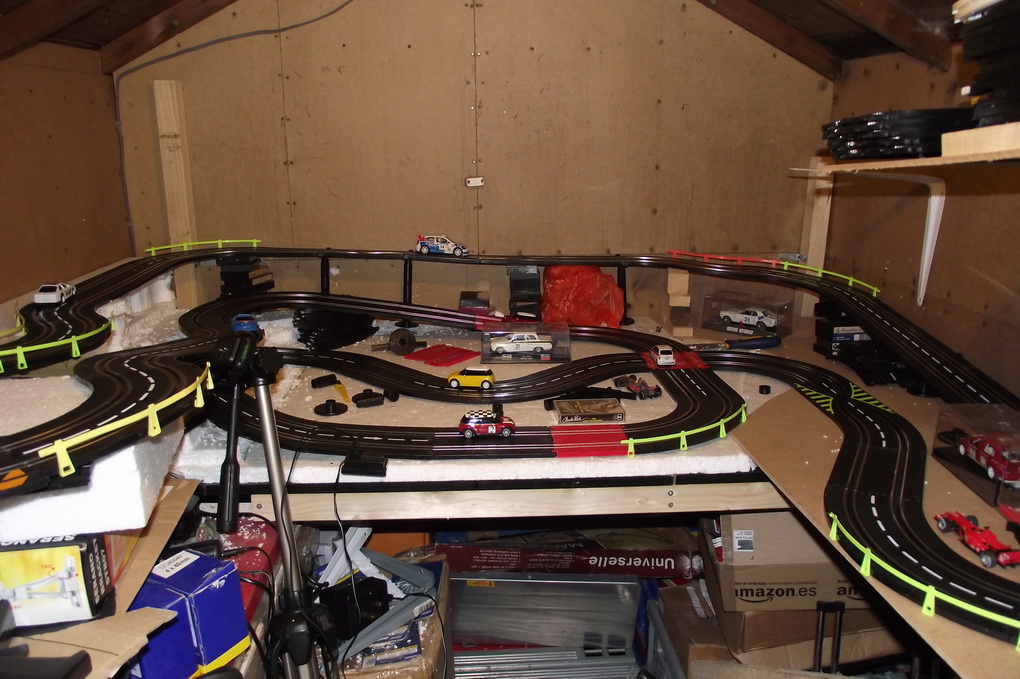
rally in a shed 0082
rally in a shed 0083
rally in a shed 0084
rally in a shed 0085
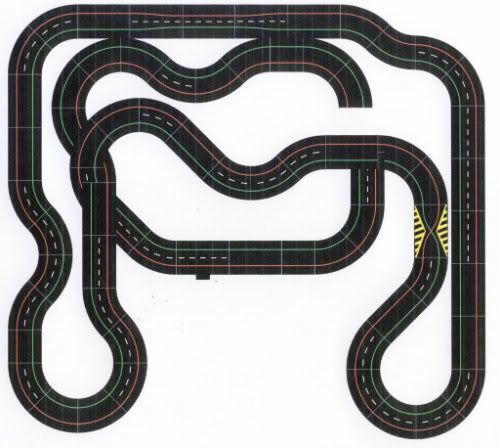
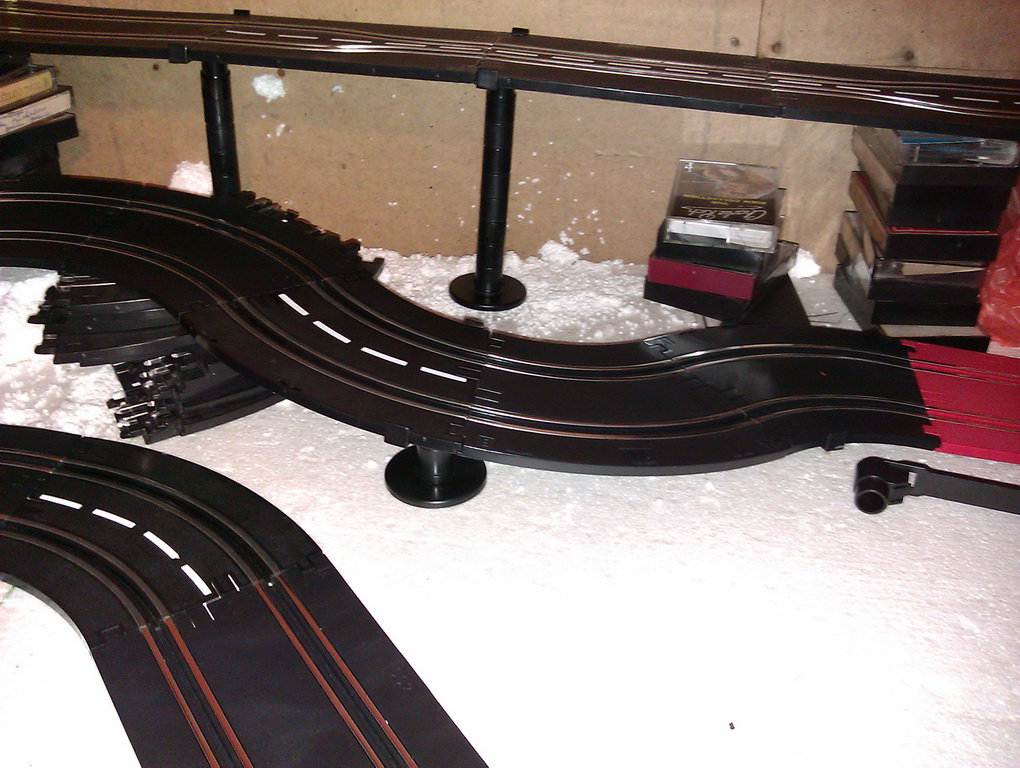
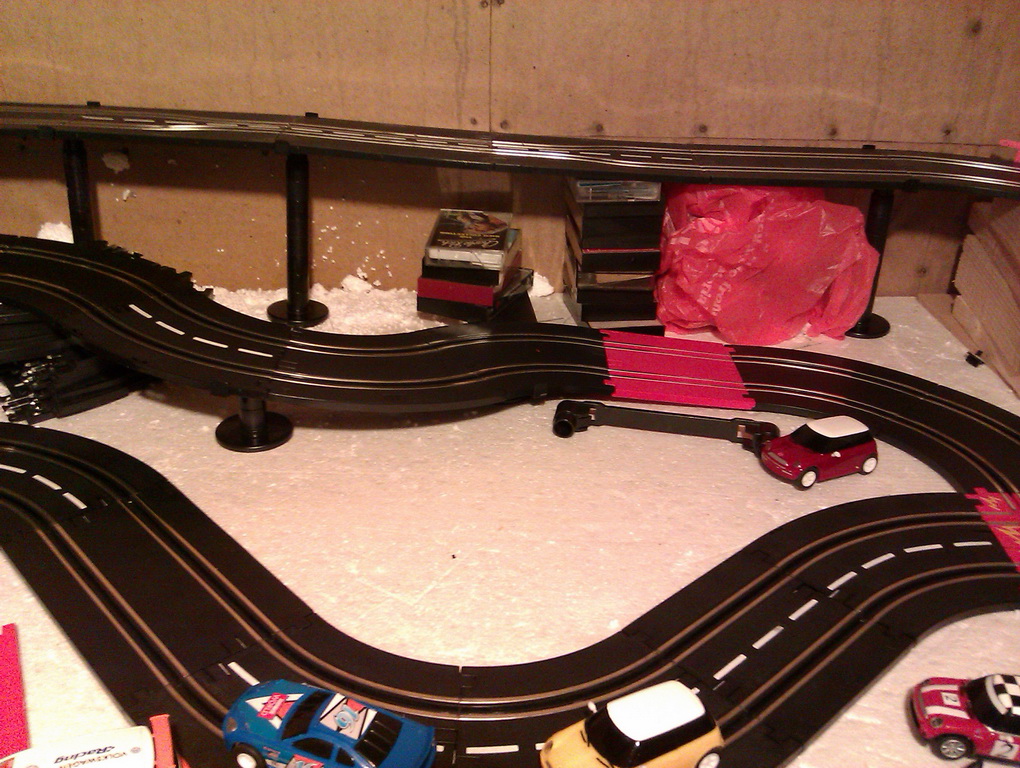
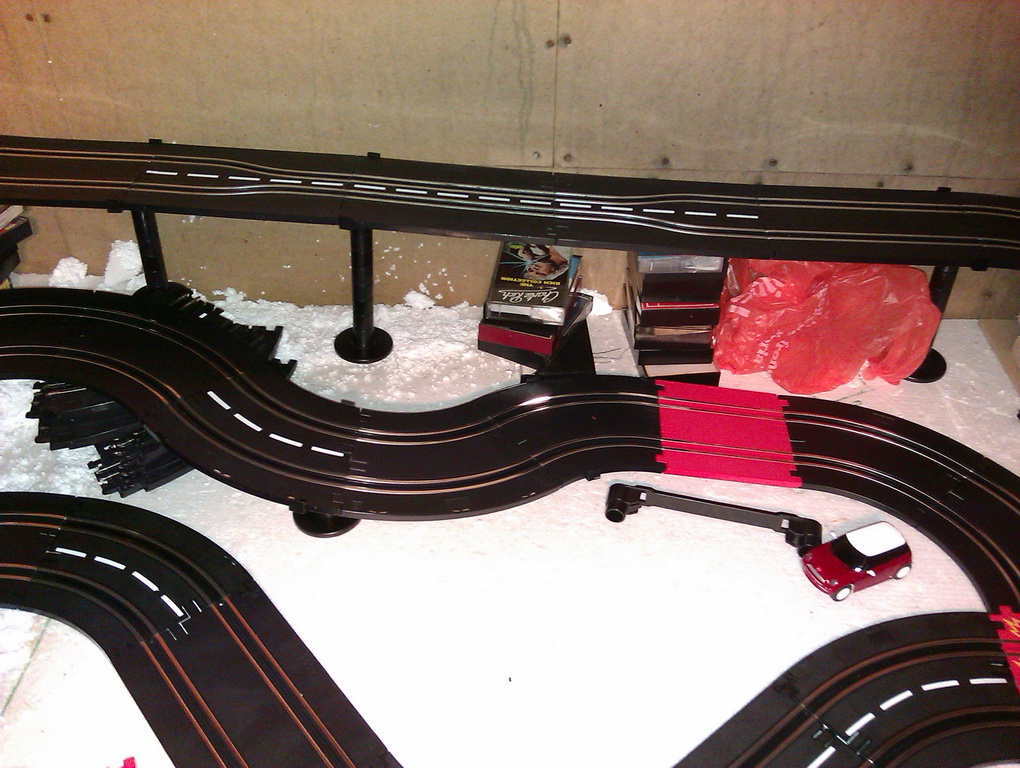
Although the new design runs well in both directions it did not leave a lot of room for any scenery between the centre climb and the rear raised section and I need to build come cliff face here. So I have added a small kink in the climb so the cliffs can have a bit of shape.
This will be the final layout..
rally in a shed 0238
rally in a shed 0086
rally in a shed 0087
rally in a shed 0088
rally in a shed 0239
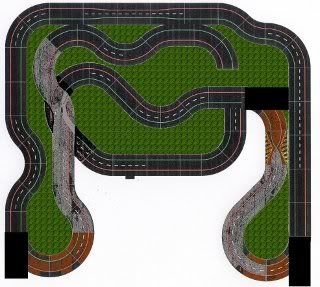
Next job will be cutting some thin plywood to support the track and building the track supports. Then it will be time to start the scenery, first thing to do will be to widen the track. All curves will have a border around the outside and a small edge border on the inside. the straights will be a mixture of edge border and armaco barrier or some sort of wall or fence. Thinking of putting a few ditches in place to enforce a bit of car control.The last drawing above shows my basic thoughts. Three scenery road extensions and gravel and earth/mud sections. The area were the chicane is will be finished in gloss varnish over the painted tarmac to represent a wet section of road and hopefully let the cars slide a bit. Grass or earth and tree infilled areas. At this point it was my intension to use both 1/32 and 1/43 scale cars so there would be no scaled scenery items such as buildings, people or vehicles. As I'd never done anything like this before I had decided to keep things simple.
Plywood marked out for cutting using the track as a template. The ply ended up being cut from three separate pieces which would cause a problem later on.
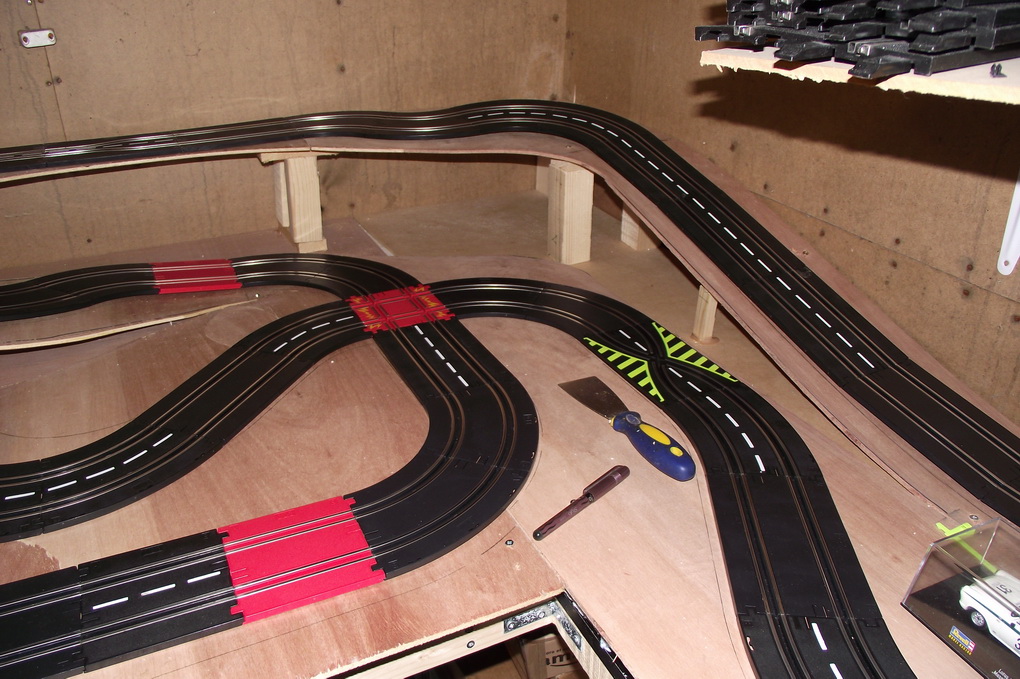
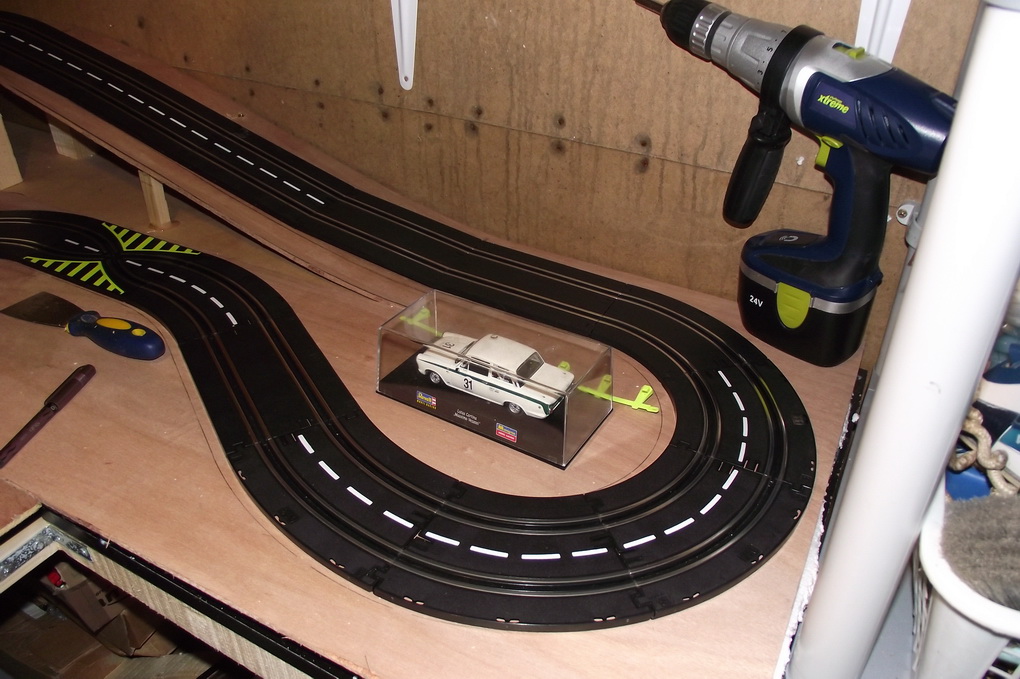
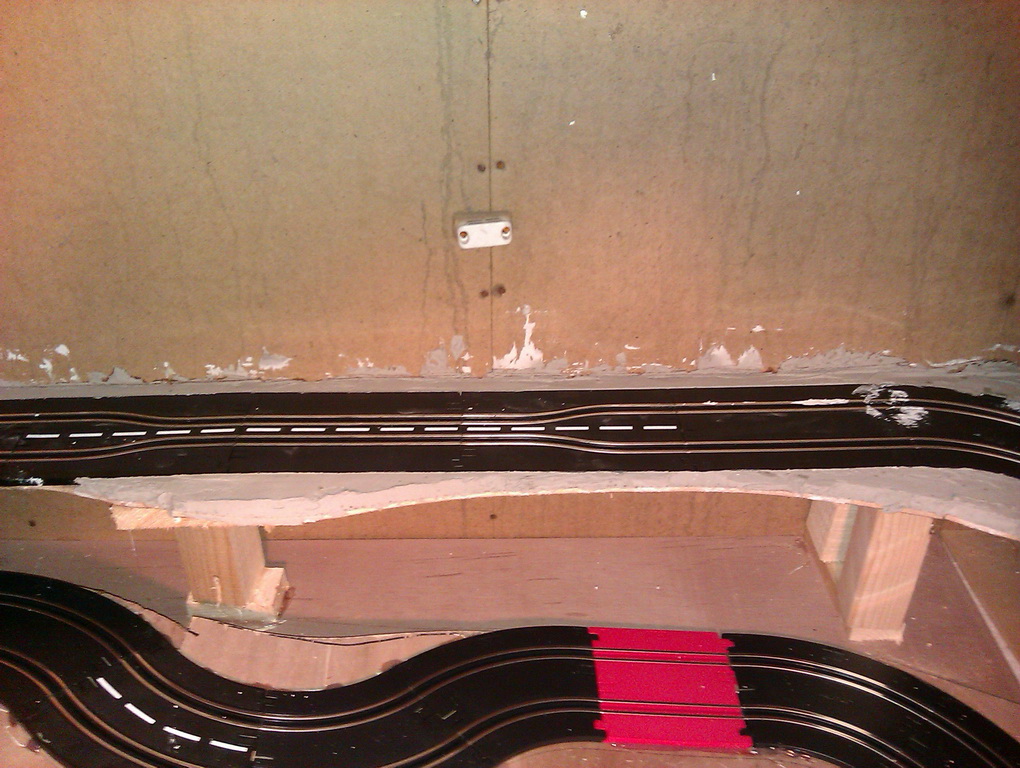
The elevated sections are supported by pieces of 2"x1" and 2"x2" timber with the plywood screwed to them. The joints have some 4"x1" under them with the ply glued and screwed.
Due to the position of some supports the middle section of the track has changed slightly. The short and full straights have been swapped over. The straight under the raised section has also gone and the front straight is slightly longer.
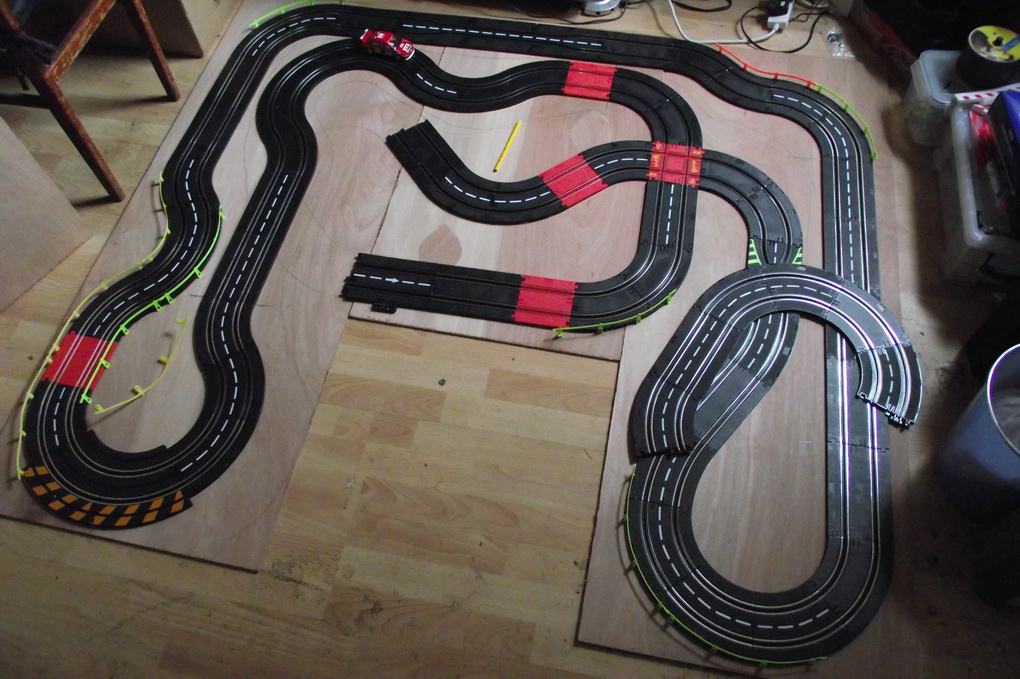
rally in a shed 0096
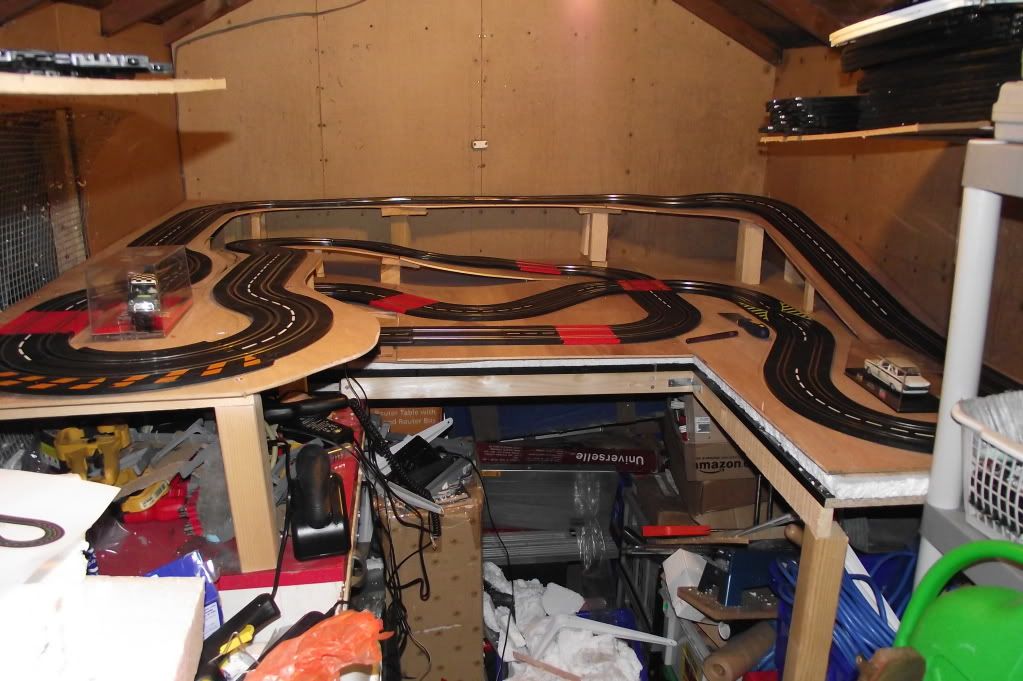
rally in a shed 0240
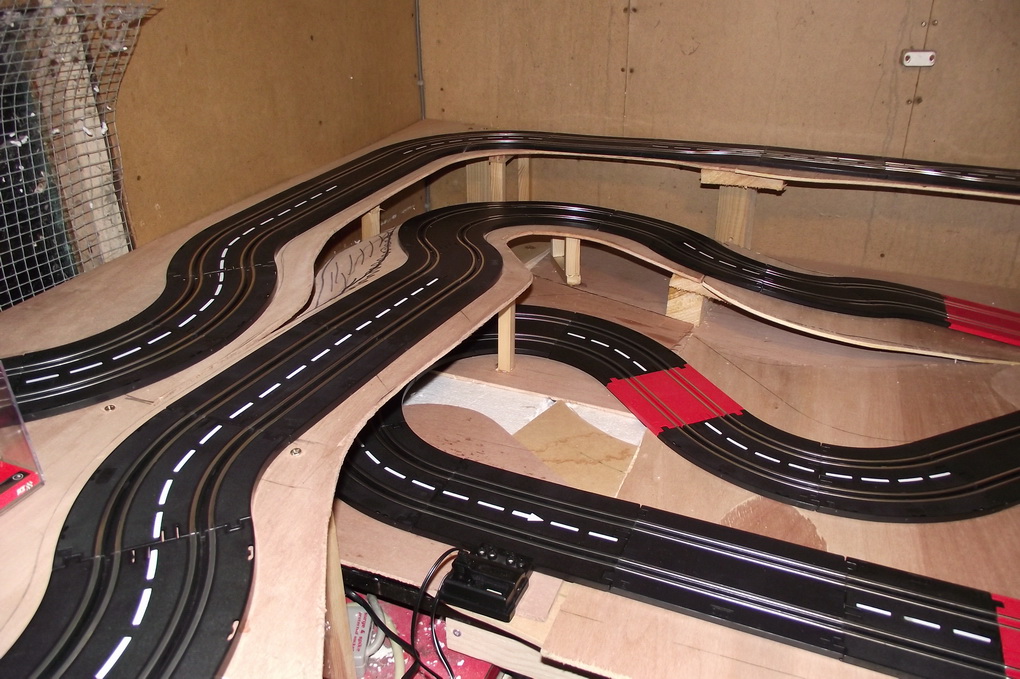
rally in a shed 0092
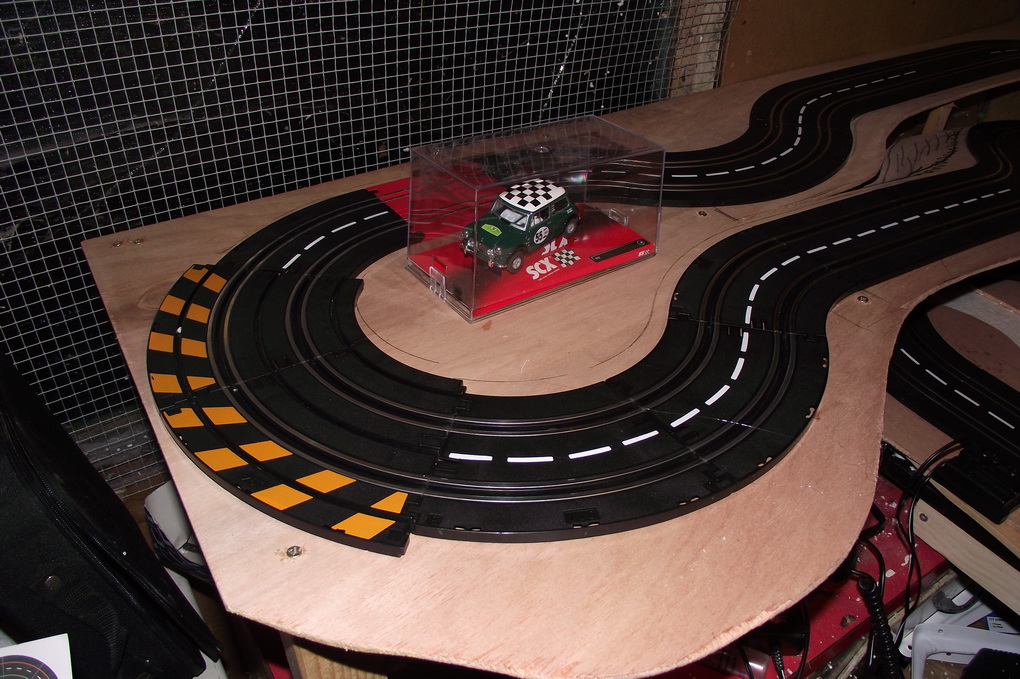
rally in a shed 0093
rally in a shed 0094
rally in a shed 0095
rally in a shed 0241
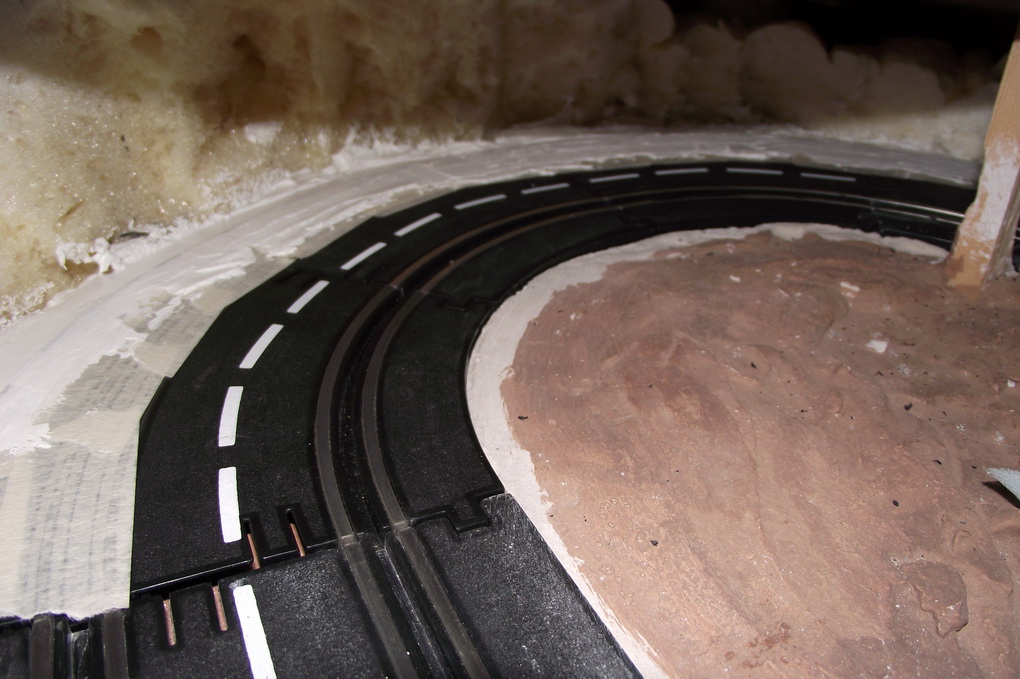
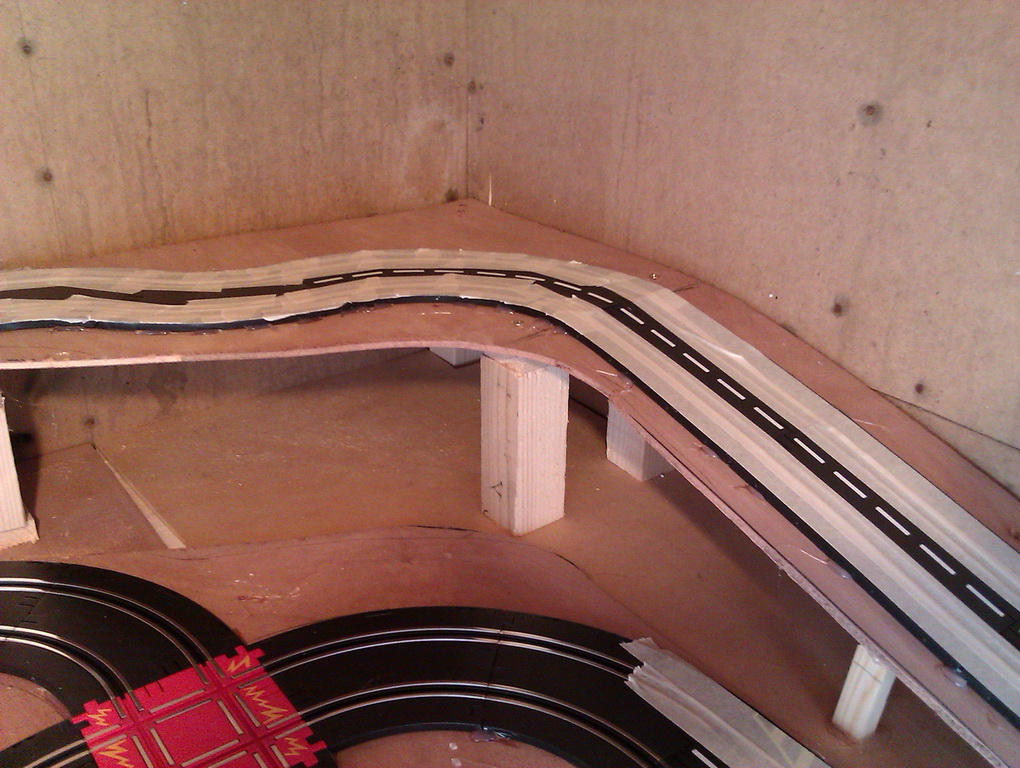
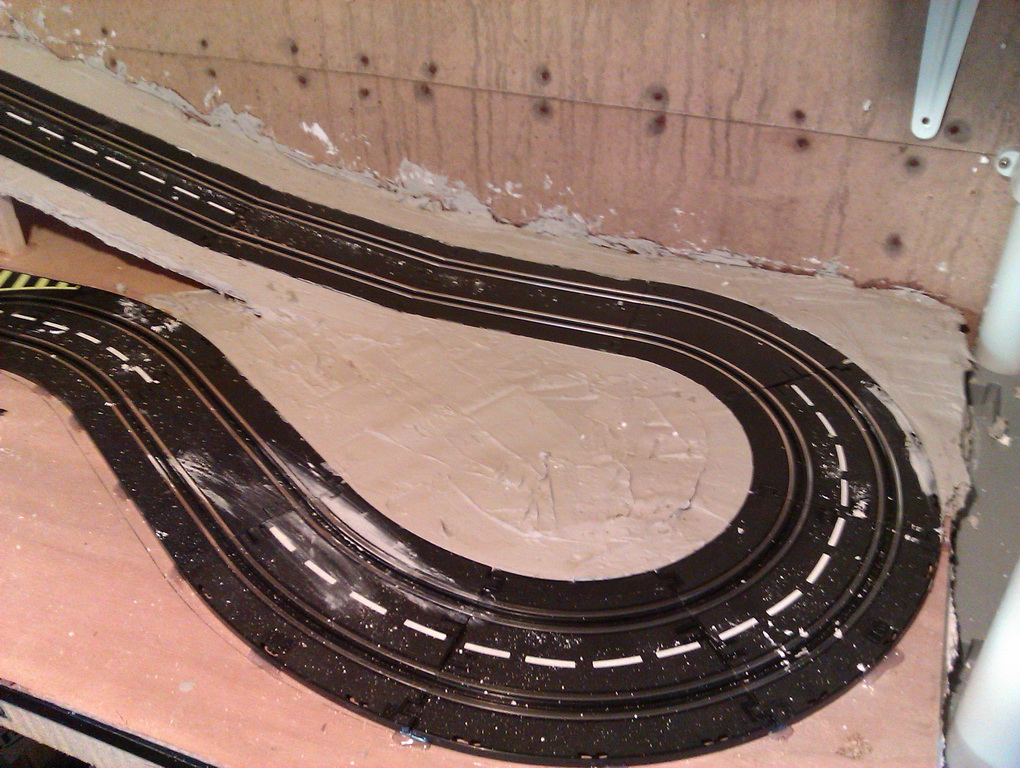
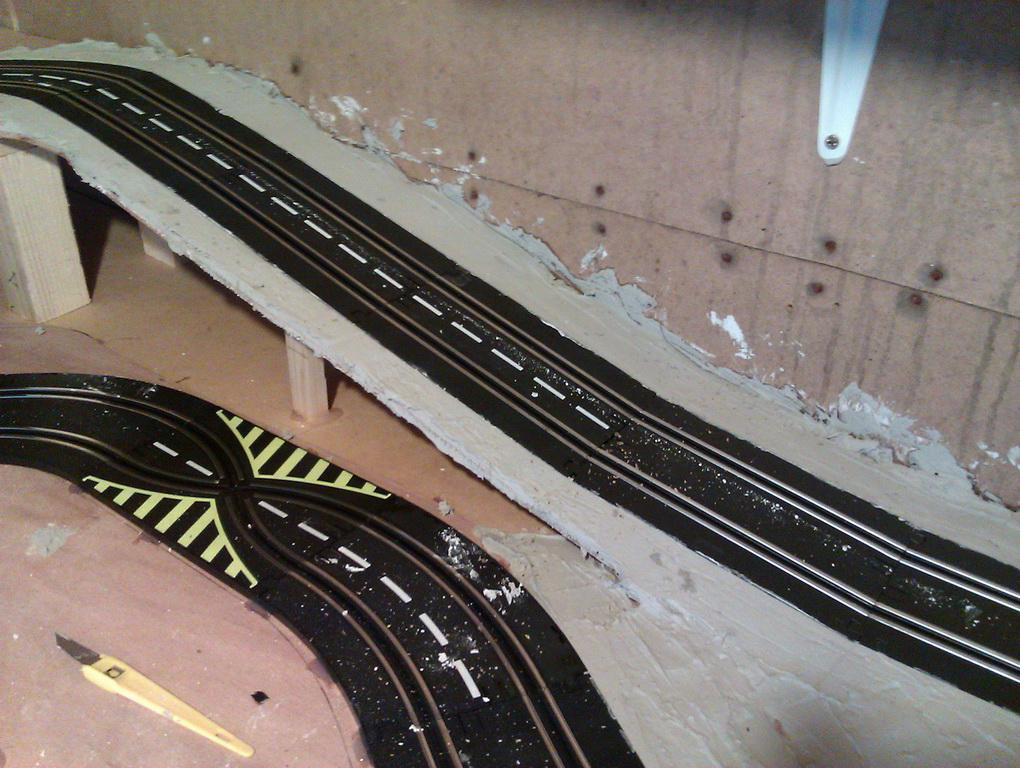
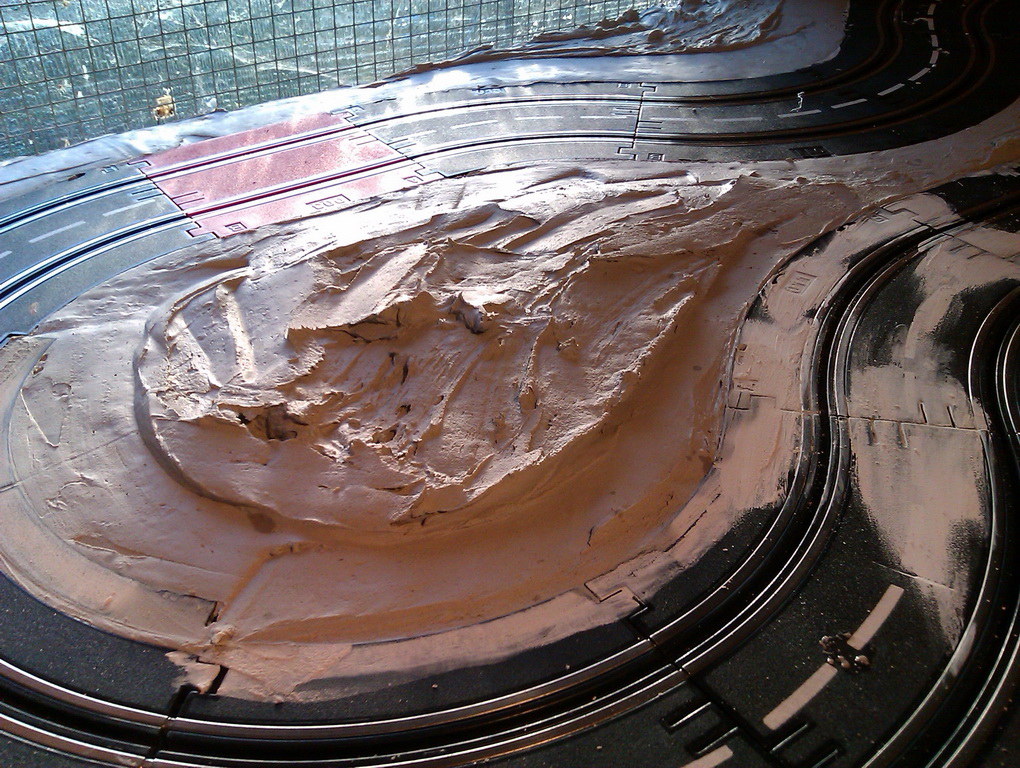
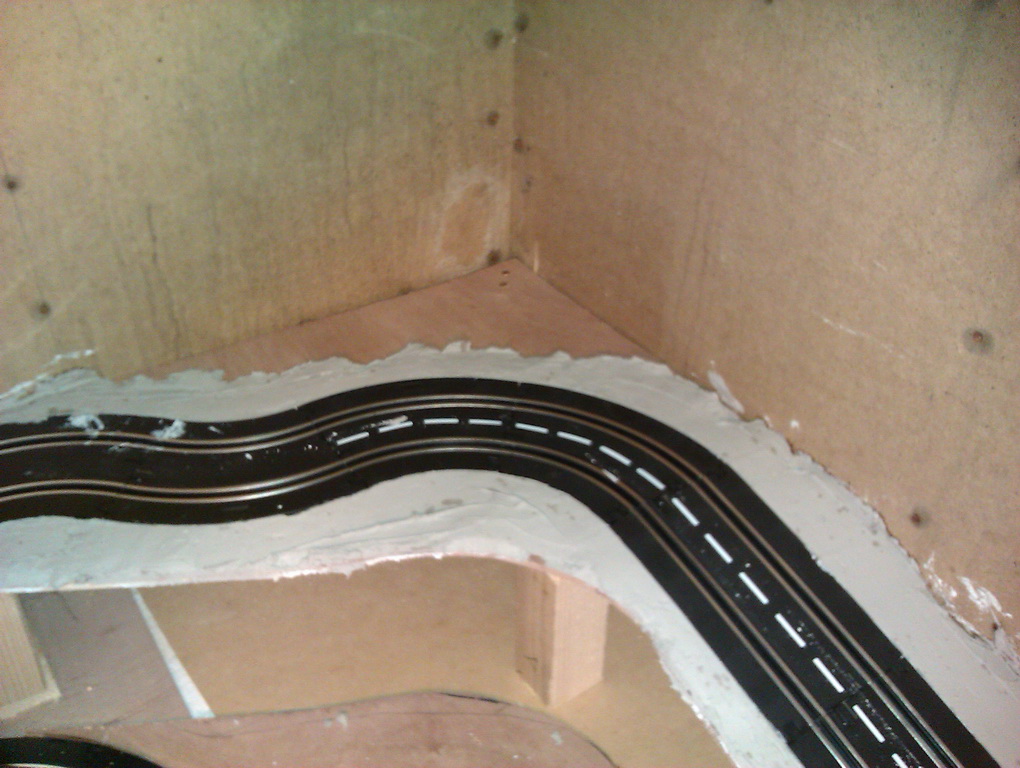
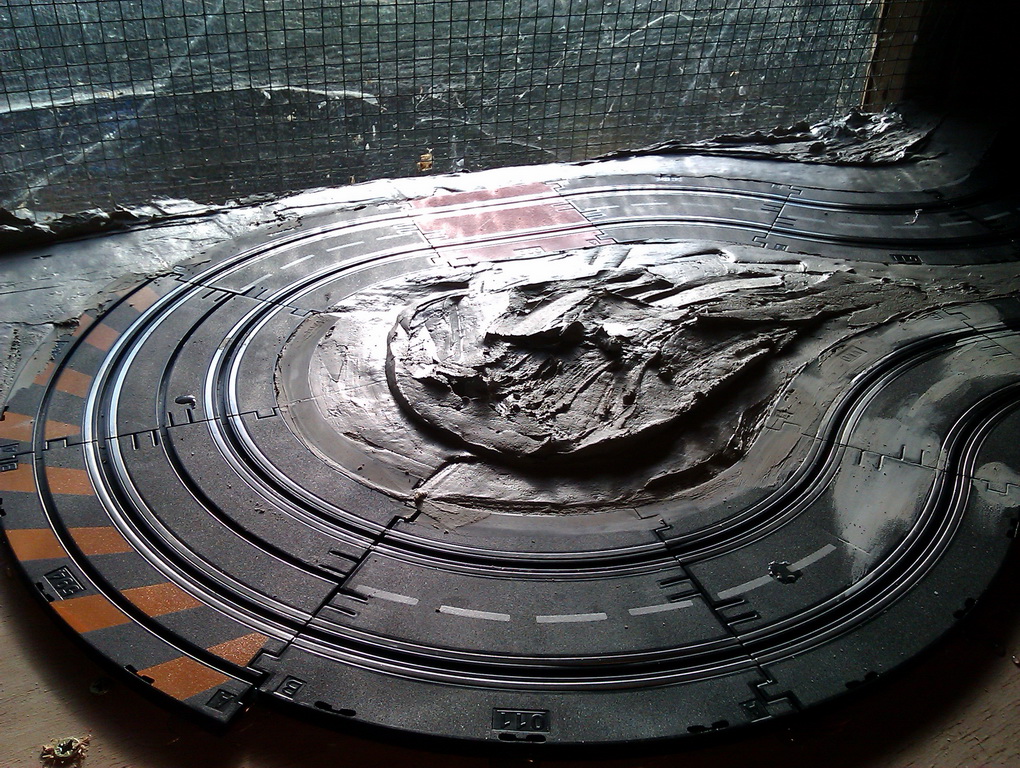
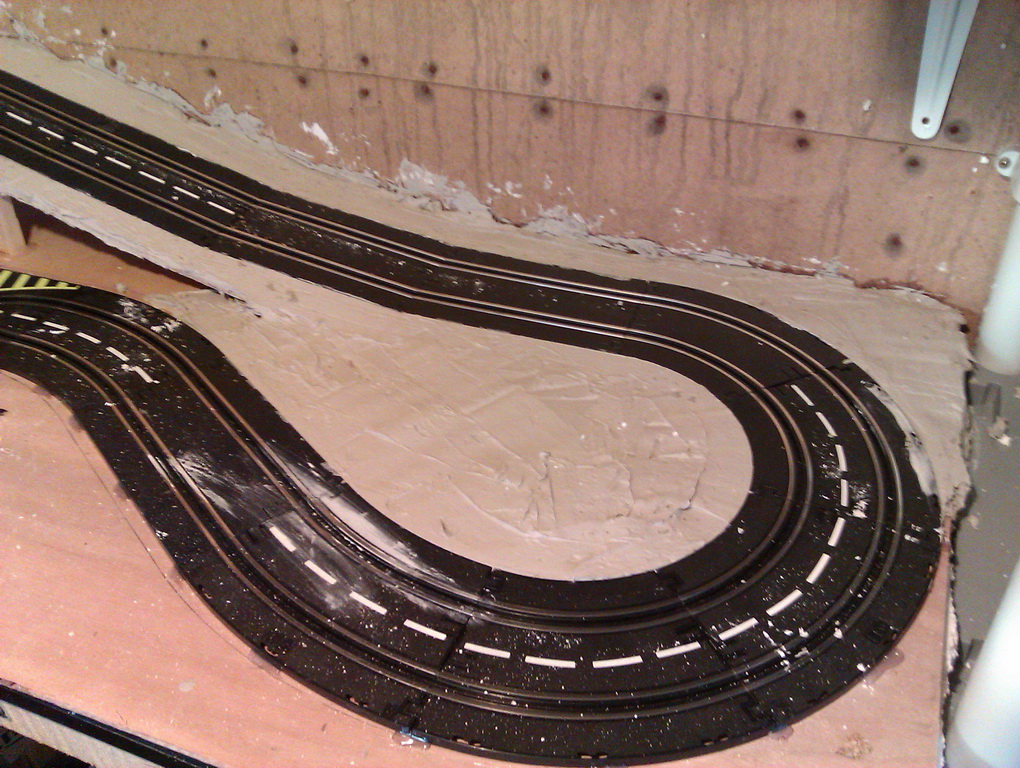
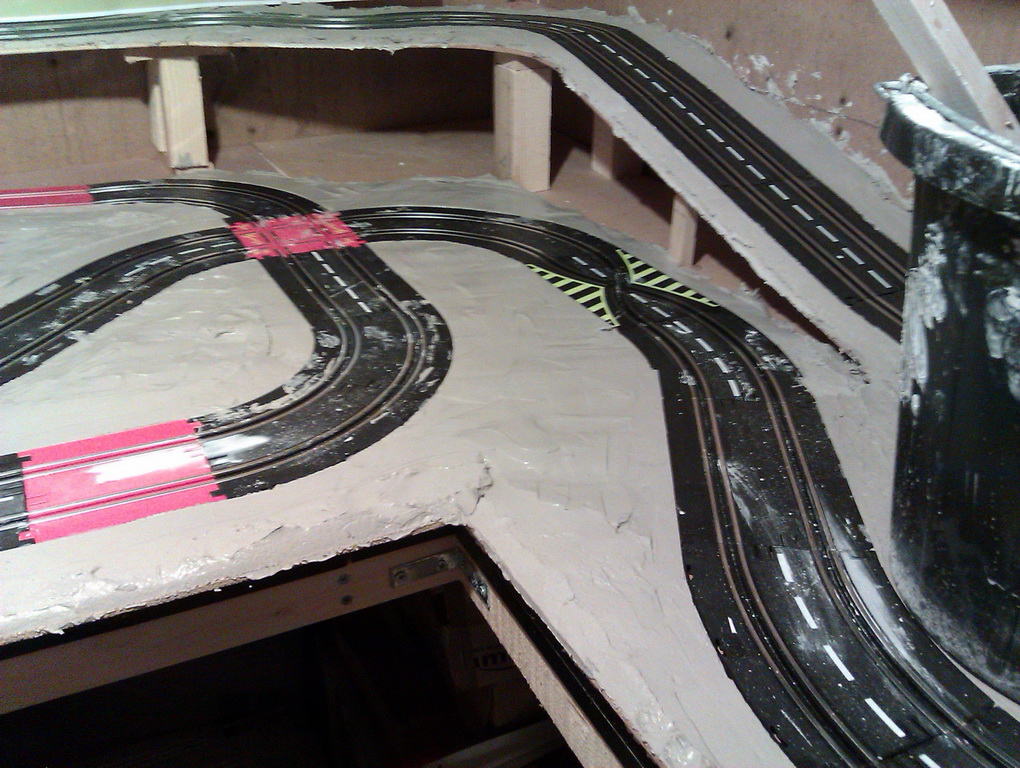
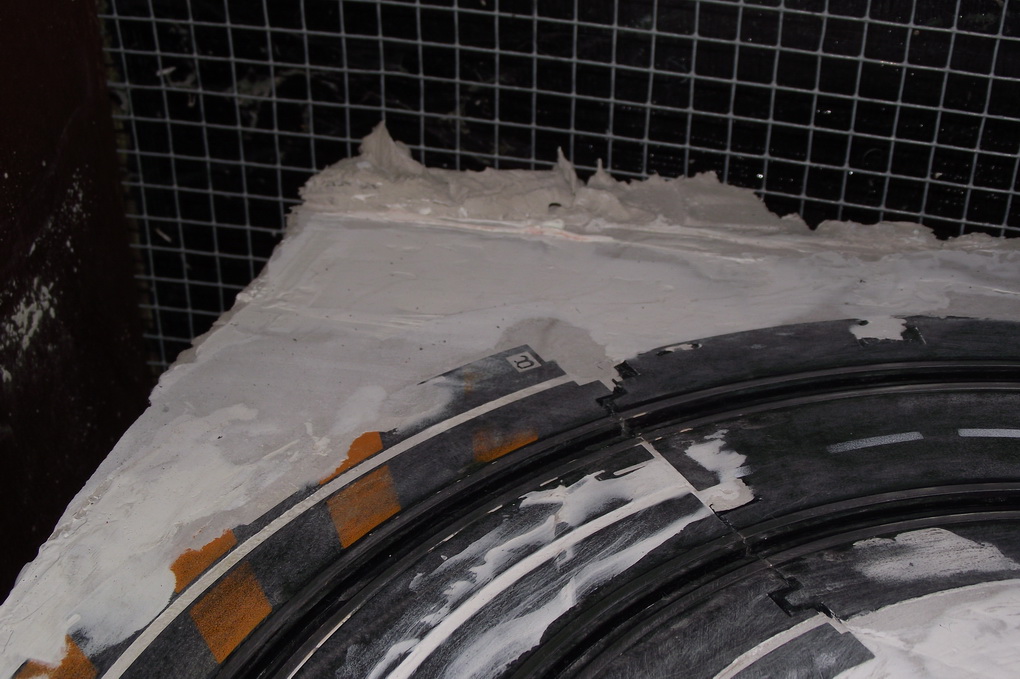
Next job was to glue the track down to the plywood. This was done by spot gluing at the track joints and anywhere the track was not flush to the plywood, used about 5 hot glue sticks. Then masked off the edges of the track and mixed up my dry-wall adhesive. Then I started to build up the edges of the track, trying to keep it fairly smooth at the track edge. As you can see in the photos there is not a lot of room around the raised section at the back of the layout. The corner at top right will be built up to stop any cars going to far off track as this corner is not very easy to reach with out laying on the track. The plaster will be smoothed off to make it appear the the road continues straight on at both of the loops. There is also a raised area inside the left hand loop.
rally in a shed 0105
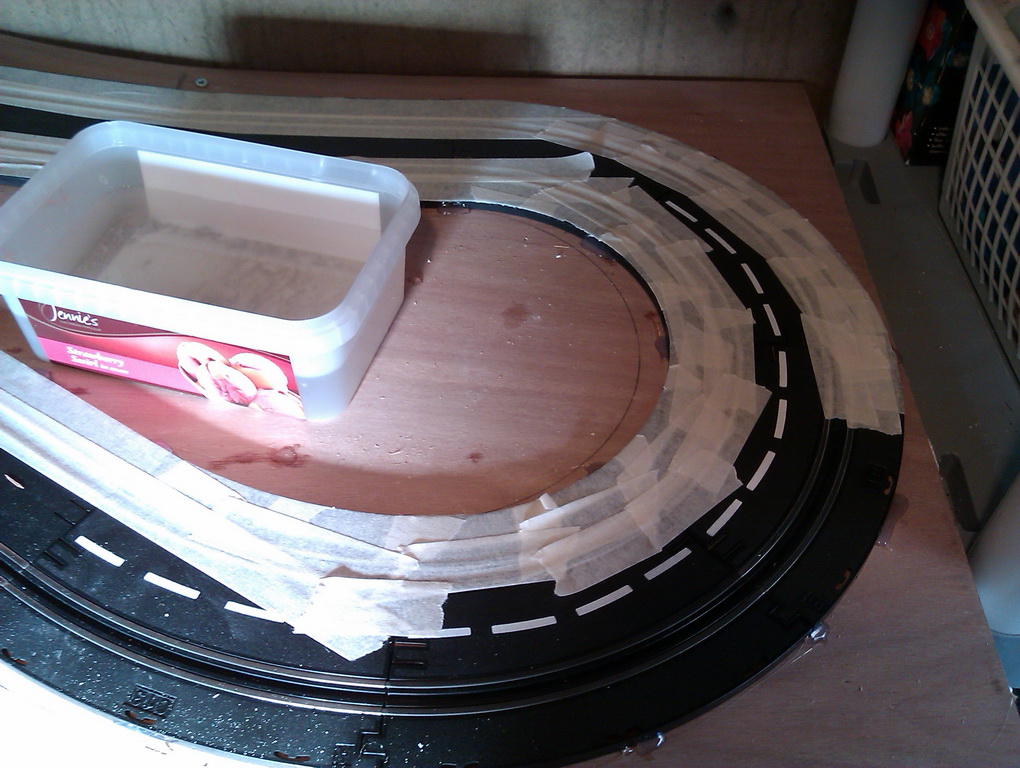
rally in a shed 0106
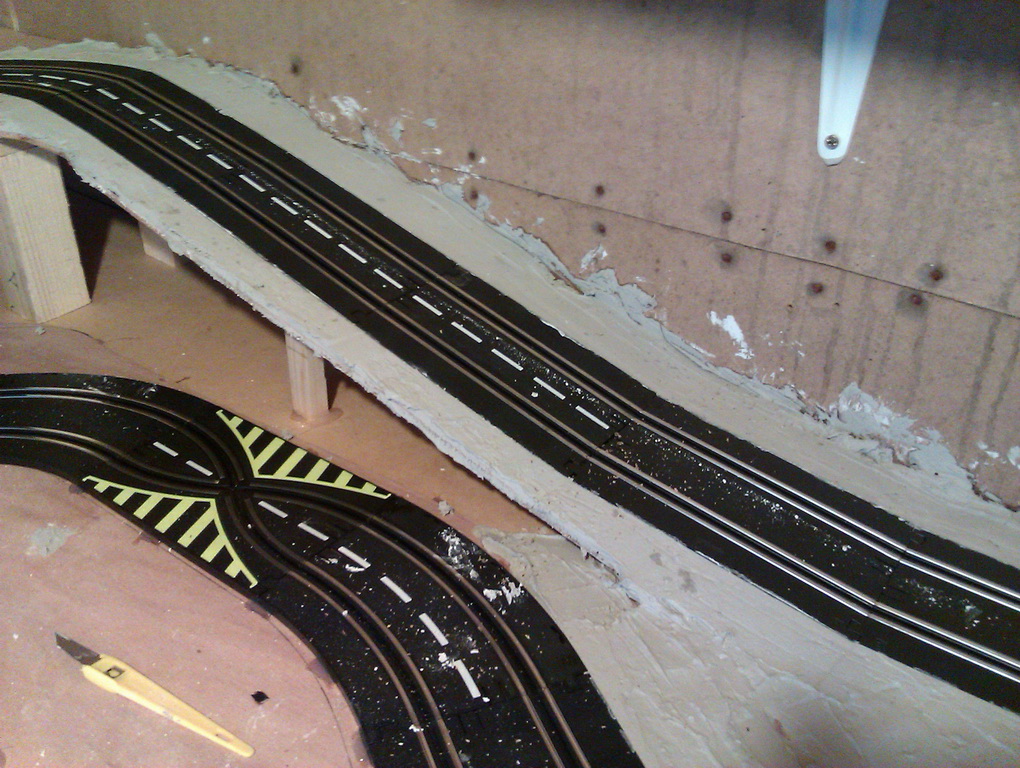
rally in a shed 0121
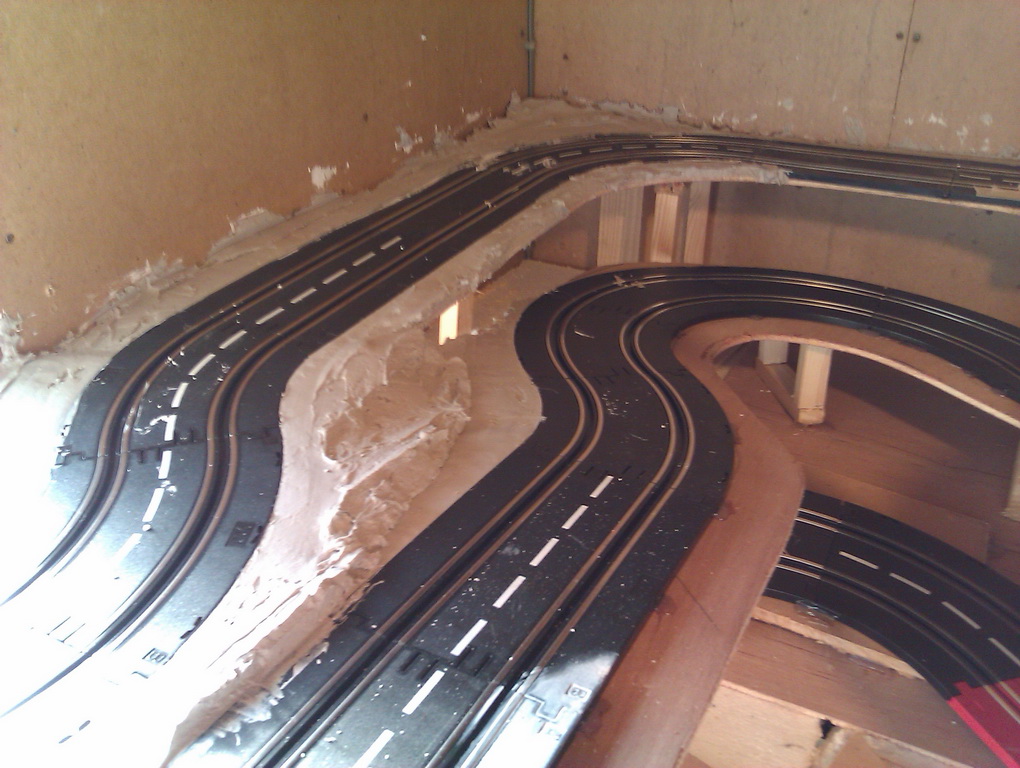
rally in a shed 0103
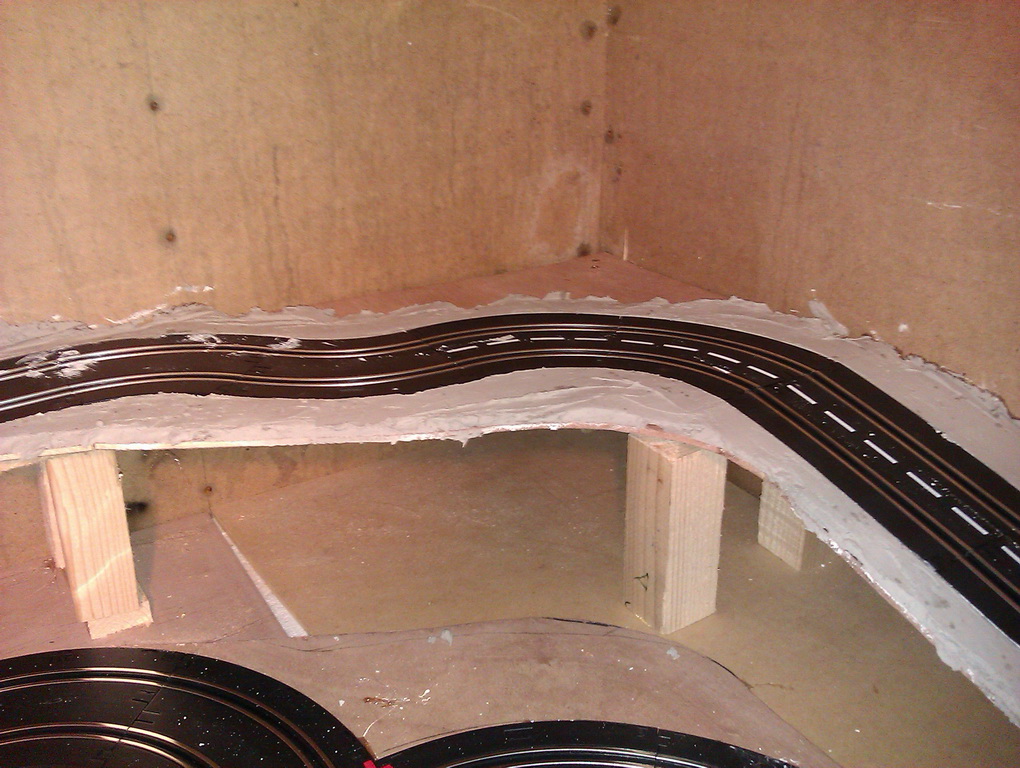
rally in a shed 0107
rally in a shed 0108
rally in a shed 0109
rally in a shed 0110
rally in a shed 0111
rally in a shed 0112

rally in a shed 0113
rally in a shed 0114
rally in a shed 0120
Finished the basic plastering and now will need to sand the track borders smooth and do some fine filling.
rally in a shed 0131
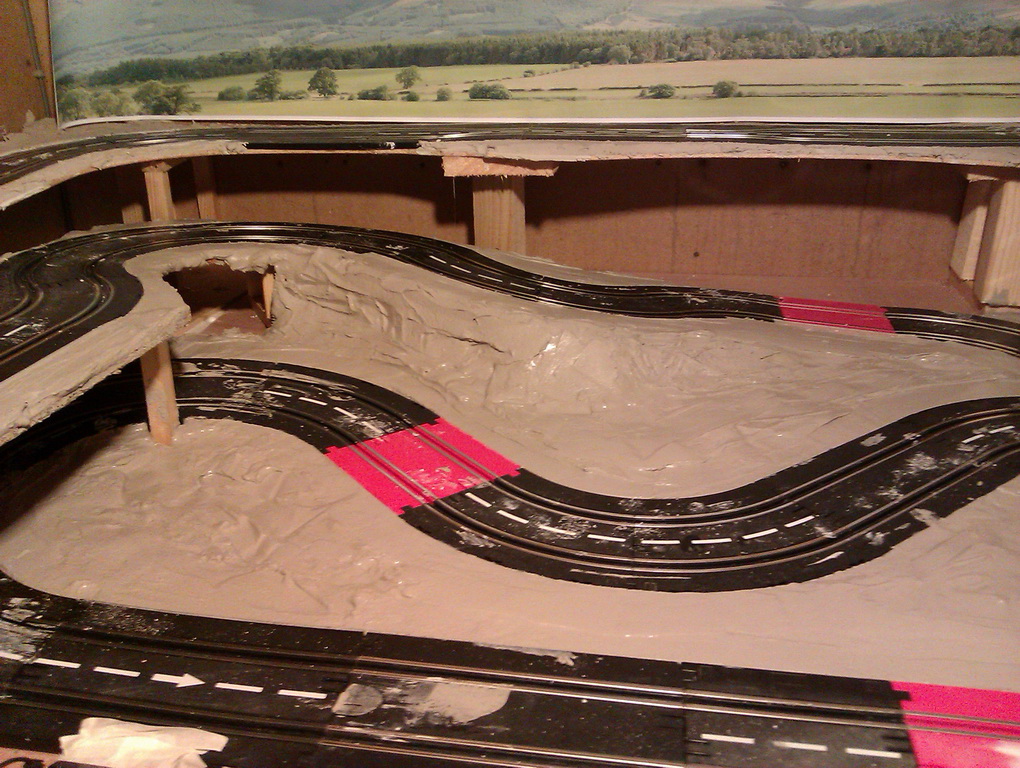
rally in a shed 0132
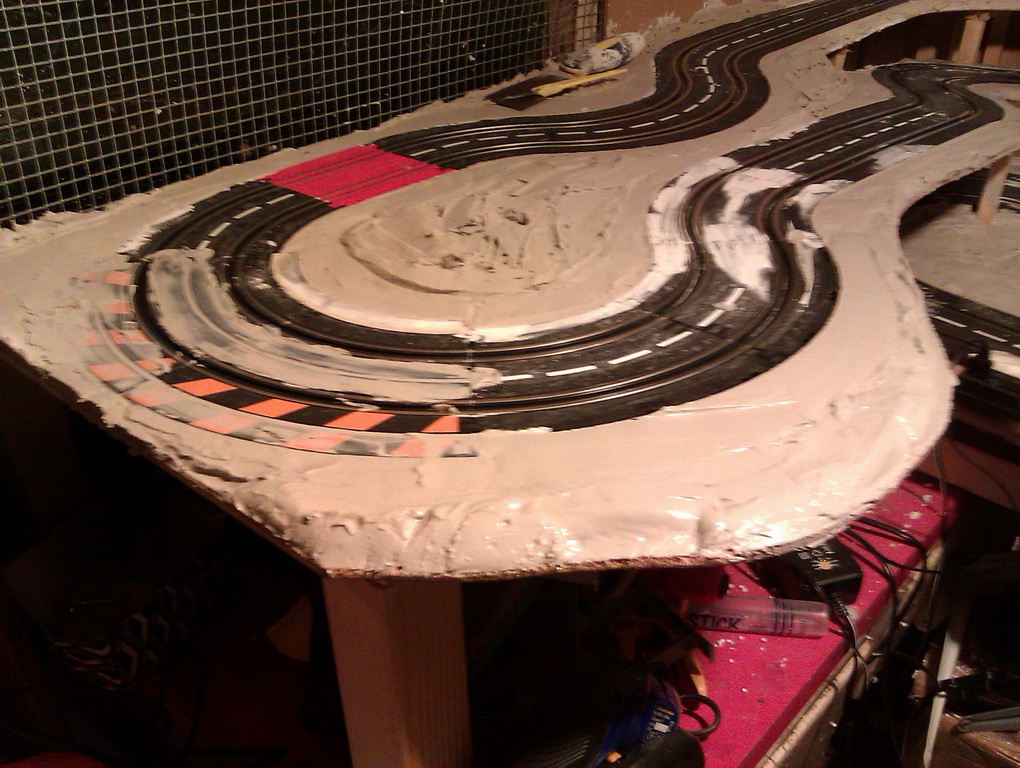
rally in a shed 0133
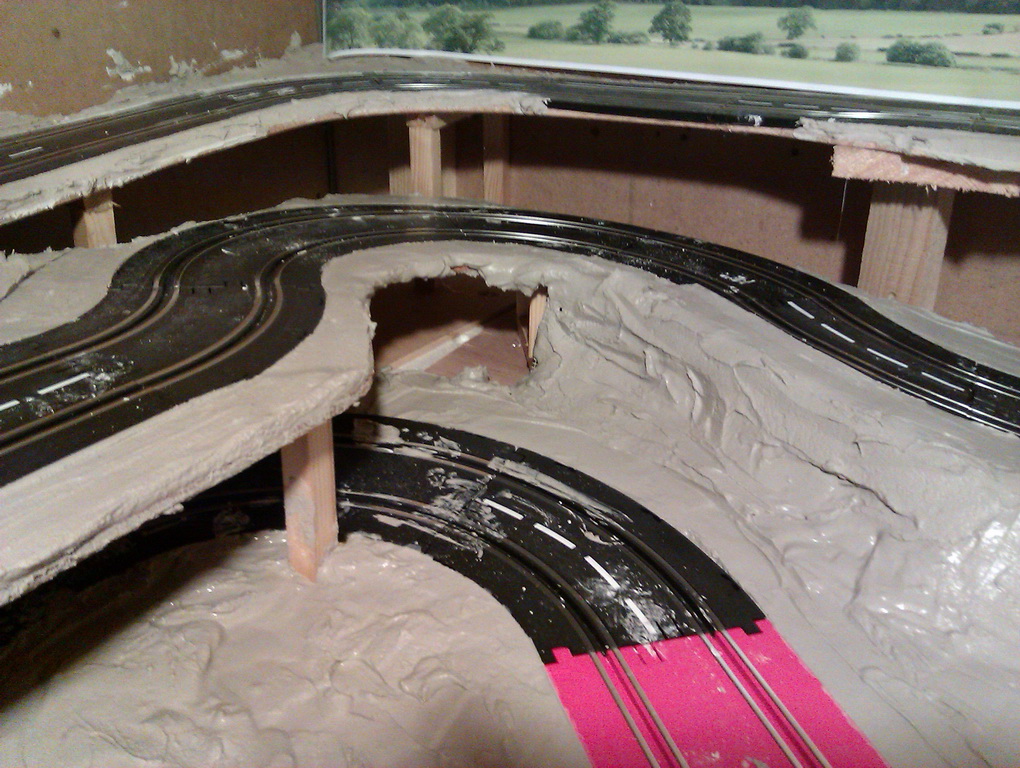
rally in a shed 0134
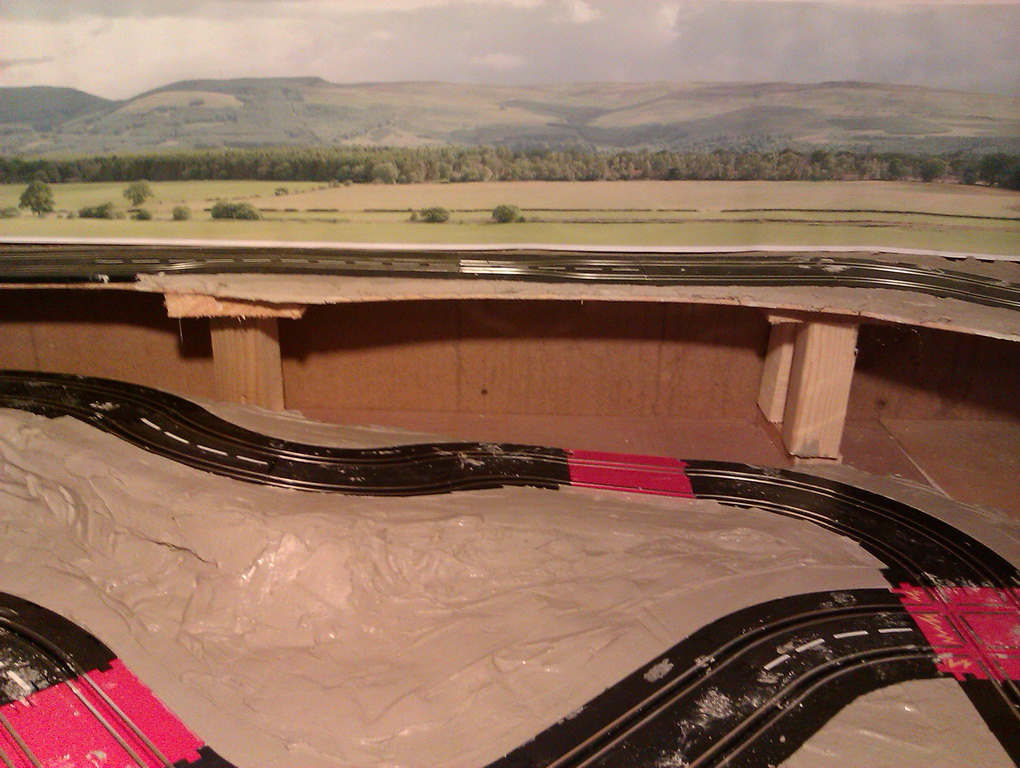
rally in a shed 0135
I bought a couple of scenic railway borders and this is the main one for the back of the layout being tested before the plastering was done and the in place afterwards.
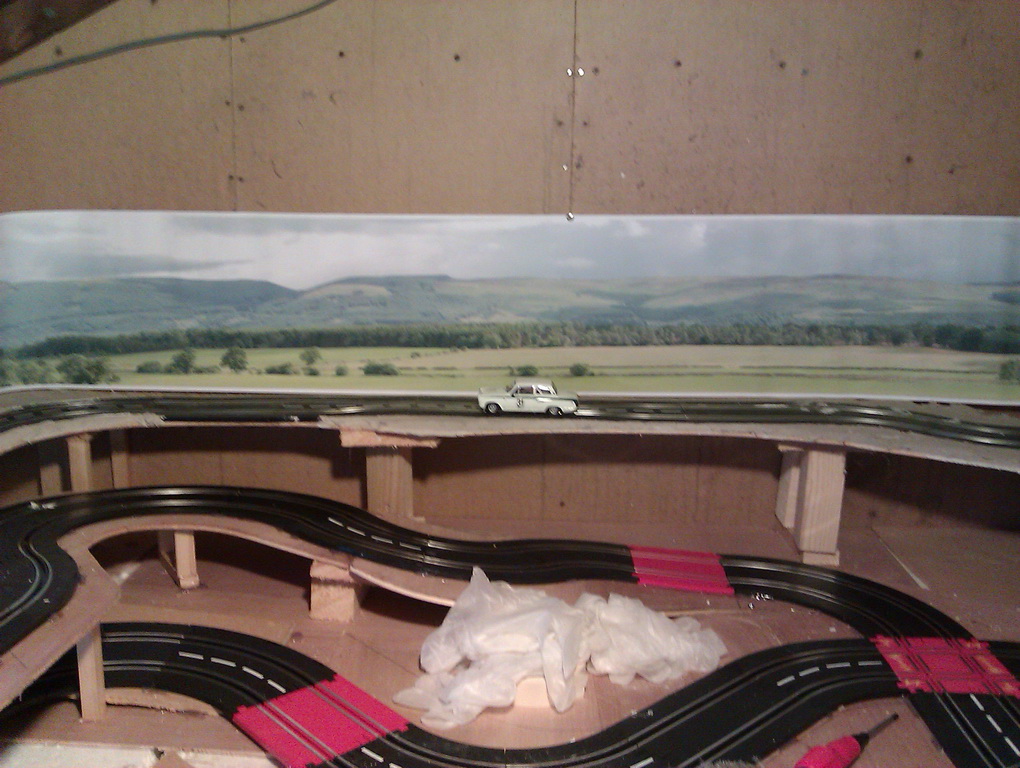
rally in a shed 0130
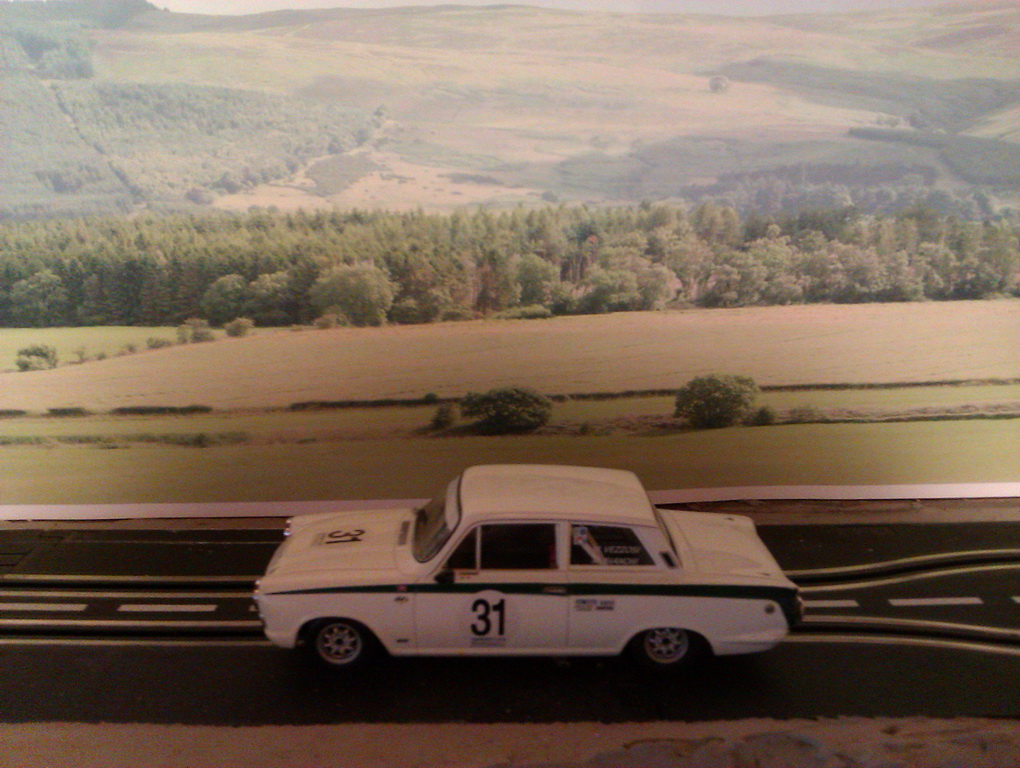
rally in a shed 0129
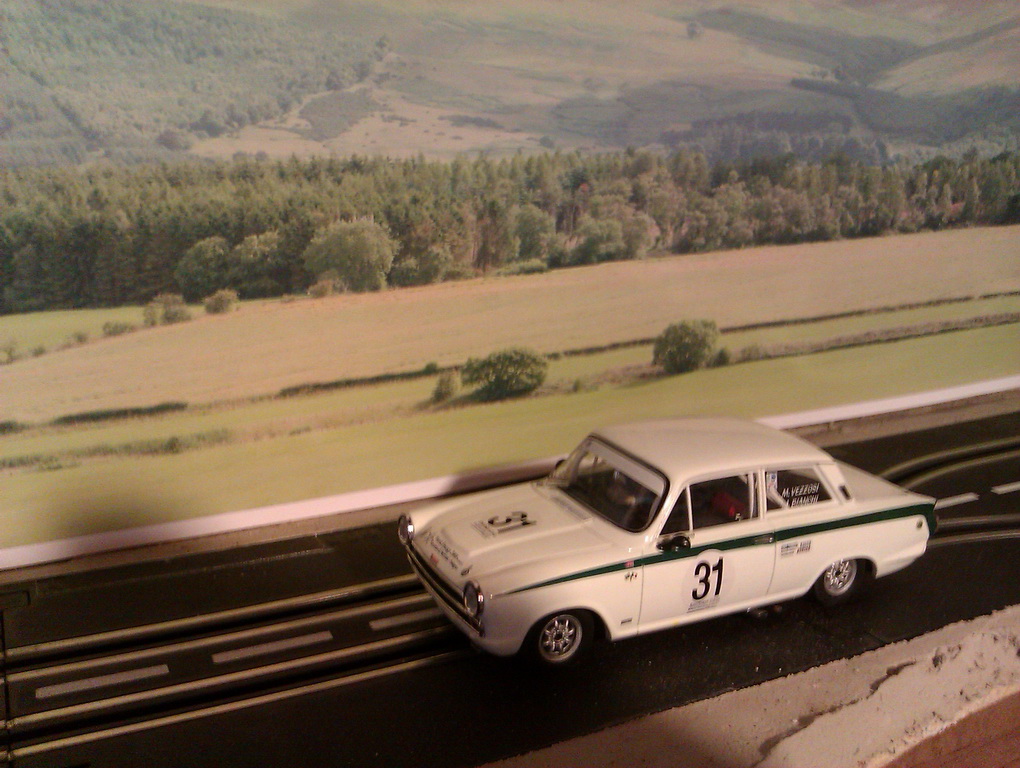
rally in a shed 0128
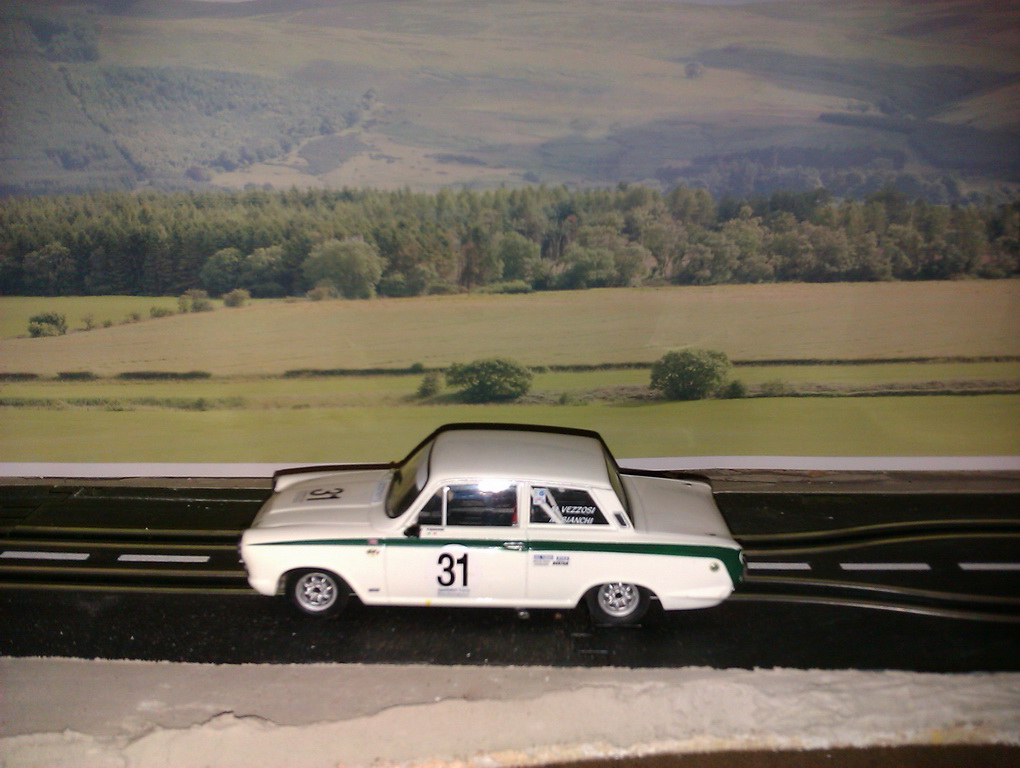
rally in a shed 0126
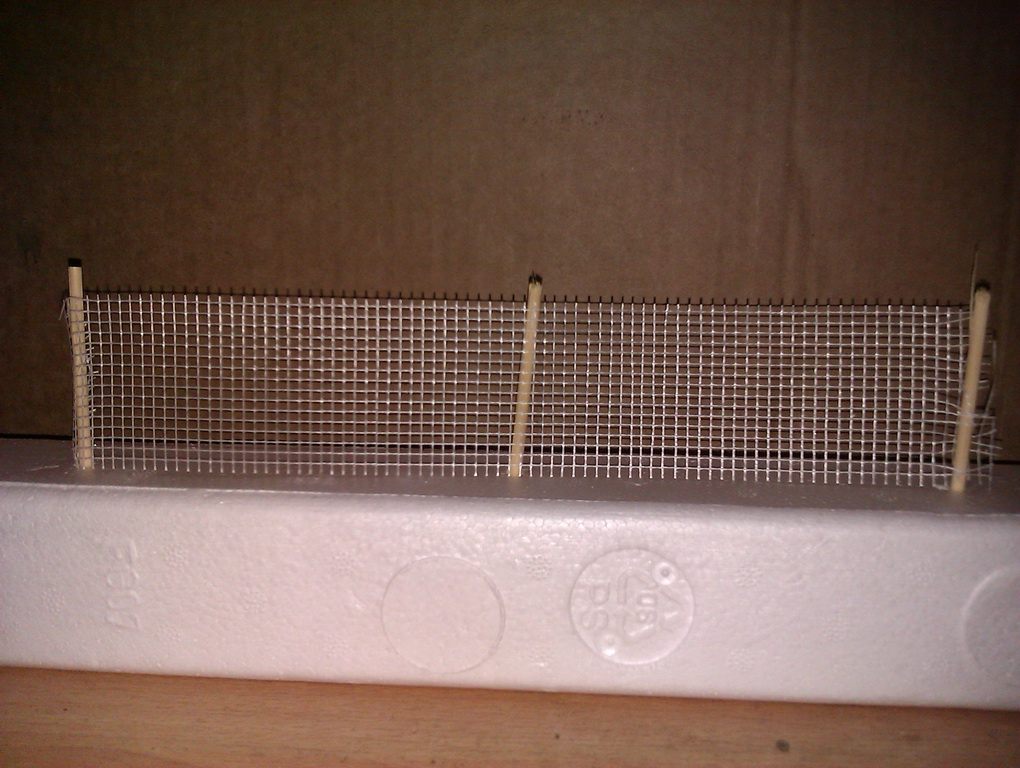
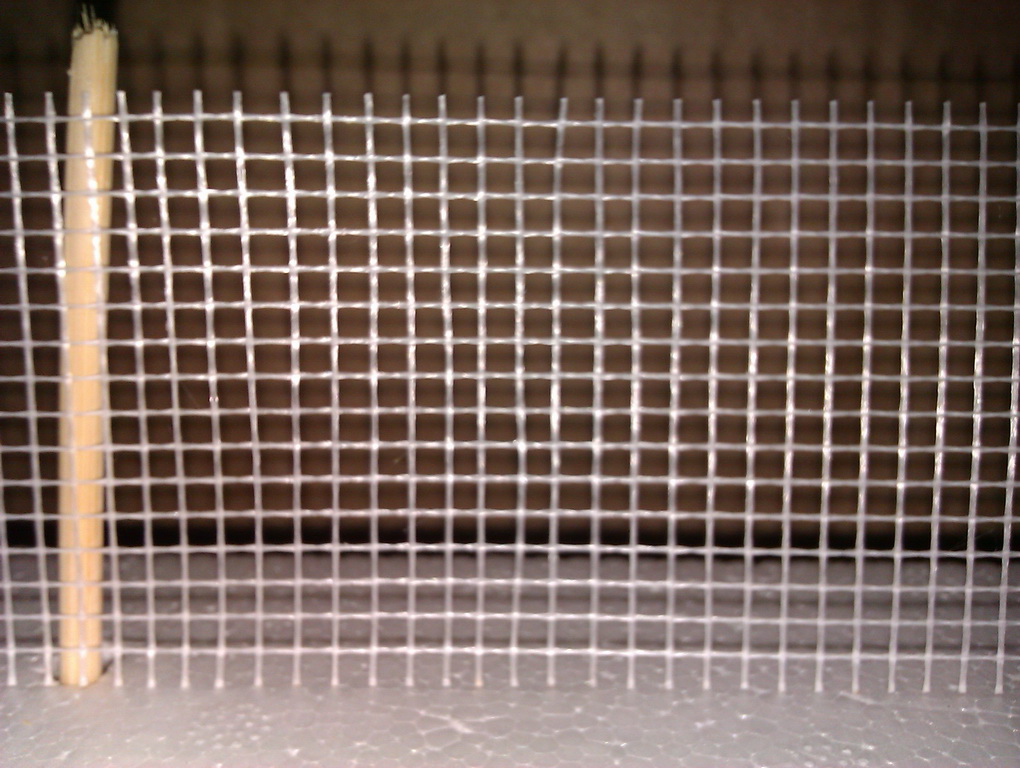
For both of the loops where the track turns of the "road" I need a barrier of some sort which will also act as a catch fence to stop the cars falling of the baseboard. So I thought I would put up some orange barrier fencing, the type you see around roadworks and on building sites. I need to get some orange paint but here's the idea..
rally in a shed 0136
rally in a shed 0137
The posts are each a 1/3 of a BBQ skewer and the fence is self adhesive plasterboard scrim. Just hope it looks ok once painted.
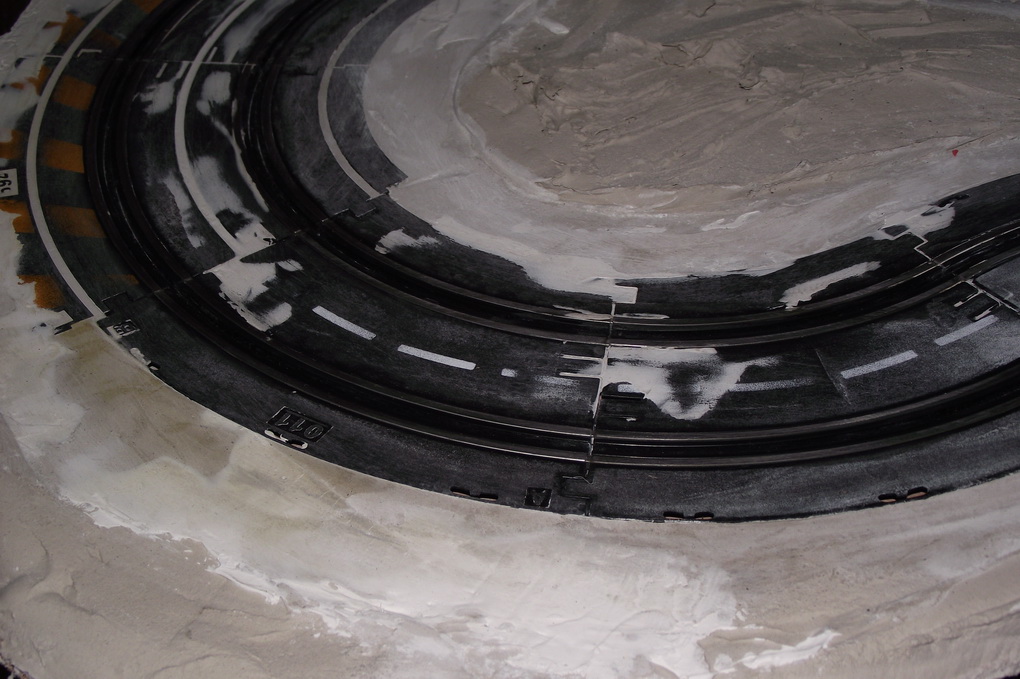
All the plaster around the track as been sanded. One thing I now know is that the wetter the drywall adhesive is mixed the harder it is to sand afterwards. The first batch of drywall adhesive I mixed wasn't that wet and was easy to sand with normal coarse and medium sanding blocks. The second batch was really a bit to wet and was very hard to sand and I ended up using a very coarse (32 grit) sanding block.
Havig sanded the left side of the track I decided to fill the imperfections with fine surface filler. This also proved to be much harder than the adhesive and also did not adhere to the drywall very well.
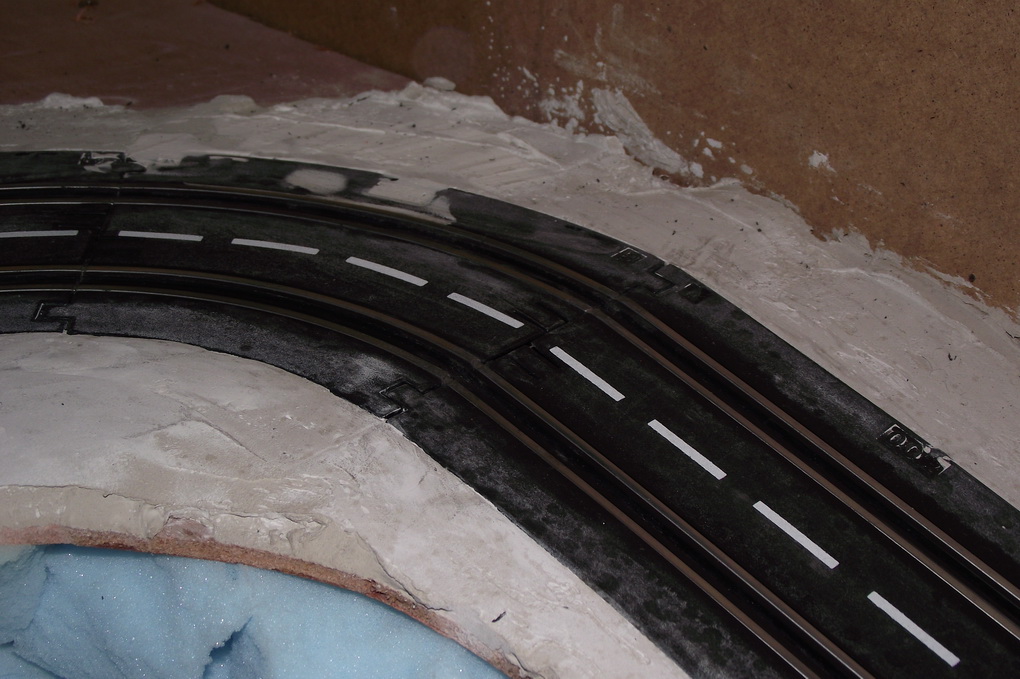
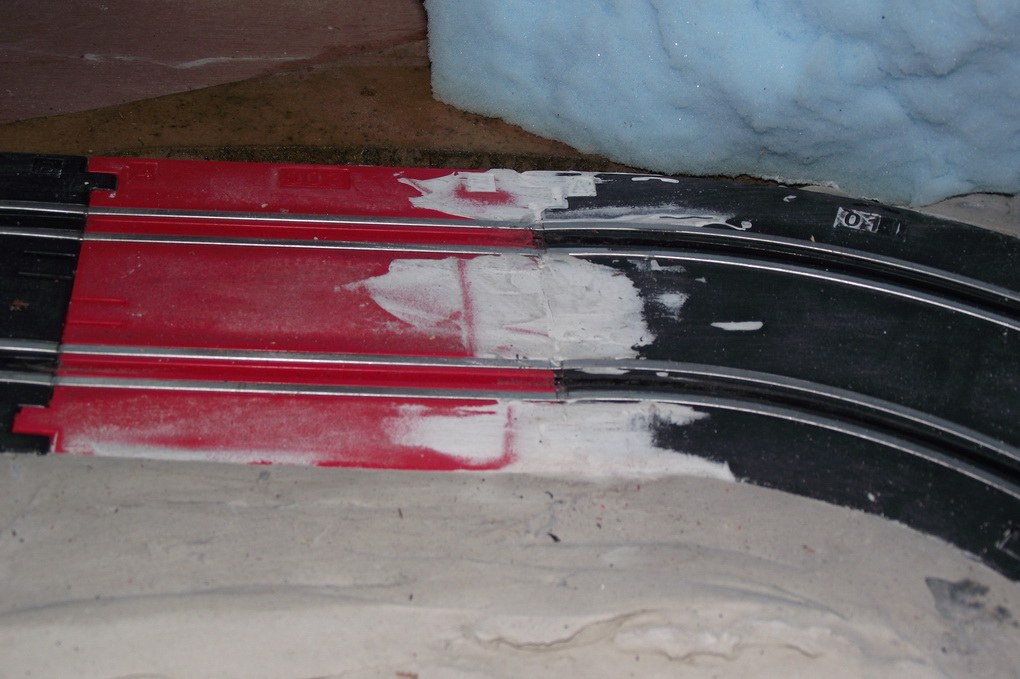
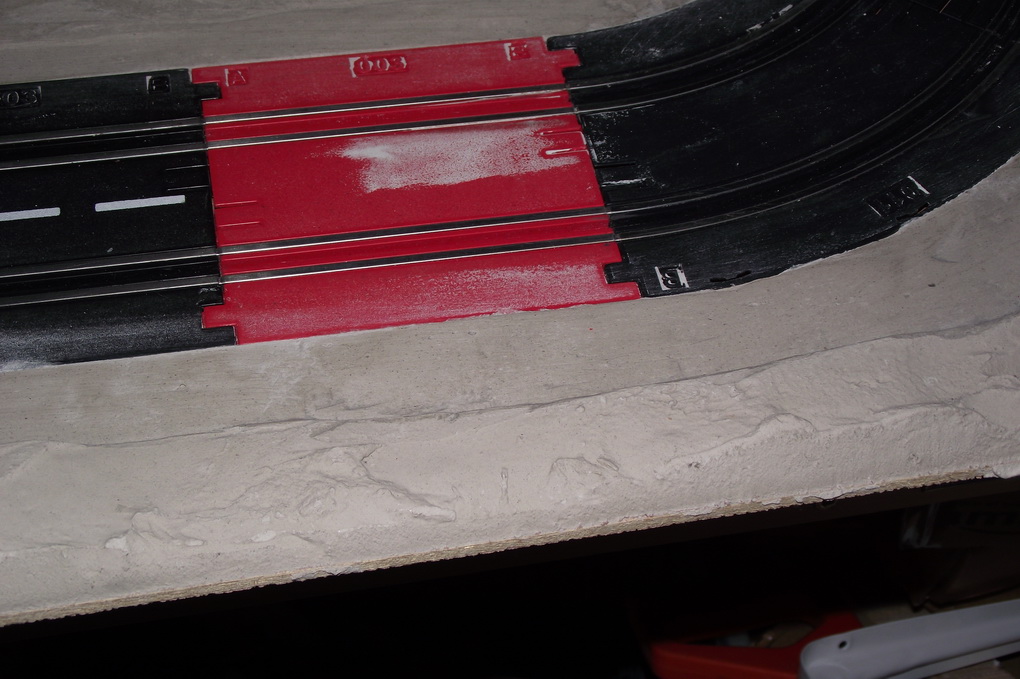
Also had to grind part of the track at the top of the righthand climb as cars were catching on the top edge of the rails. first photo. Also had the grind the bottom of the guide slot in a couple of places, one were there was a slight gap between the pieces and in the middle of the middle section climb. I think the rails on one side of the track had lifted slightly so the slot bases did not meet level.I've also had a go at some Frock, don't know if I like it but will see what it's like when plastered and painted.
rally in a shed 0138
rally in a shed 0139
rally in a shed 0140
rally in a shed 0141
rally in a shed 0142
rally in a shed 0143
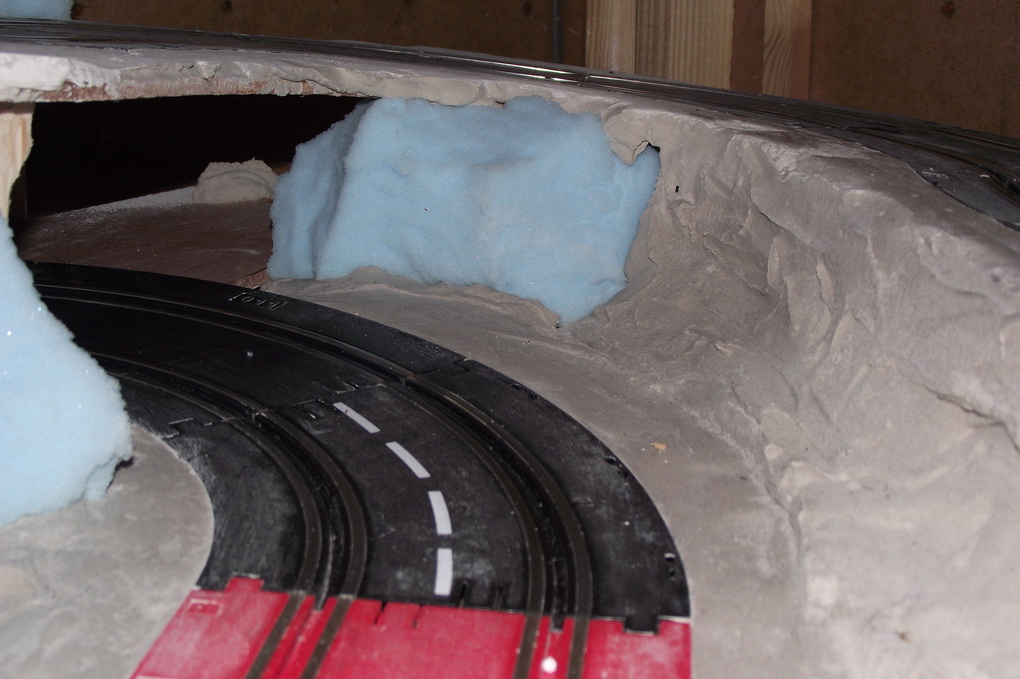
rally in a shed 0144
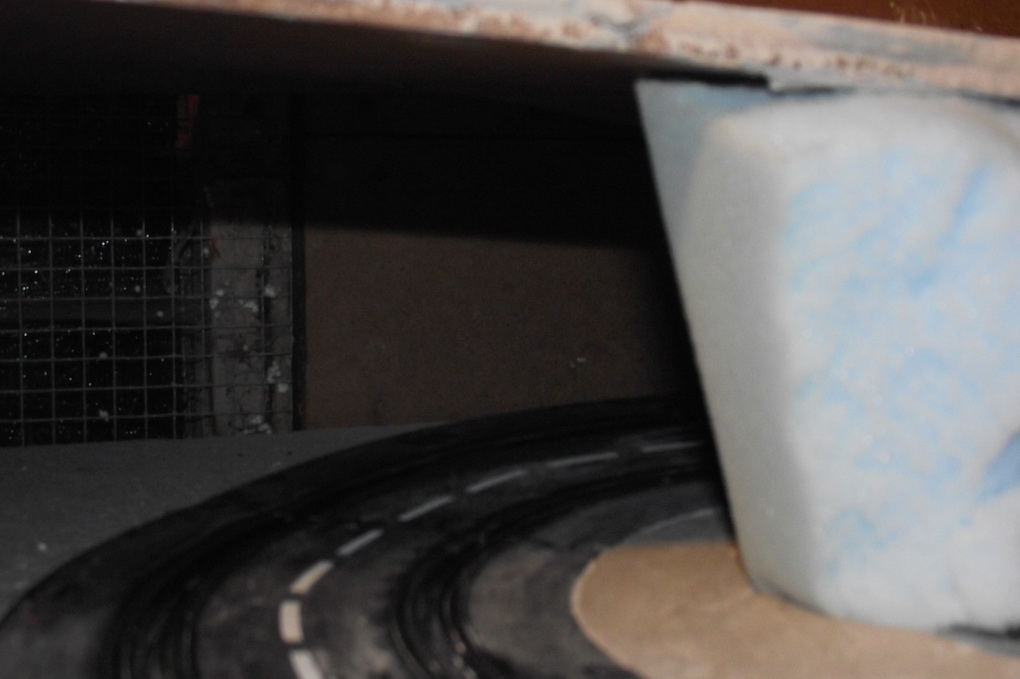
rally in a shed 0145
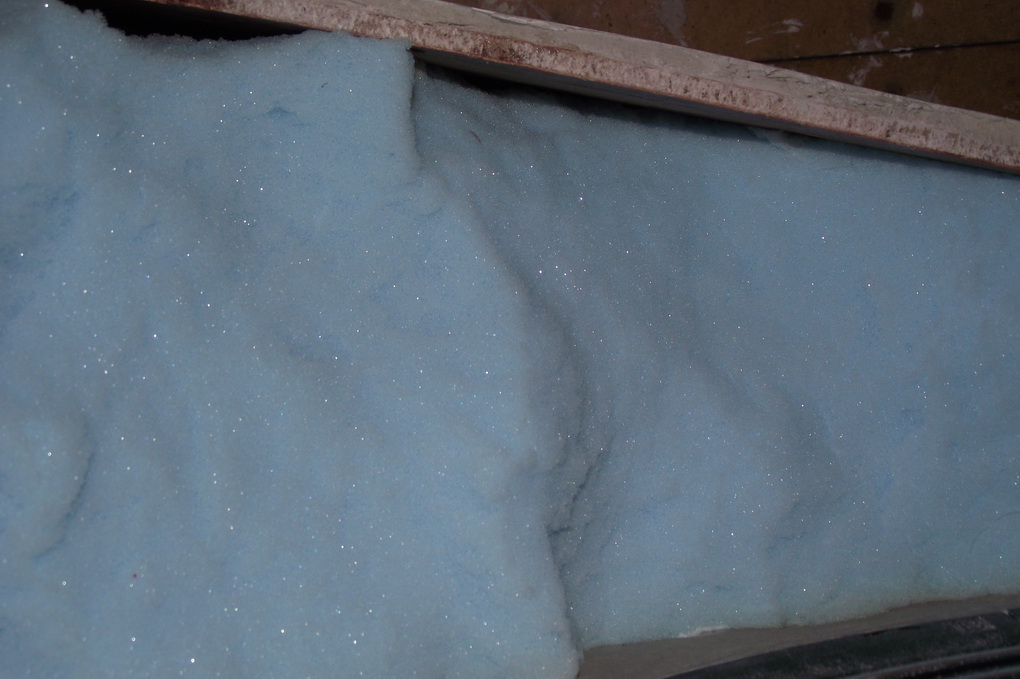
rally in a shed 0146
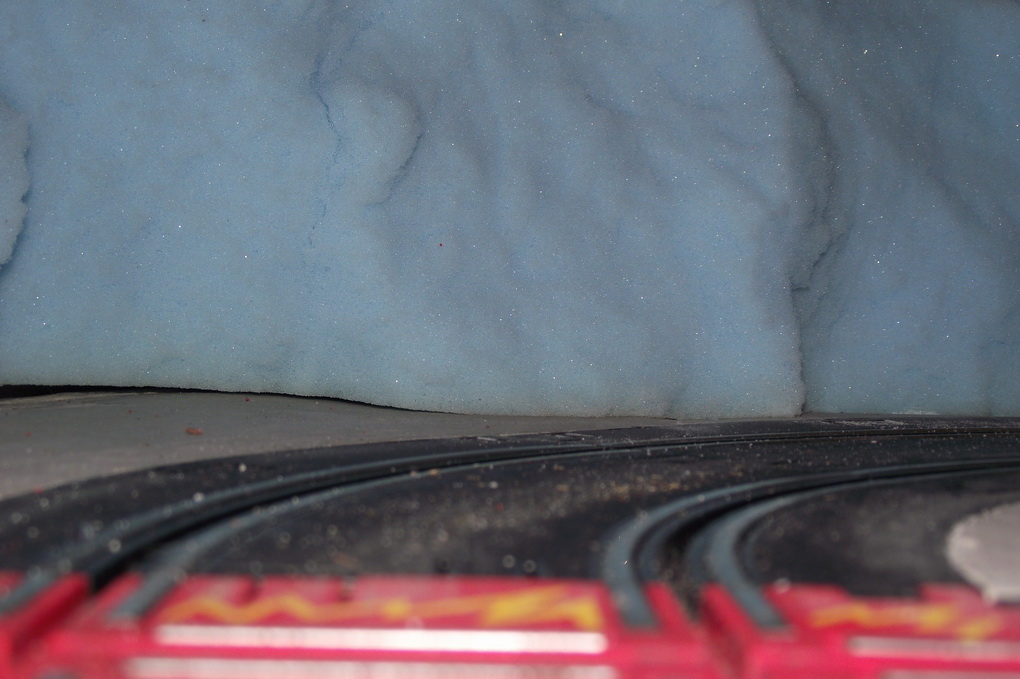
rally in a shed 0147
It was at this point that I gave the track a name..
The Shadphite Stage (pronounced Shedfit). Although to be honest I never really used it.
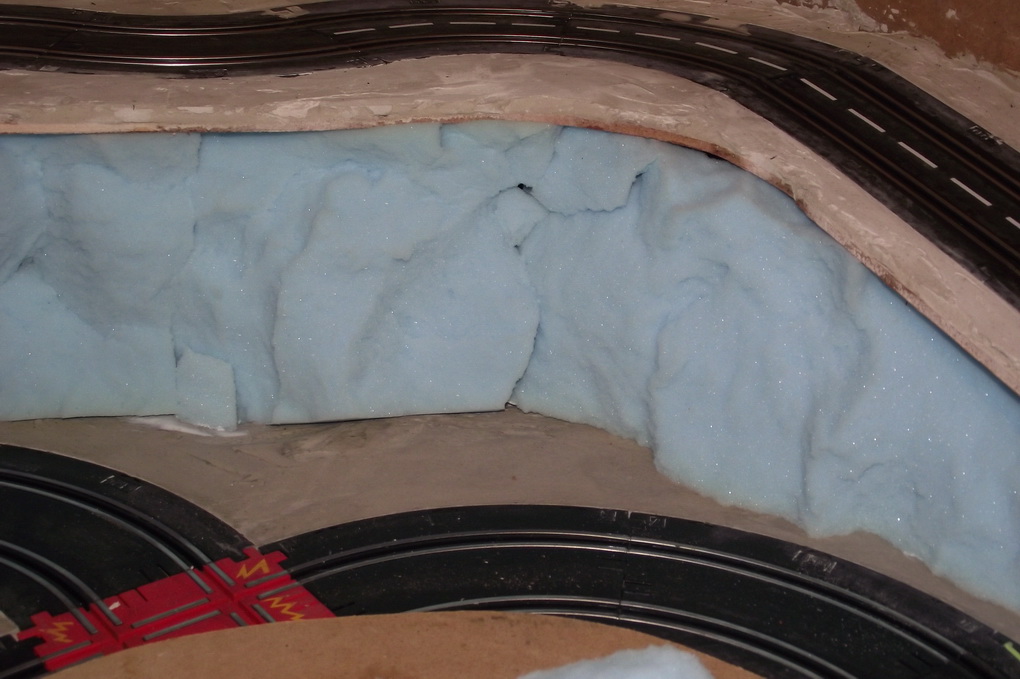
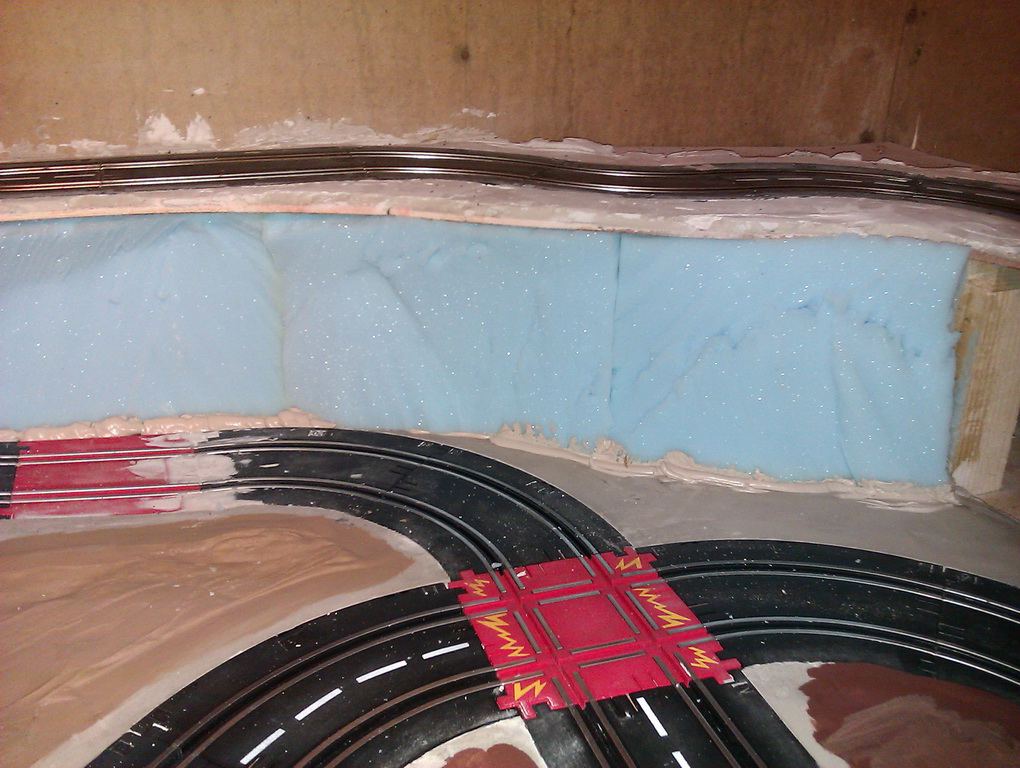
Had my first go at Frock, probably being my first attempt or the type of foam I had or even a sore thumb that I couldn't put any pressure on, I couldn't tear the foam into thin strips. All I was getting was small thin pieces with holes in them or thick lengths and the face was very coarse. I really needed a smoothish face and thin strips, as in a lot of places the cliffs will be right next to the track (a good test of driving skill not to slide to much). Anyway I removed all the first lot of foam and cut some more.
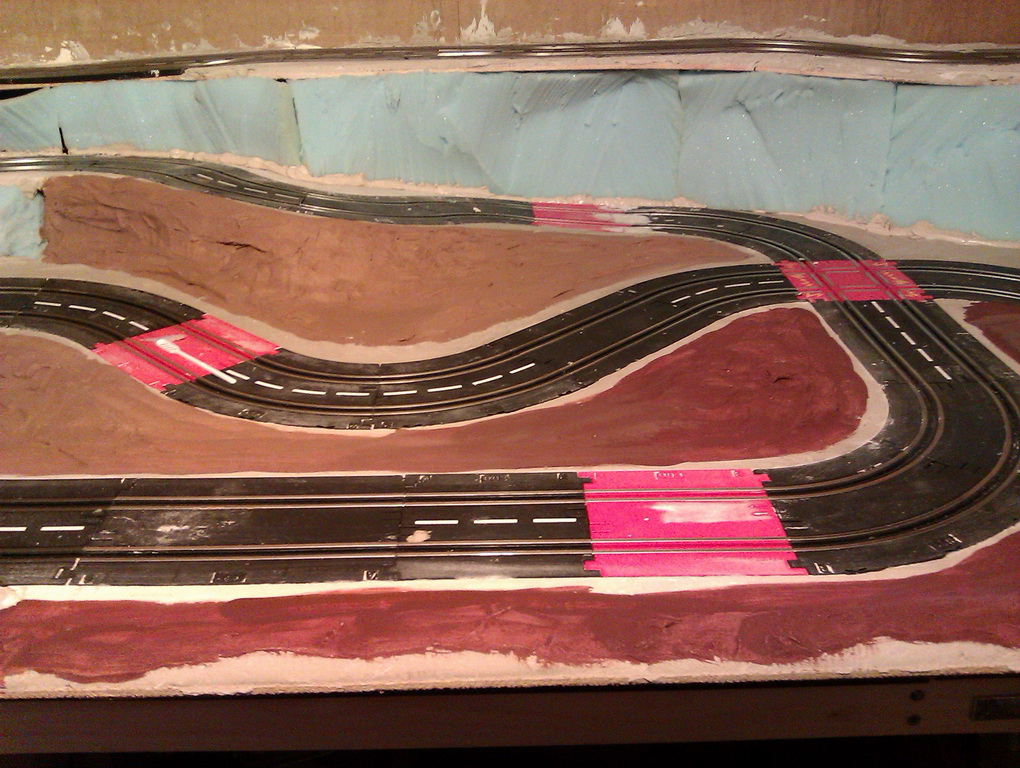
This time it was cut with a long bread knife which gave a sawtooth effect finish and changed with the direction of cut as the knife didn't quite reach through the foam.
rally in a shed 0159
rally in a shed 0162
rally in a shed 0160
rally in a shed 0164
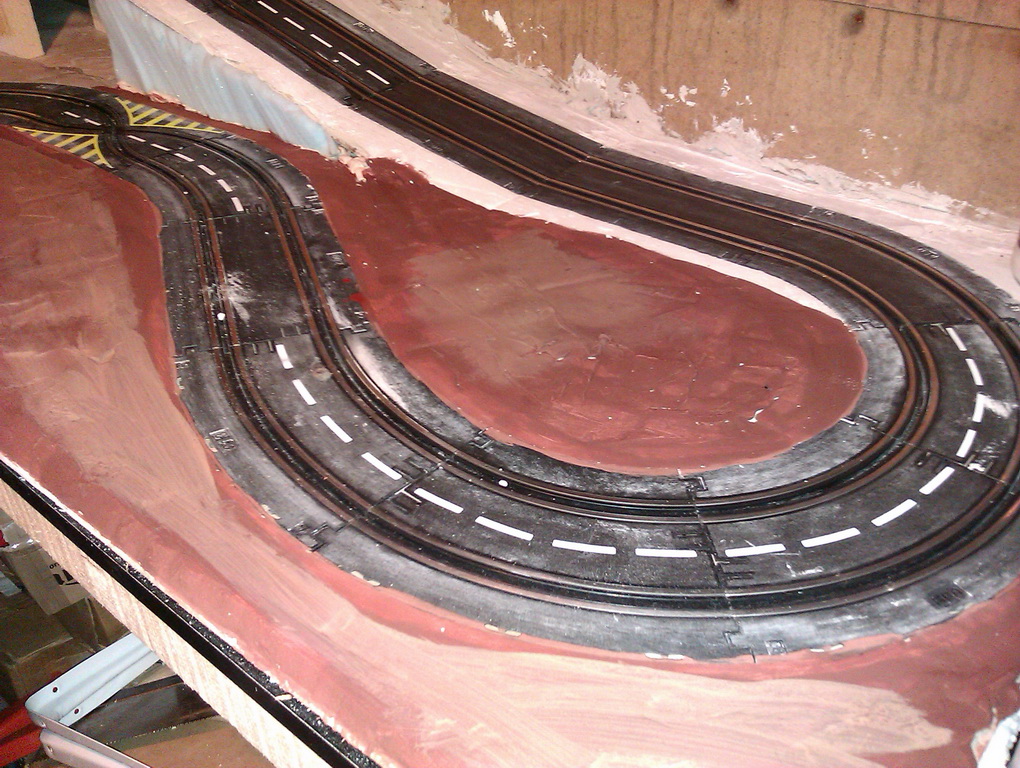
rally in a shed 0161
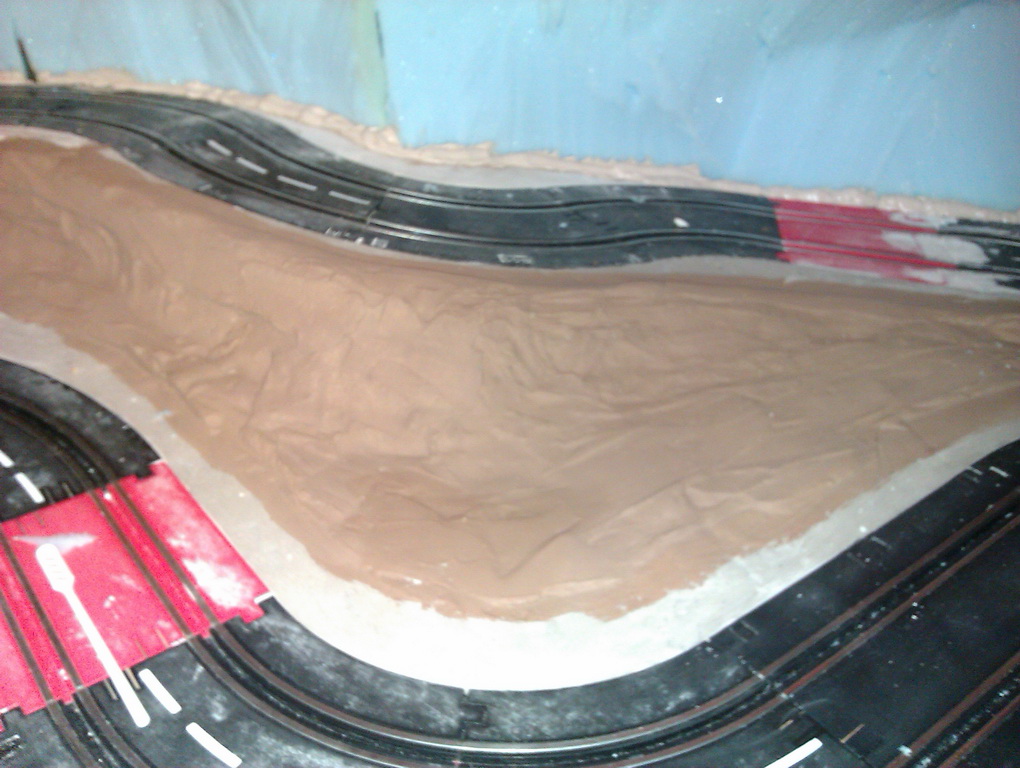
rally in a shed 0163
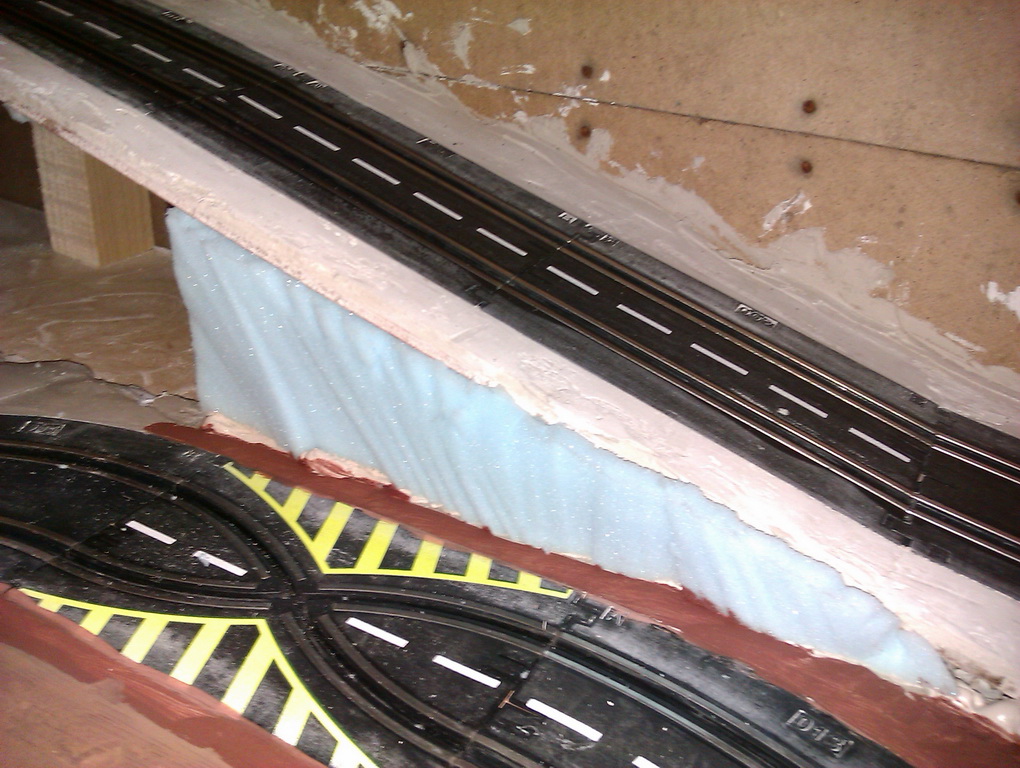
rally in a shed 0158
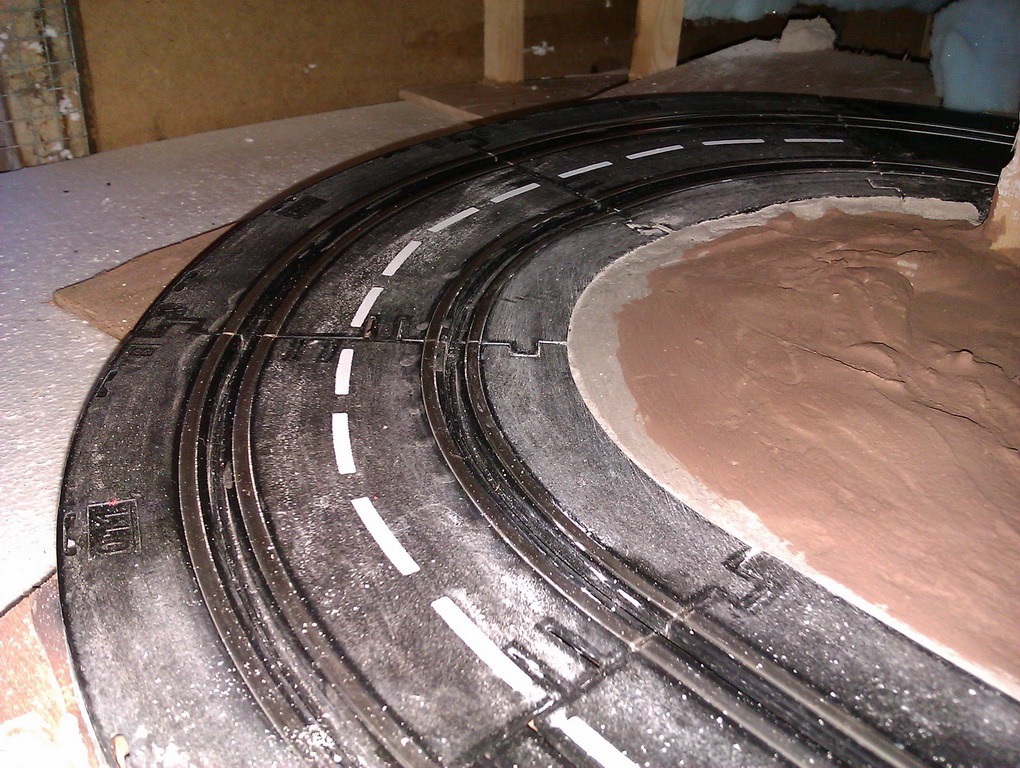
rally in a shed 0165
rally in a shed 0166
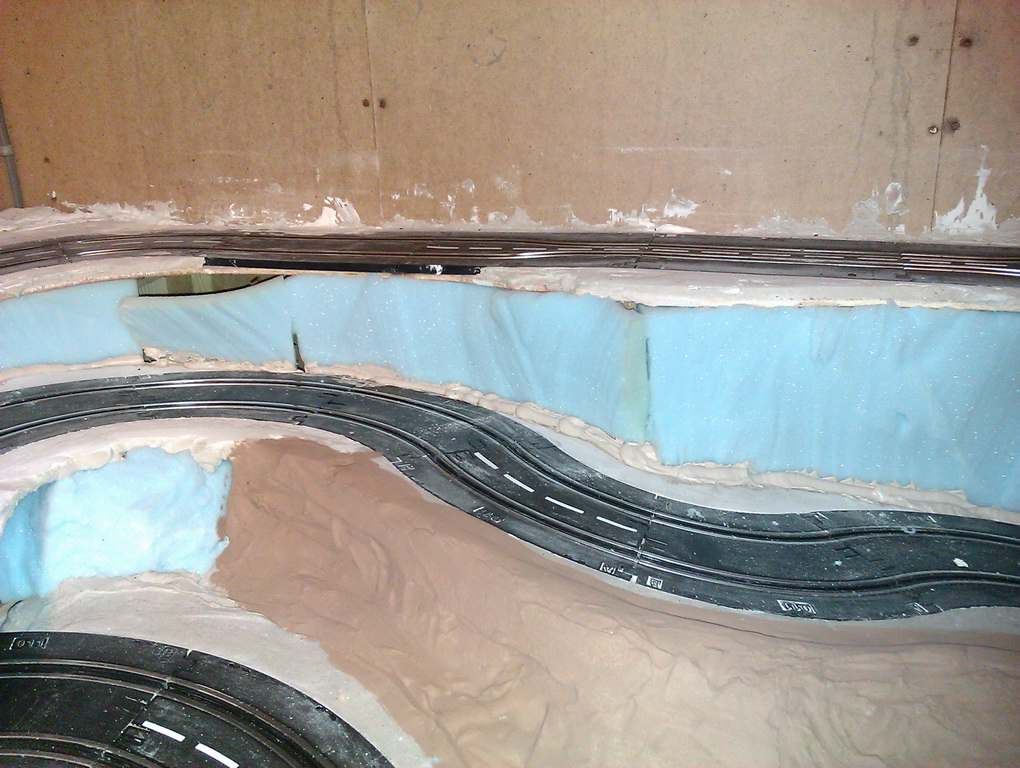
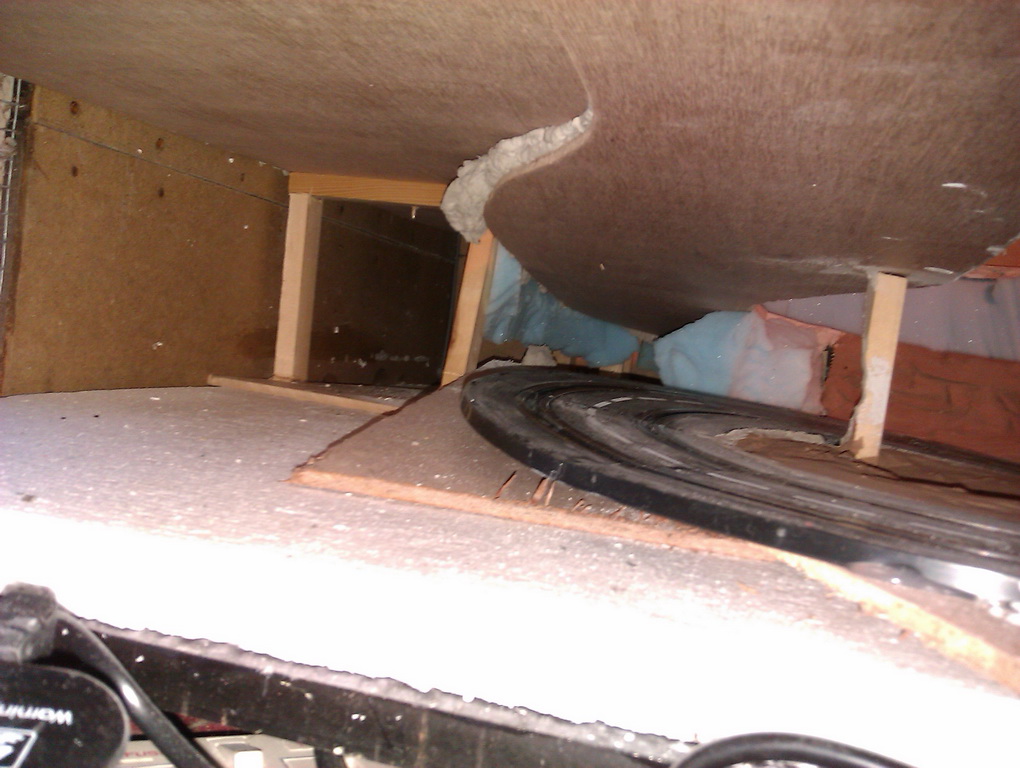
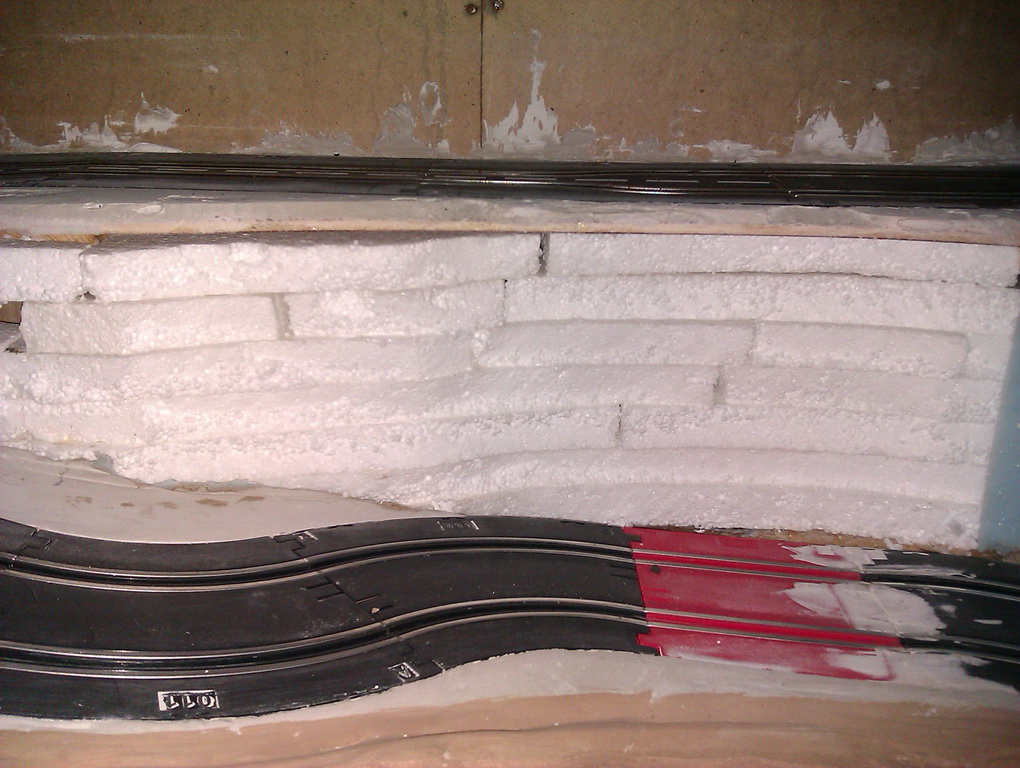
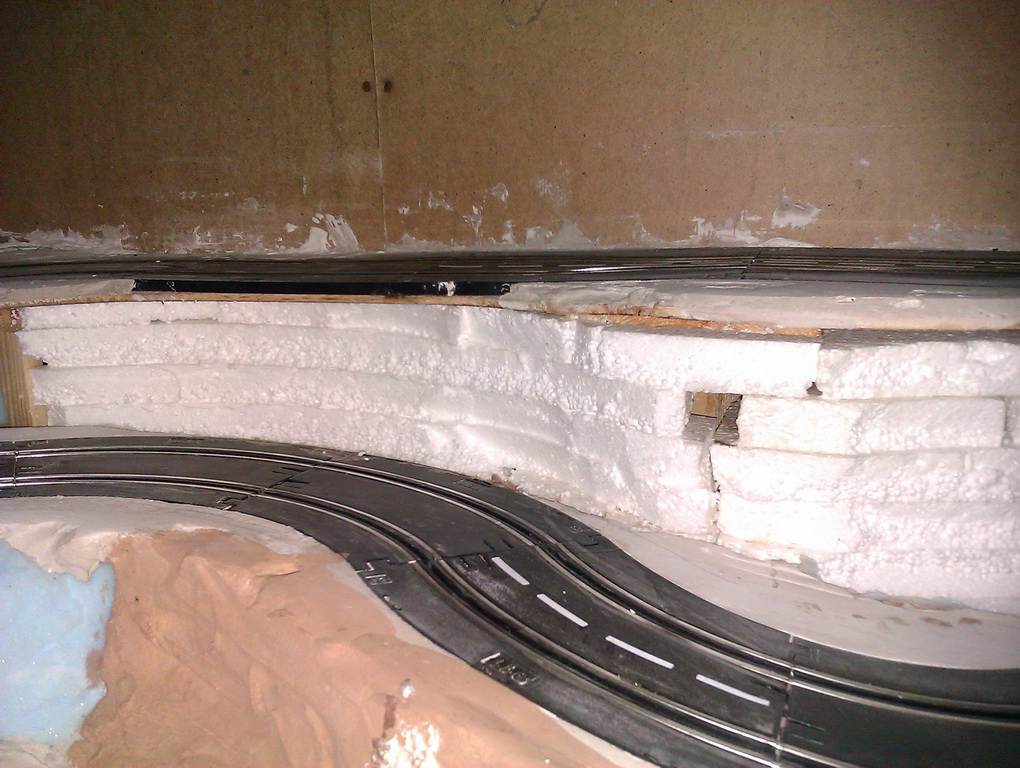
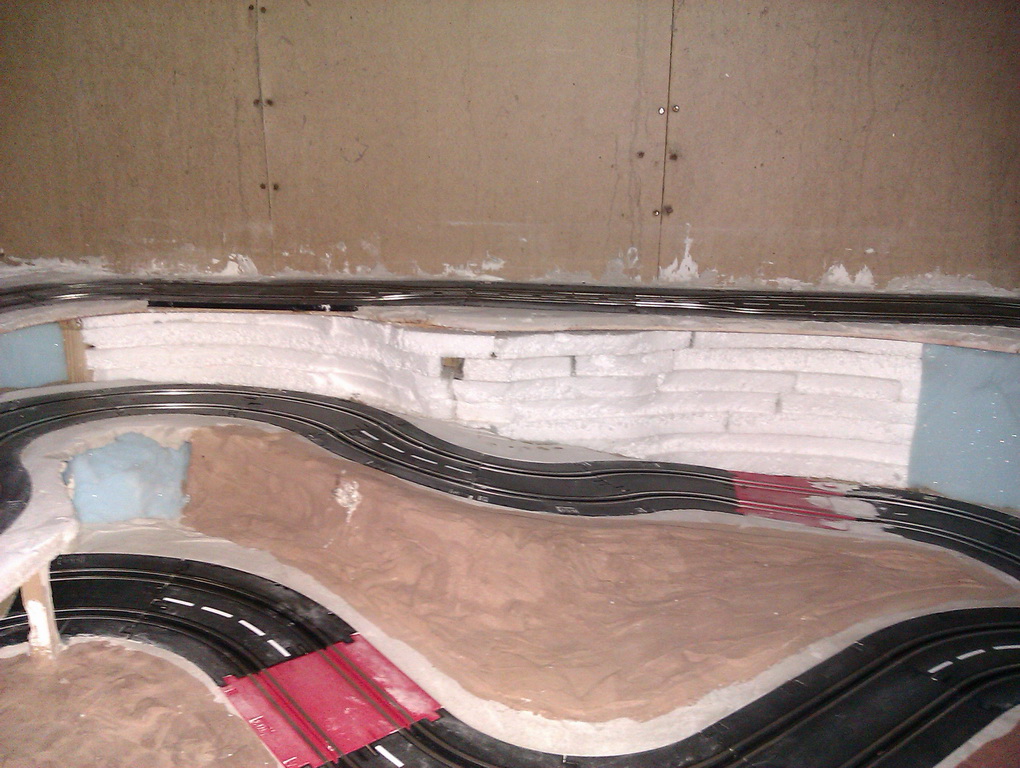
The first three photos show the sawtooth effect from the bread knife.
The third photo also shows how close the track is to the foam in places.
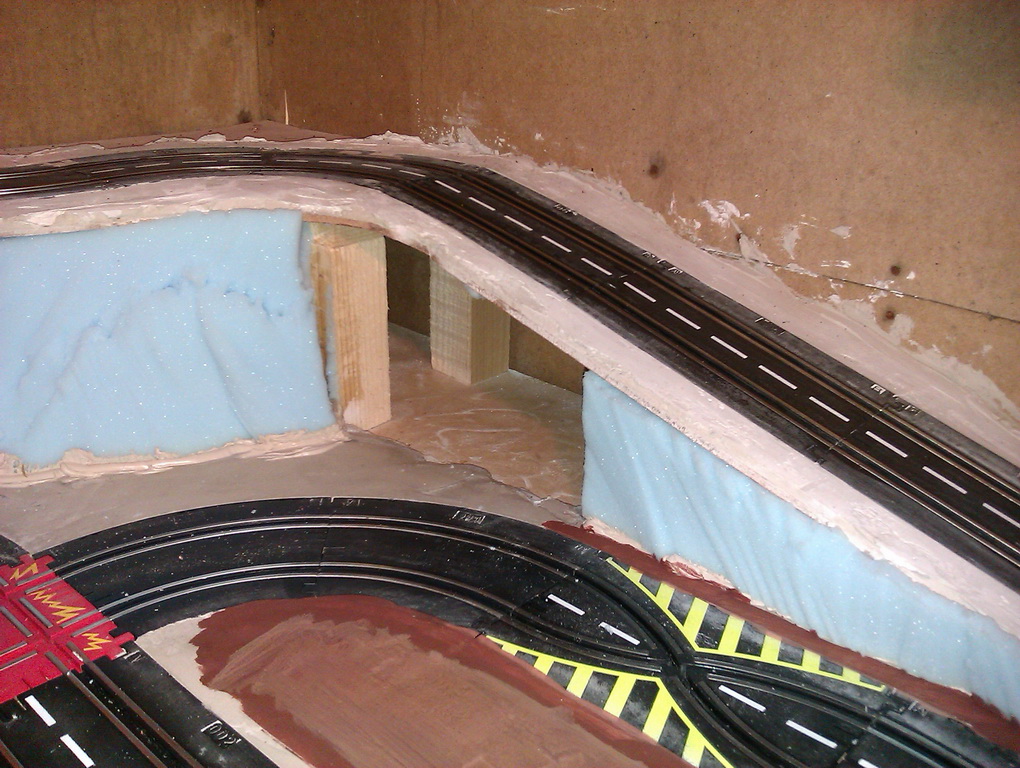
The next photo shows what will be a tunnel entrance with the road running in to it.
The but one photo shows the track under the over hang.
While the last photo show who I had to cut away the back of the support post here as for some reason the Polo and Corolla would not go past it without deslotting, everything else got by ok.
At the moment I have only glued the bottom of the foam, thought I would let this set before I fix the top.
So while I was letting the glue dry I got out some of my old modelling acrylic paints out and did some brown painting. The unpainted areas next to the track will become part of the track when the final painting is done.
My first try at gluing the foam in place was with PVA and I think it would have worked better if I had first sealed the foam and plaster with the PVA and then glued it. Second attempt was with solvent free grab adhesive, better known as liquid nails, and may be it's down to the chilly weather here and lack of heat in the shed but it didn't really stick to the foam or plaster, again I think I should have sealed the plaster first, see the third photo above.
As I feared foam to close to the track in one spot. The 2 pieces in the middle against the curve ( see third photo above again) have been removed as the wider cars hit it. My Mustang just made contact but at speed was deslotted by the contact and the VW Polo and Toyota Corolla both got stuck against the foam. Can't just move the foam back a bit as there is nothing behind the track just a deep void. Going to see if I can get some more foam off cuts from the foam supplier and fill the void with foam to the bottom of the tack support ply then place some ply or MDF on this and the place the foam further back.
Another little problem in the same place is where the climb in the track levels off in front of this section the outside lane has an open joint and when going down the slope there is a ridge as the track sections are not level. Looks like I am going to have to get the dremil out and do some more grinding. Hope I don't cause any electrical problems here.
Electrical is another problem and I am thinking I may have to copper tape over the rails. The rails in the Artin track are narrower than 1/32nd track and I am finding I have to be very careful how I position the braids with most of the cars or they will just stop on parts of the track. Then I have to adjust the braids again till they run ok. It seams the narrower the braids the more problems as these seam to move more same as when the Artin cars spin and twist the braids.
I've cut and glued lots of polystyrene in the voids behind the track. Don't know if it's the cool weather or just bad grab adhesive but it took ages to set and the is very brittle. If you flex the foam it snaps.
The polystyrene has all been glued in place with PVA so needs time to fully dry then I'm going to use PVA to fix the foam in place. If I coat both surfaces with the PVA and let it go tacky it will the act like a contact adhesive and grab better. I'll then pin the foam to the polystyrene until the PVA has fully dried.
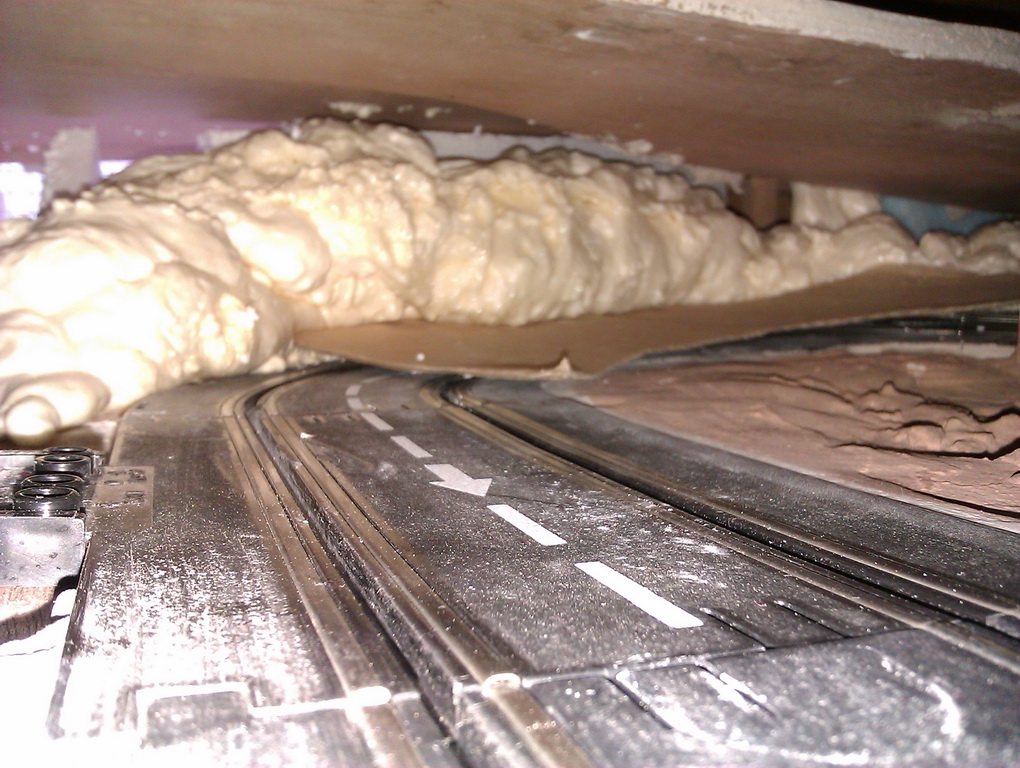
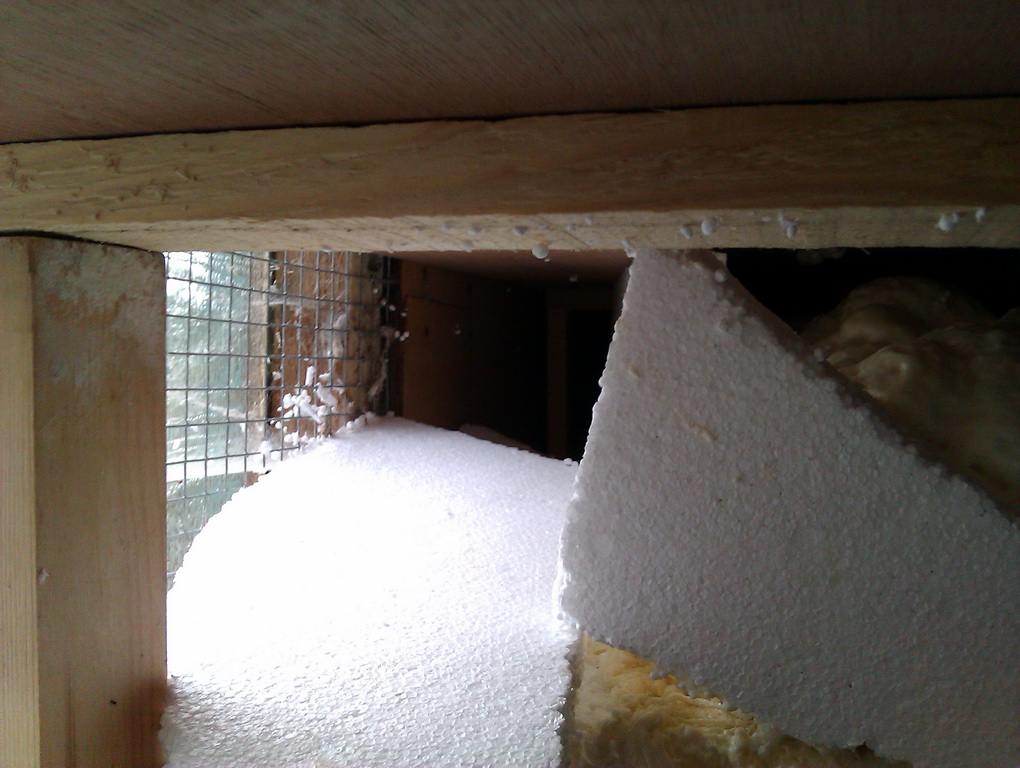
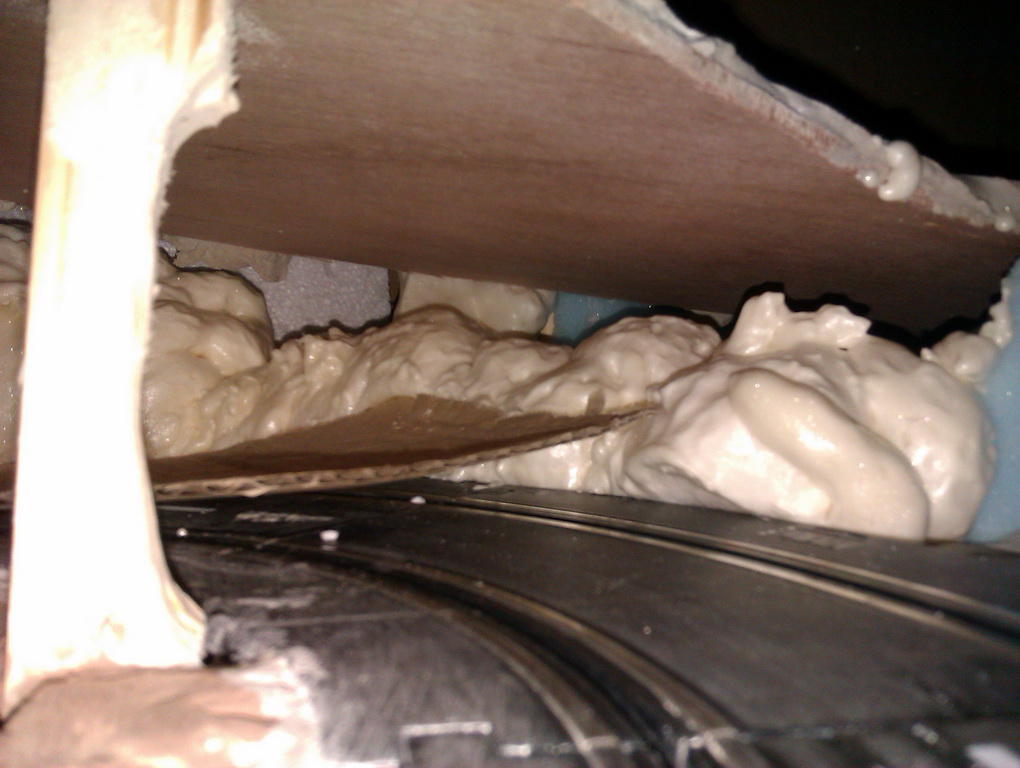
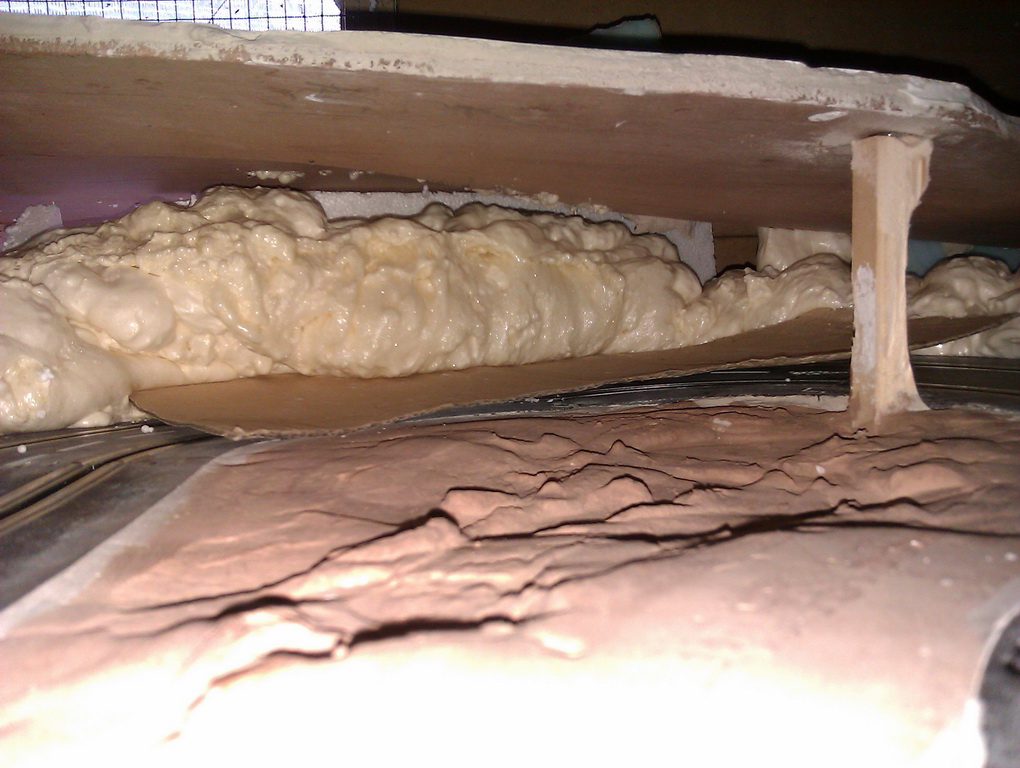
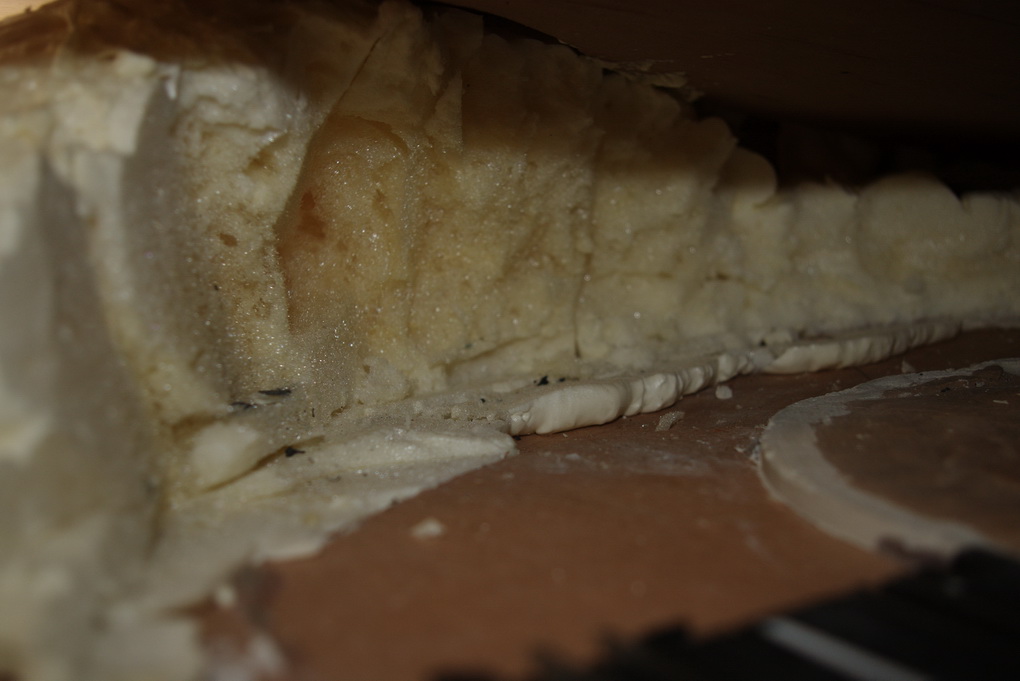
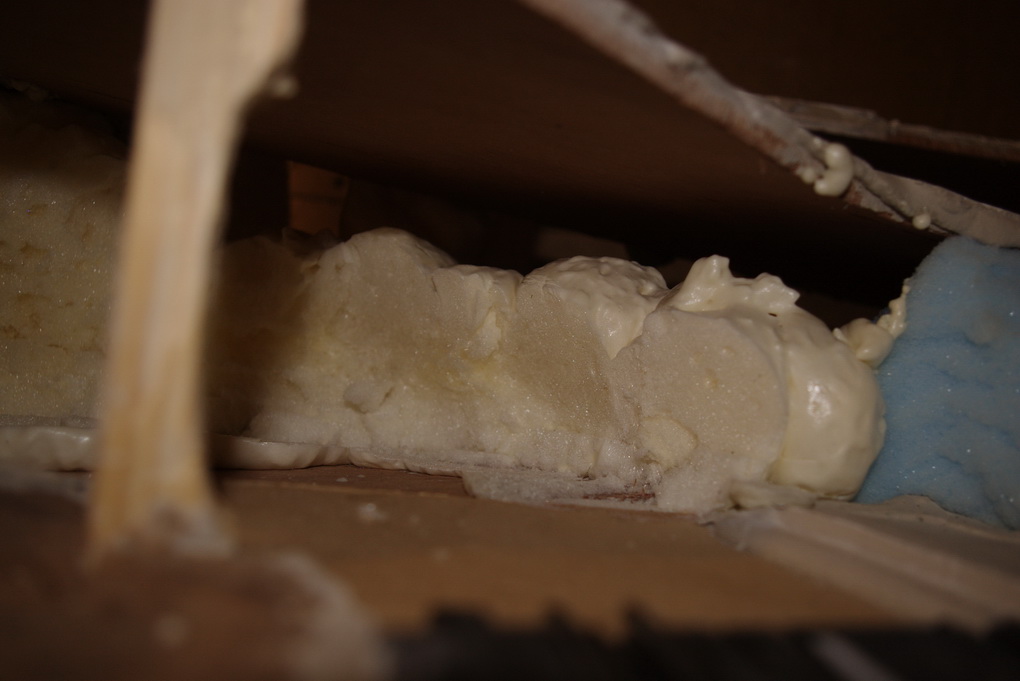
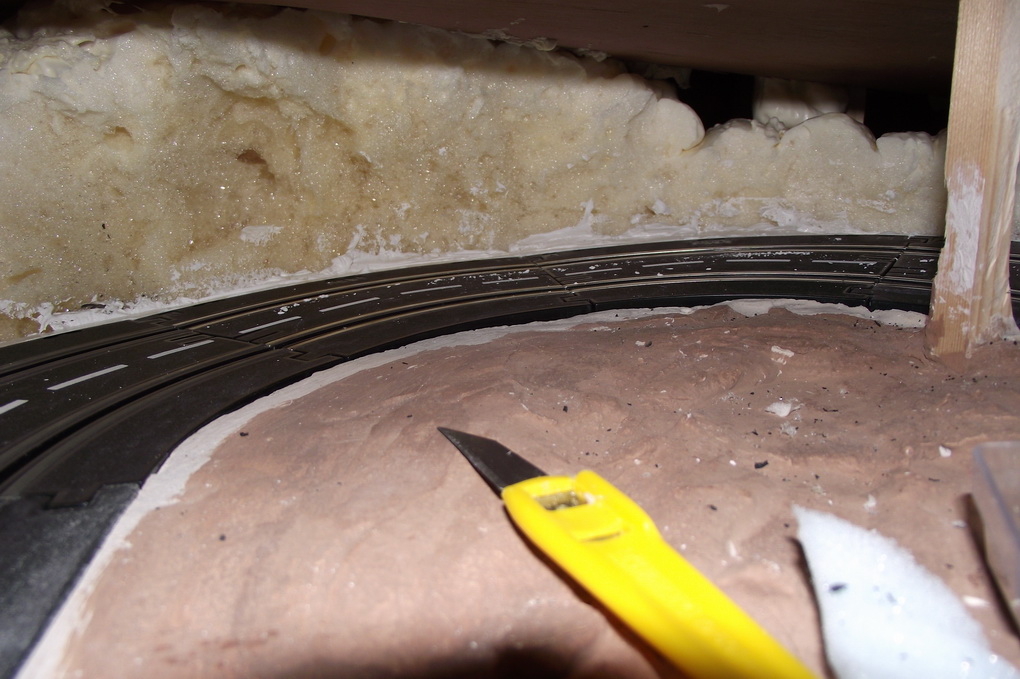
As to my little problem area under the overhang I decided to spray foam the back of the track, need another can of foam but this is what I have so far. All backed with some more polystyrene.
rally in a shed 0177
rally in a shed 0178
rally in a shed 0179
rally in a shed 0180
rally in a shed 0181
rally in a shed 0182
rally in a shed 0183
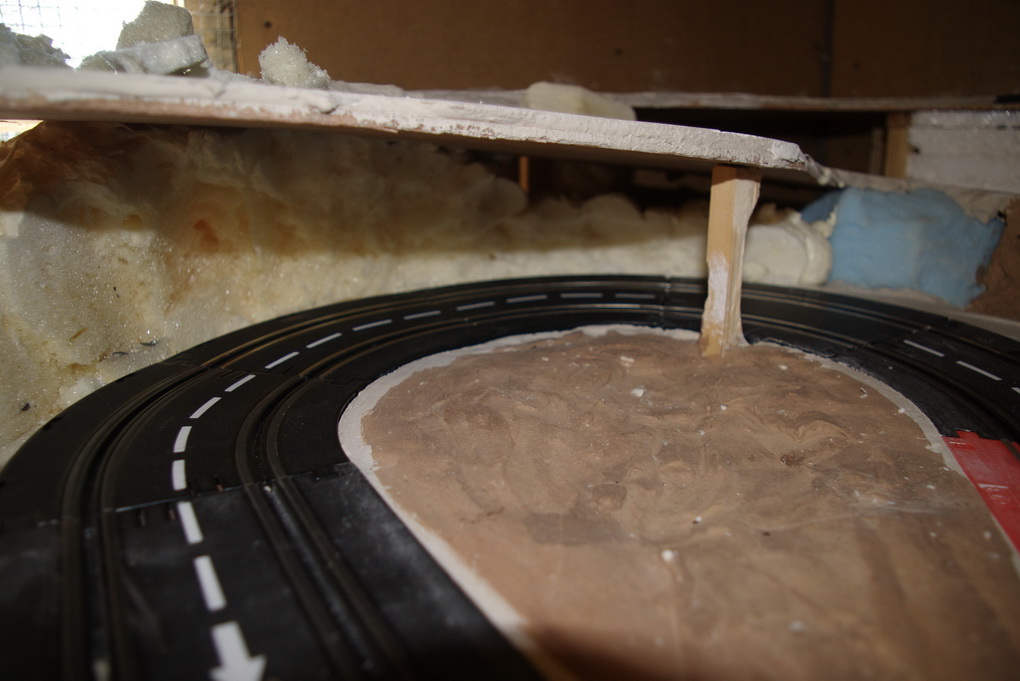
I have cut the foam back under the overhang and when testing the clearance found a major problem. When I left the track I thought as the foam had skinned it was fully expanded but looks like I was wrong. It was still expanding under the track and had lifted the outside edge of this curved piece as you can see brlow. A quick test drive proved it was undrivable. The angle of the track was lifting and deslotting all cars in both scales. My first thought was to try and remove the foam from under the track but to do so I think I would have had to remove most of the foam as well. I then decided to cut away the raised piece of track just to the rail and fill the hole with plaster or resin. Having removed the outer plastic section from the curve I then found that the outer rail has also lifted. The track had bent in the outer slot so I cut through all four rails at both ends and removed the whole piece of track. I then had to remove the pieces either side and to make refitting easier I removed a fourth curve. With the track removed I was able to remove the foam and cut it down around the edge of the track. Then I laid new track which is now a lot flatter than before. The gap between track and foam will be filled with plaster and sanded flat as per the rest of the track.
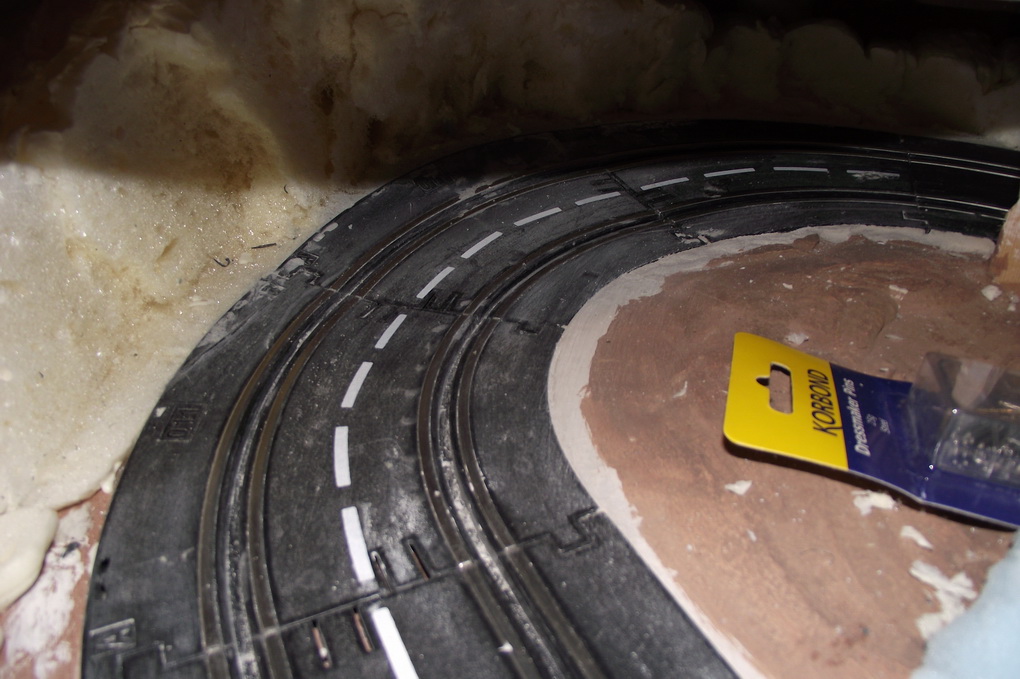
rally in a shed 0194
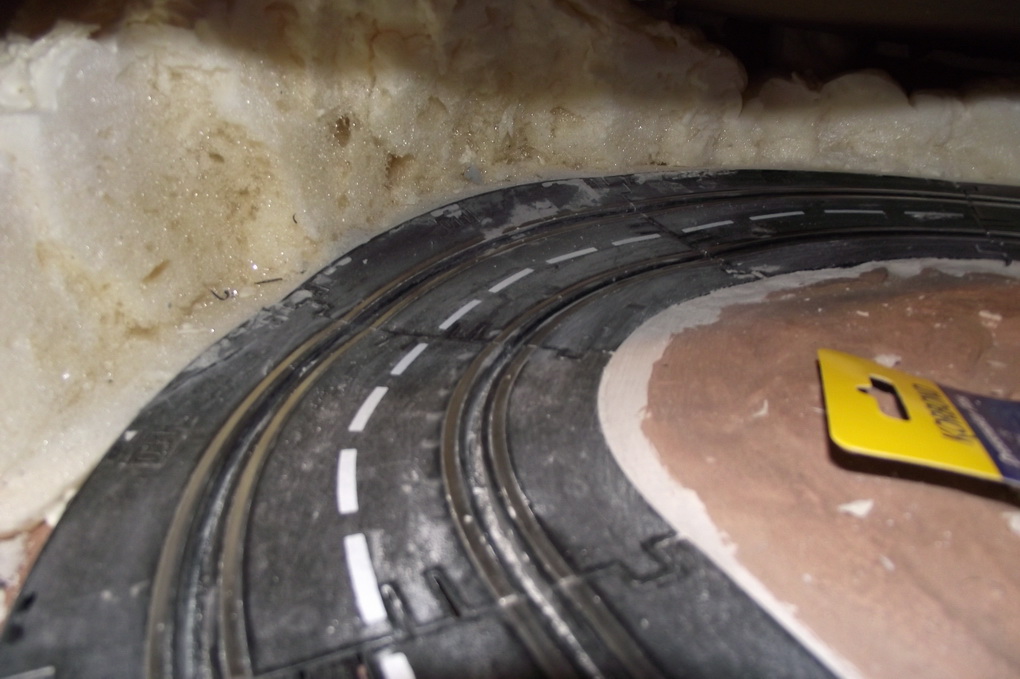
rally in a shed 0195
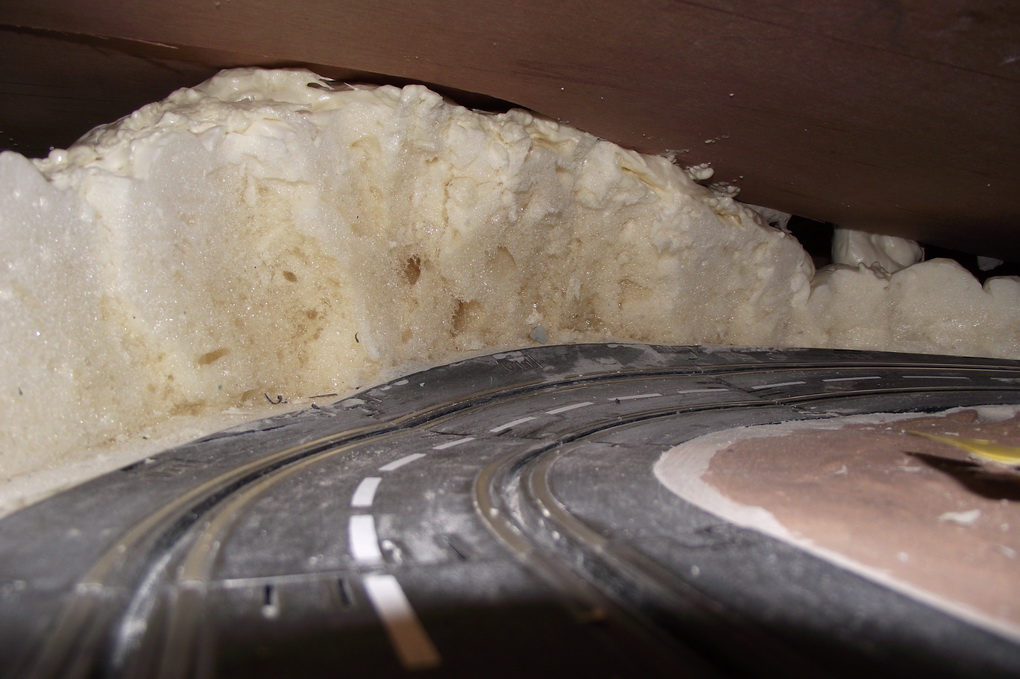
rally in a shed 0196
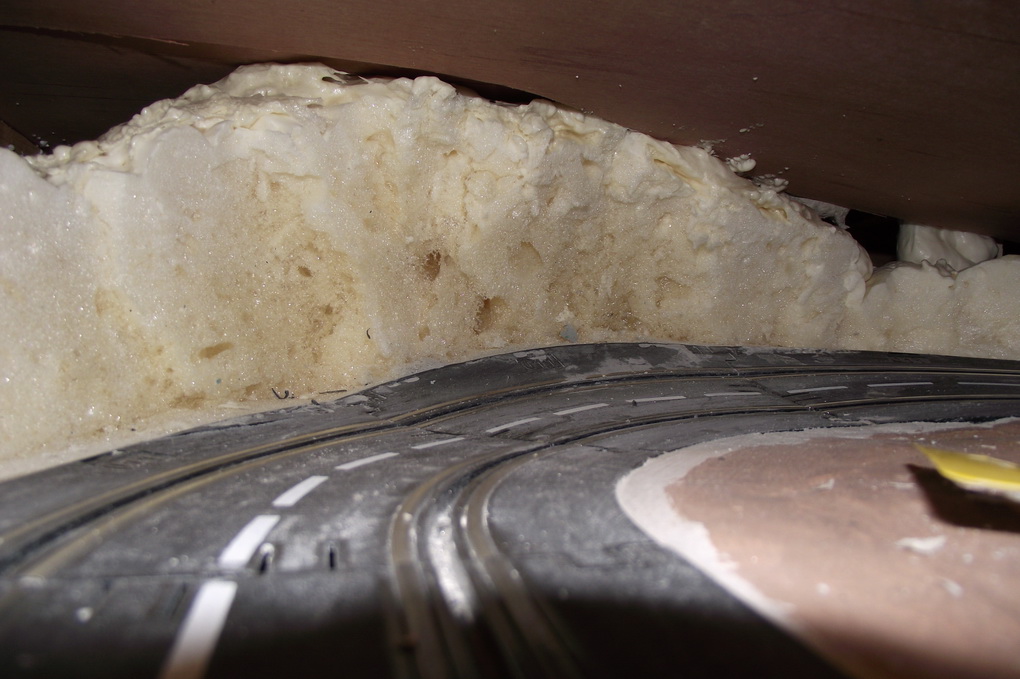
rally in a shed 0197
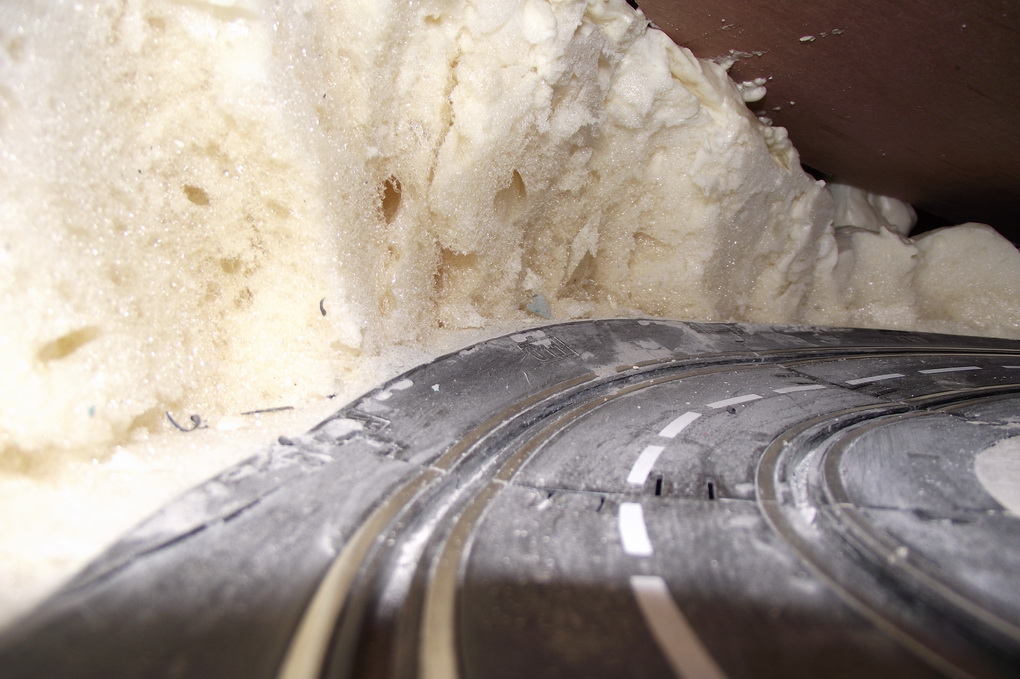
rally in a shed 0198
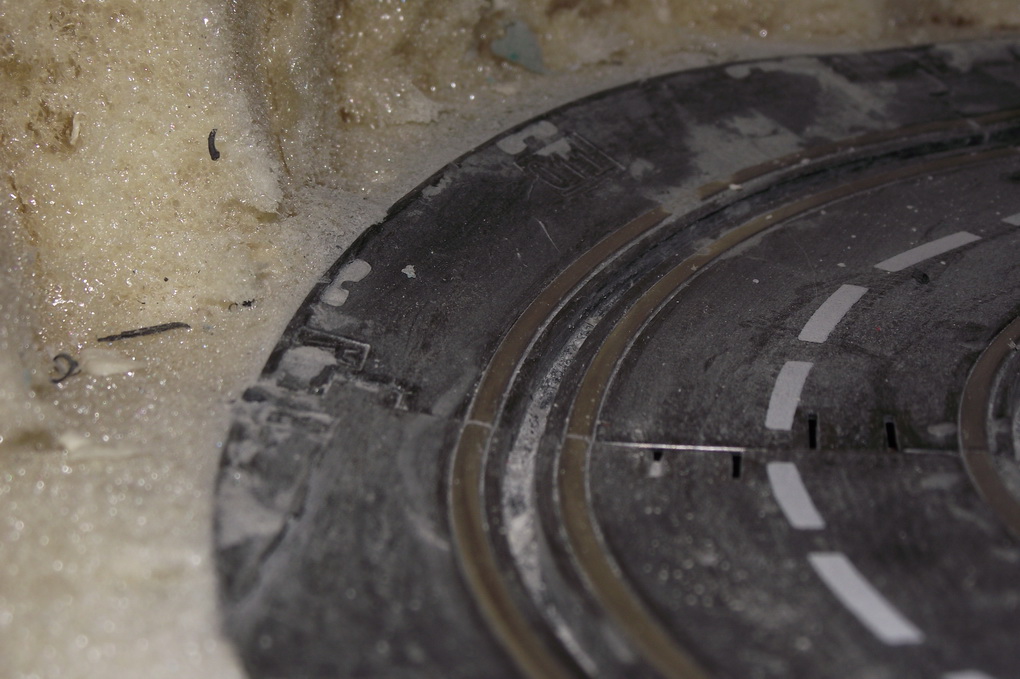
rally in a shed 0200
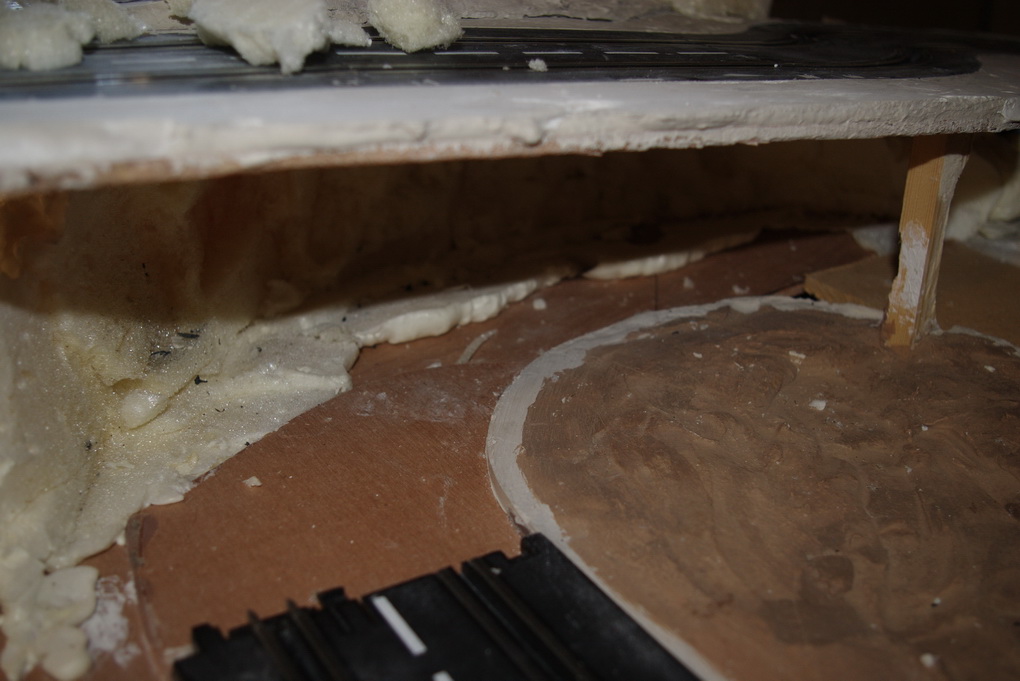
rally in a shed 0201
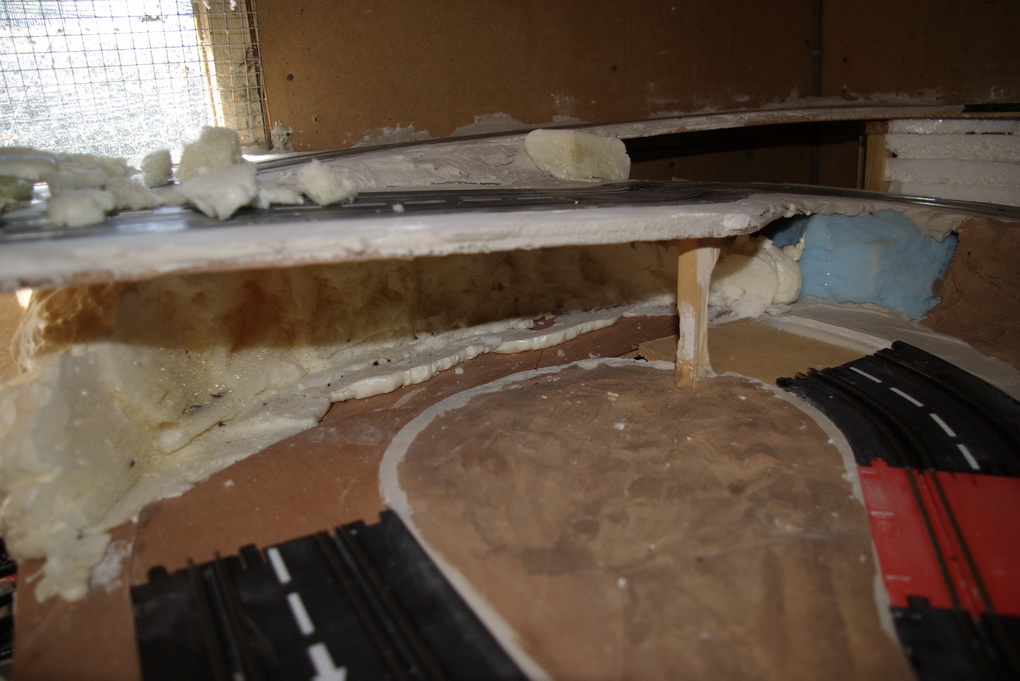
rally in a shed 0202
rally in a shed 0203
rally in a shed 0204
rally in a shed 0206
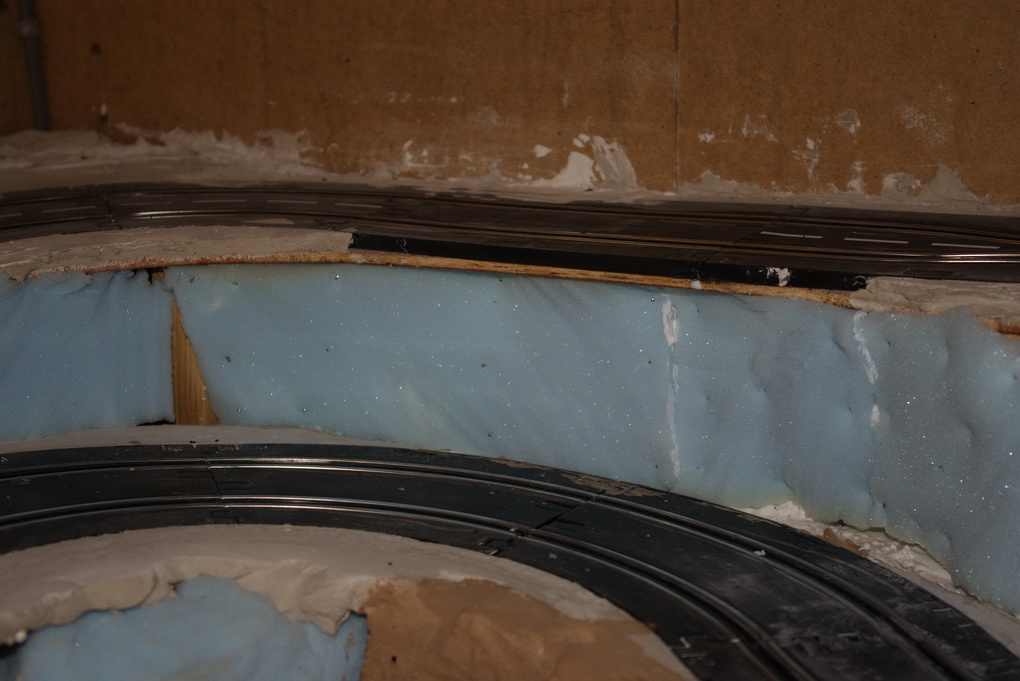
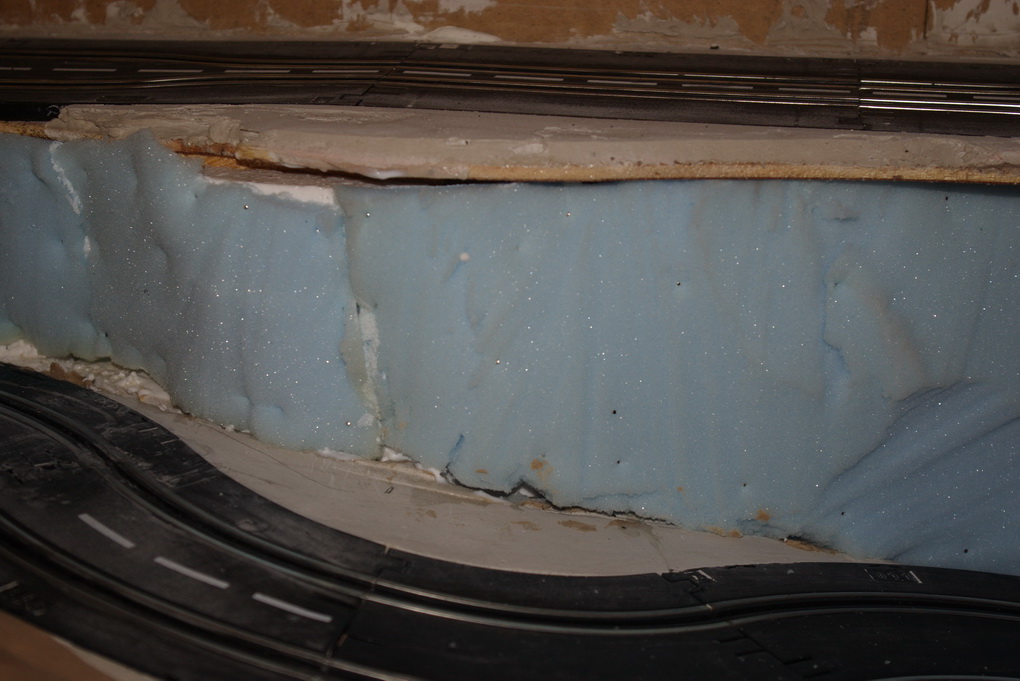
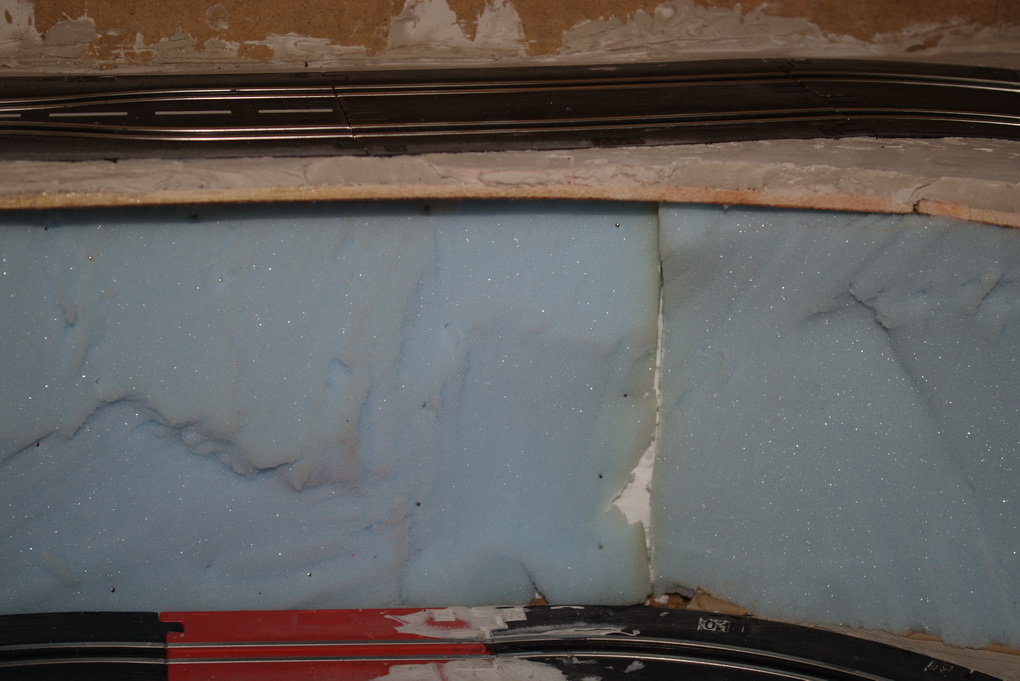
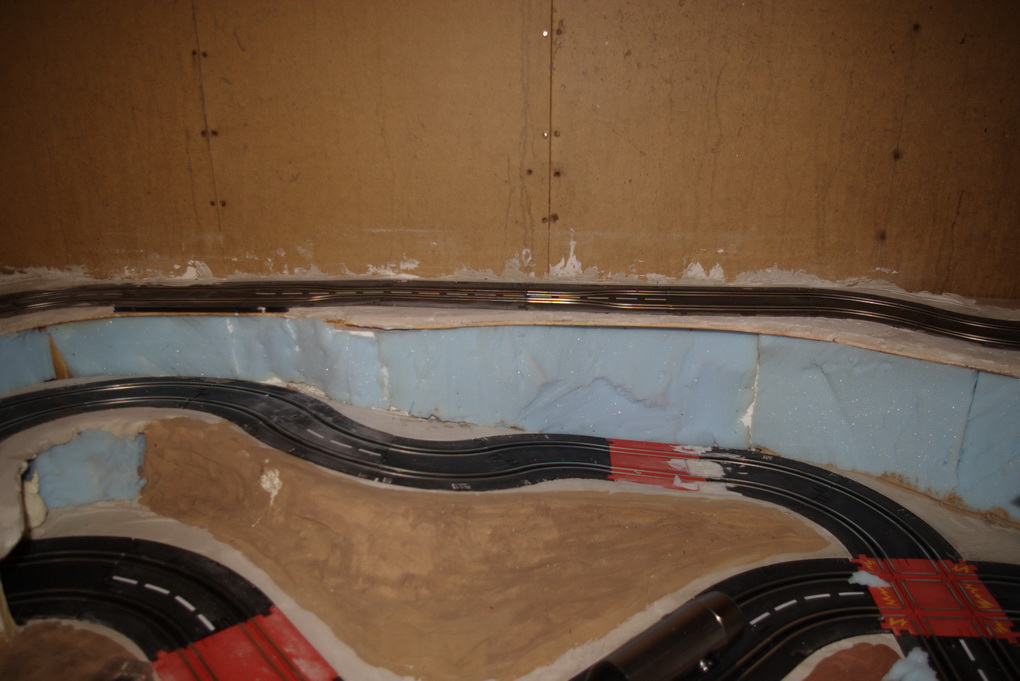
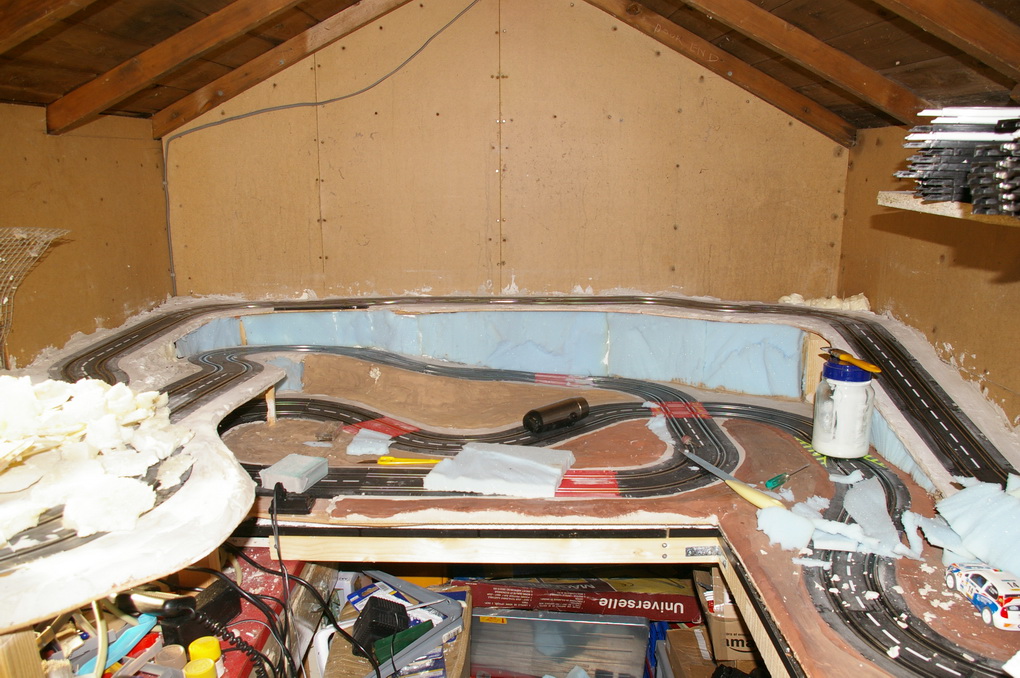
Then it was on to the frock along the back of the track. I cut the existing foam into thin pieces and the glued it in place with PVA applied to the foam and polystyrene. I the used dressmaking pins to pin the foam back against the polystyrene. The little dark spots in the foam are the pin heads. I will have to wait and see how well the joins in the foam work and disappear.
rally in a shed 0207
rally in a shed 0208
rally in a shed 0209
rally in a shed 0210
rally in a shed 0211
I also did a lot more grinding of track and rail in the same two places as before, top of the righthand rise and in the middle of the back bends. The middle section is just about ok now but the top of the righthand rise is still way to sharp. It needs to be taken slowly but some cars still deslot going up and some when going slowly bottom out on the track. Some cars also don't like going down either. One thing I have found is that different front axle arrangements effect how the cars behave on different parts of the track. Those with a floating front axle appear to take the cambered sections better but don't take the top of the righthand rise so well when going up compared the cars with a rigid front axle.
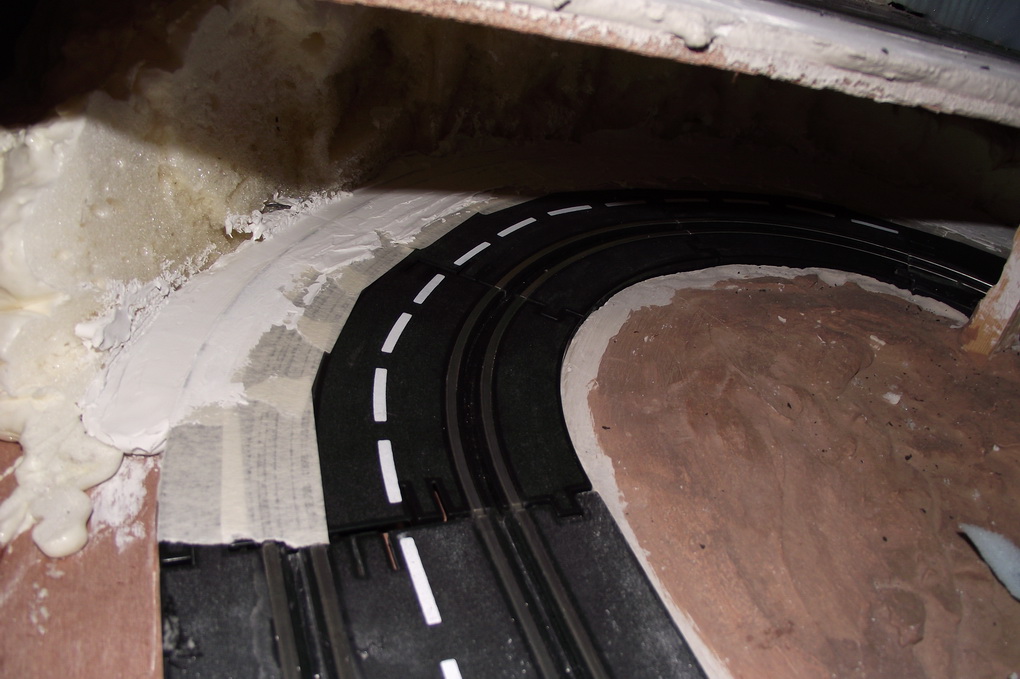
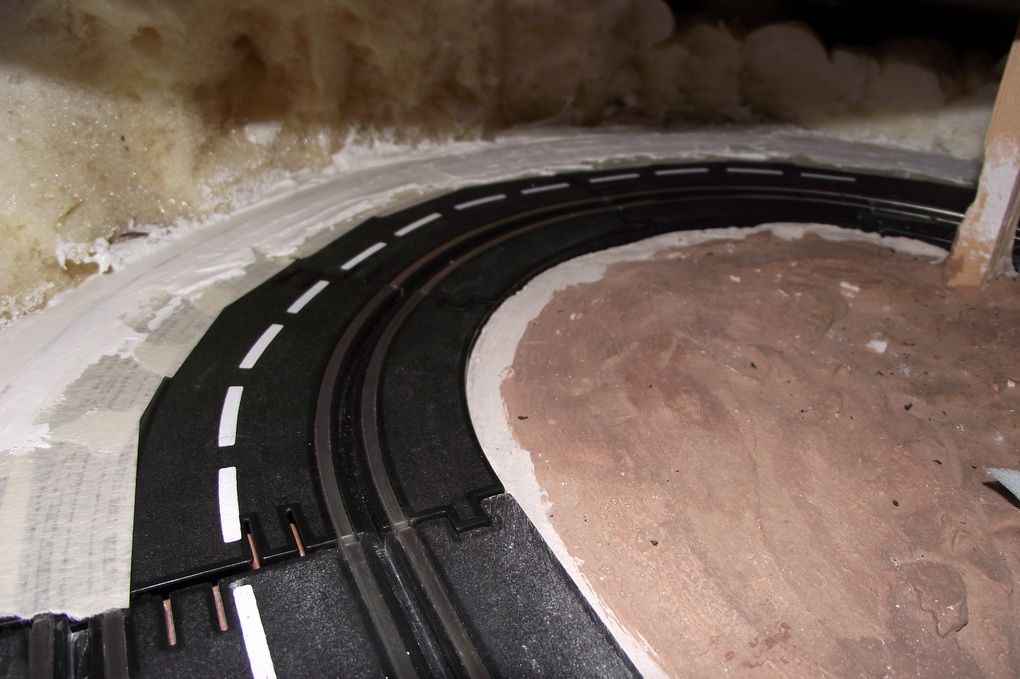
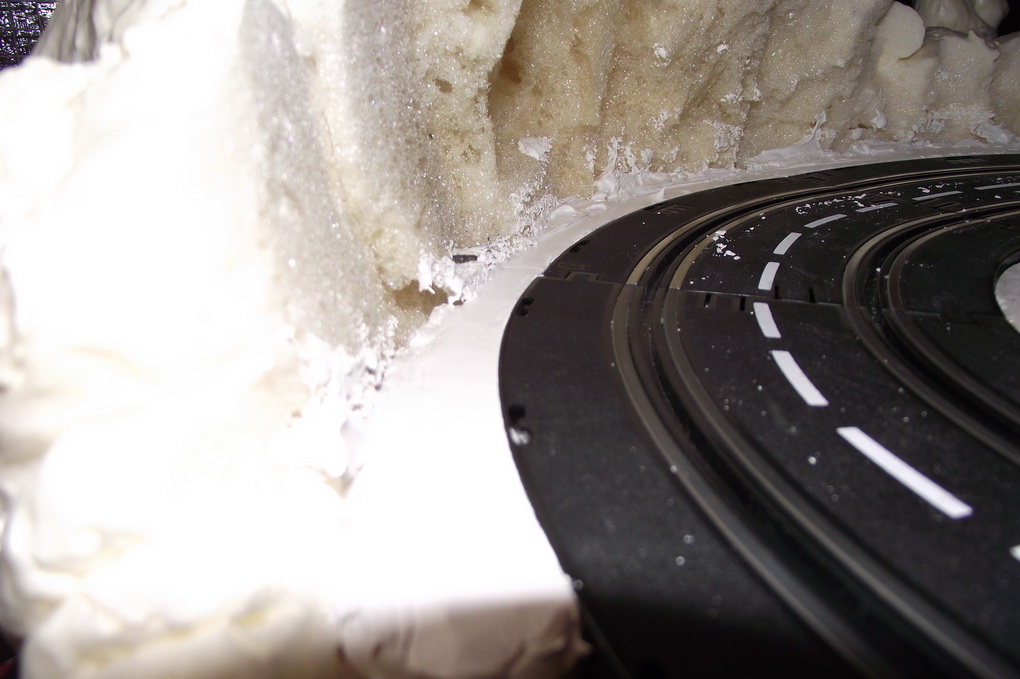
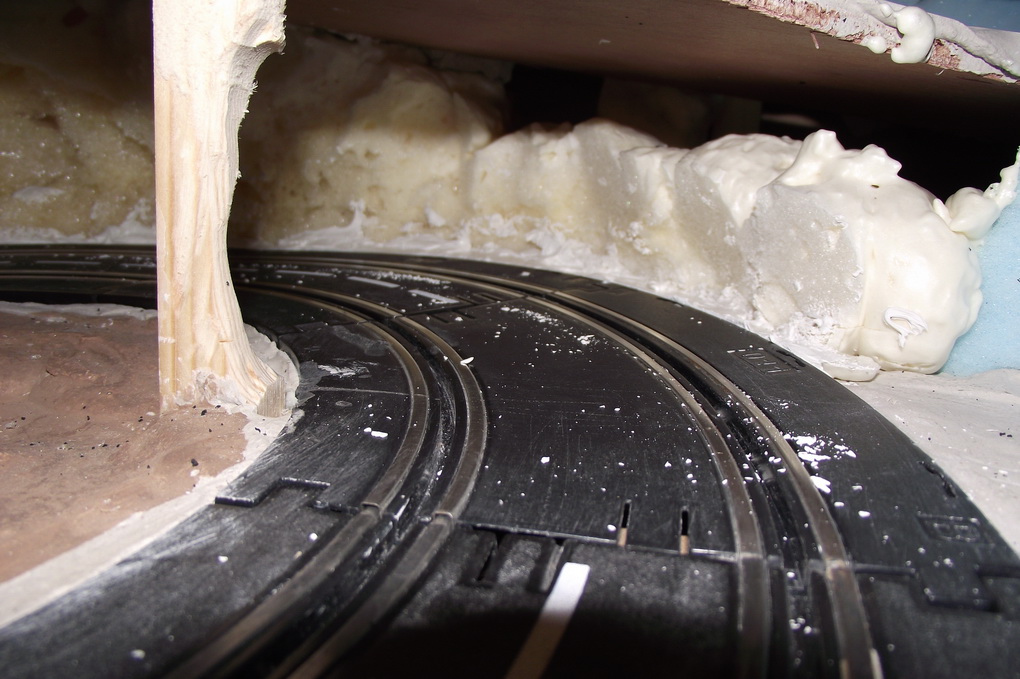
Filled the gap between the new track pieces and the foam with filler. I used a fine surface filler as it gives a much smoother finish than the dry wall adhesive, however I have taken a gamble with it as it should only be used upto about 2mm thick. I just hope it sets ok. If you look closely at the inside of the bend you can see that I could not get the track to sit as low as before and there is now a drop from track to infill. I don't think this will cause a problem as the inside track has to be taken a speed to slide the car around to miss the wooden support even after removing some of it as you can see in the photo.
rally in a shed 0213
rally in a shed 0214
rally in a shed 0216
rally in a shed 0217
rally in a shed 0218


 2024
2024