November 2020
Latest arrivals
Car build updates
3/11/2020Done some detail work on the Airfix Ford Zodiac MKIII body. I've painted what would be the door panels in red to match the rest of the interior and I've painted the rear tail light using Tamiya translucent red and orange, also painted the steering column.
4/11/2020Fitted the tail lights on the Airfix Ford Zodiac body today, I used the Krystal Klear to glue them in place I've also done the headlights and rather than use the plastic ones from the kit I have tried making them with the Kristal Klear and am waiting for them to dry so I can see what they are like. I've also fixed the steering column and wheel to the dash panel.
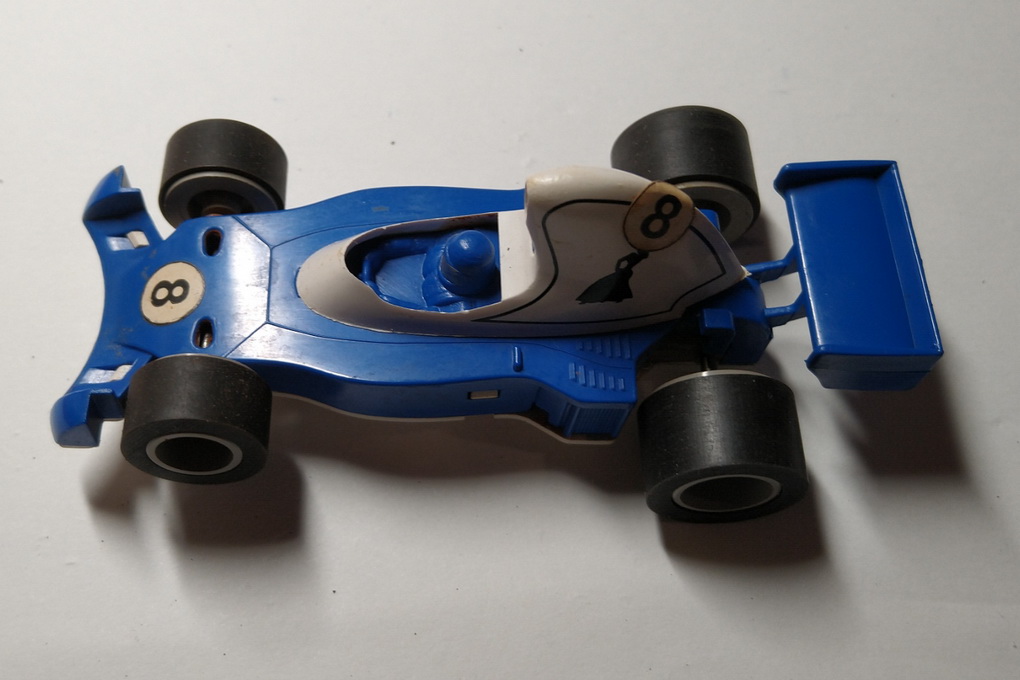
6/11/2020Decided to build up the Polar Lights chassis from the Green Hornet kit this afternoon. An interesting build to say the least and although a fairly simple build they have over complicated some parts. First the motor which is a can drive and comes with a very long pinion shaft. Why, well the motor has screw holes in the can on either side and the chassis has a single mounting bracket by the rear axle but the screw holes in the are at the top and bottom.
To get around this you have a metal casting the you screw to the motor can and then screw this to the chassis. The chassis it's self goes together easy enough and is a bit like a Riko chassis and there are two body mounting brackets that also fix to the chassis bolt. They have a lot of adjustment as does the chassis with its wheel base. Next problem is the guide, this is in two parts with the blade and post slotting through the braid holder. This might work OK but the guide is held in place by a nut and the guide stem is to small for the nut.
You can screw it on but you can't get it even remotely tight and the nut will pull off. next up are the braids, these slot in to the bottom of the guide and have a brass sleeve that you push in the guide and trap the wire the goes in the top and you have to fold the brass sleeve around the braids yourself. The biggest problem of all is that the holes in the wheels are to big for the axles so they just slide straight on with no pressure and don't grip the axle and fall off. A full build report will be added to the kits page and I will put a link here when done.
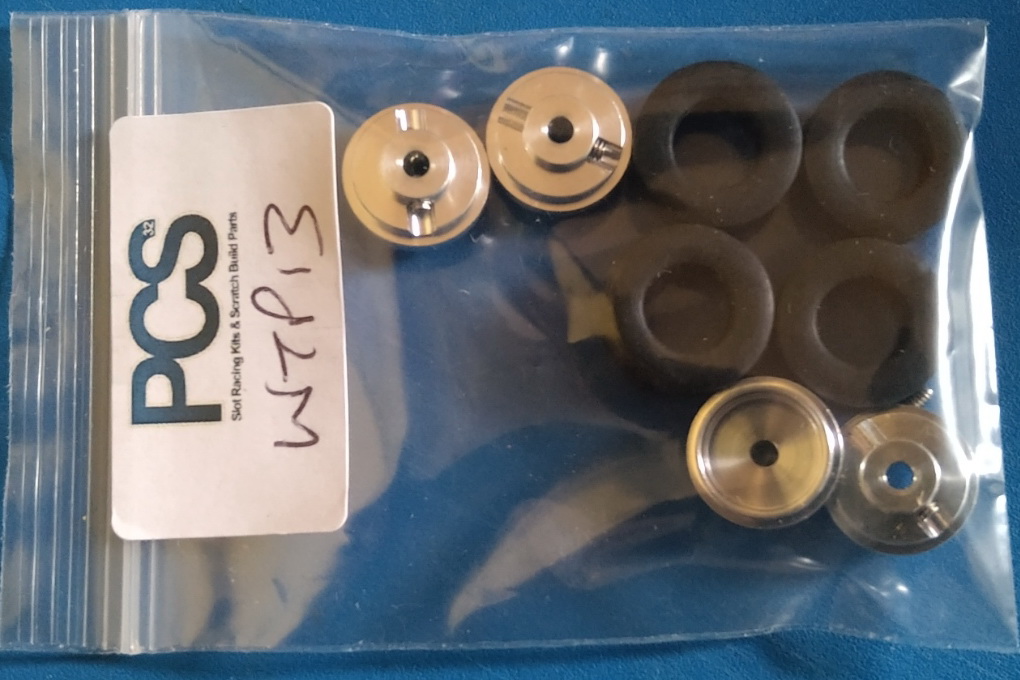
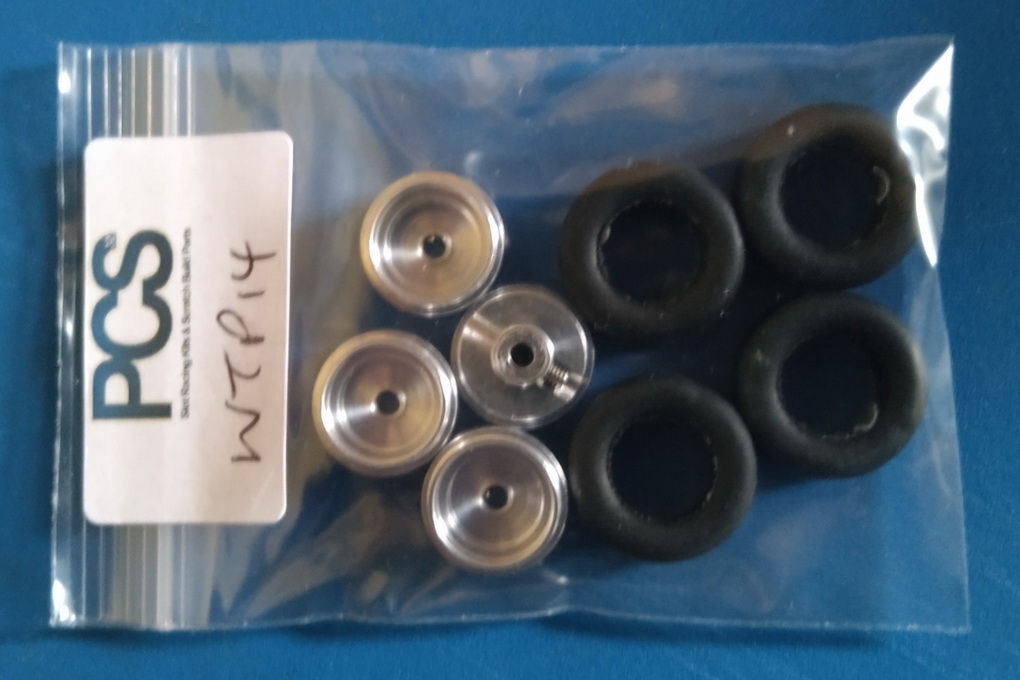
One small bonus I thought I had was that the tyres from the Green Hornet kit fit the SRC wheels I am using on the Beetle chassis but the are big and proved to be to big for the chassis and just a bit to big for the Beetle body. having failed to find any tyres to fit the wheels I then decides to change the wheels, I have a set of VW / Porsche wheels I bought from Pendle's some time ago when I was about to do another Airfix Beetle.
While checking wheel sizes I just by chance tried the Revell kit tyres on the SRC wheels and the fit. Gave the chassis a run and they seem to work but jumping all over the place due to all the mould lines. So a quick sanding and they seem to work ok on my Airfix track, think they will need gluing as the have no bead to hold them in place.
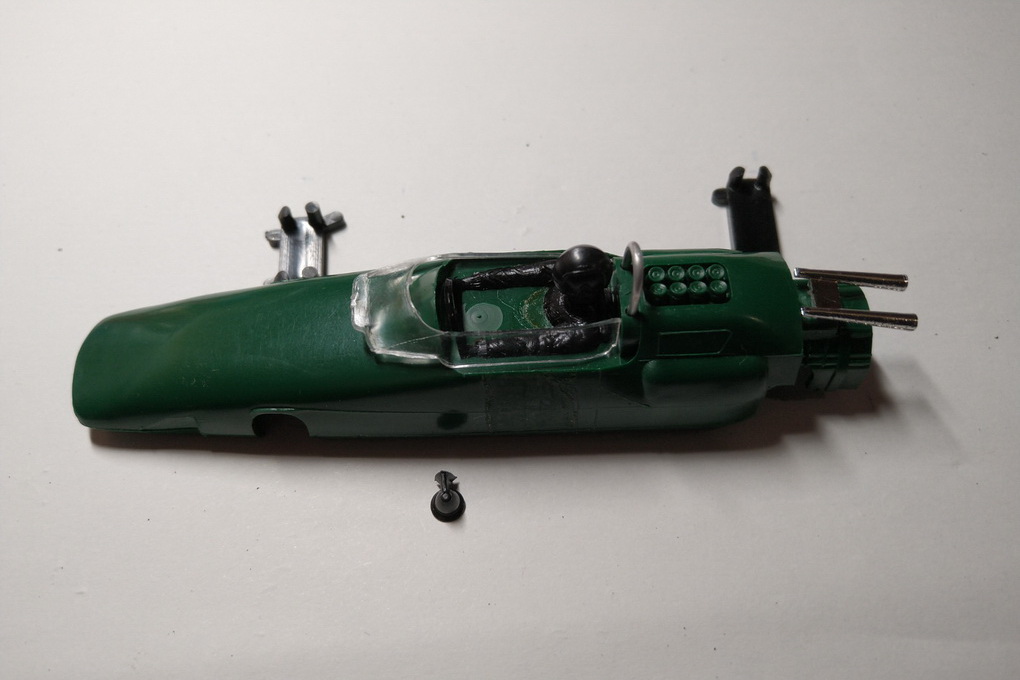
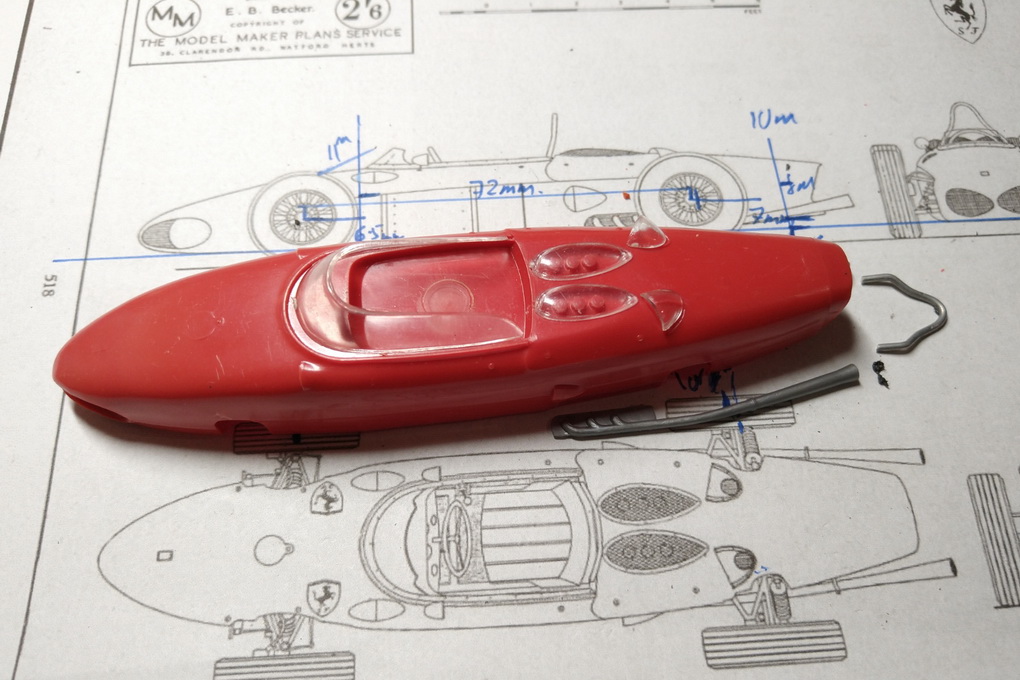
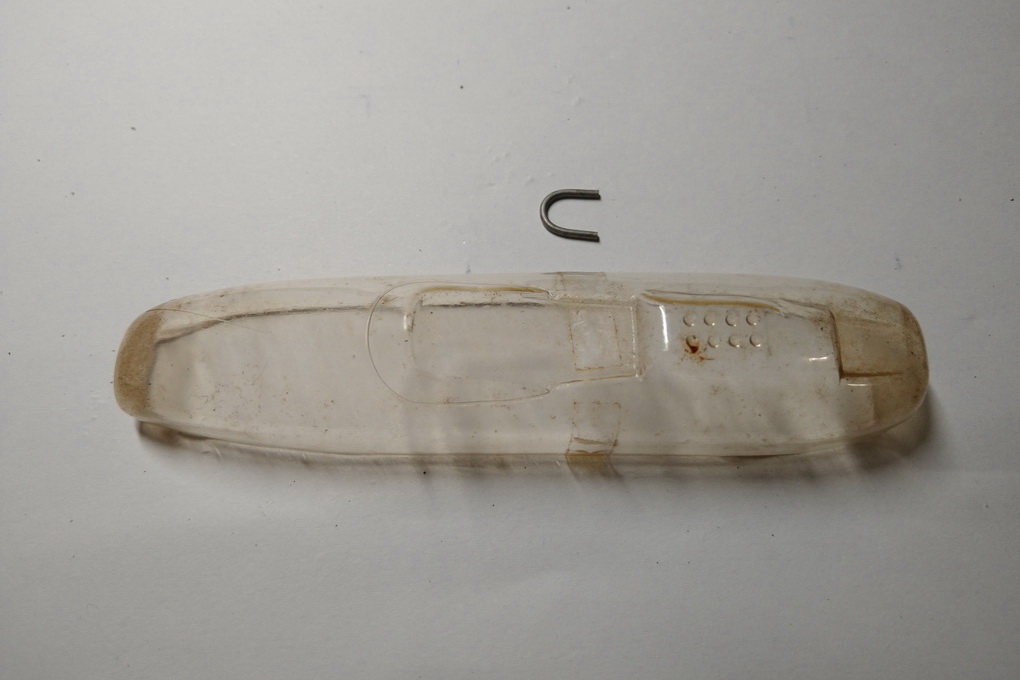
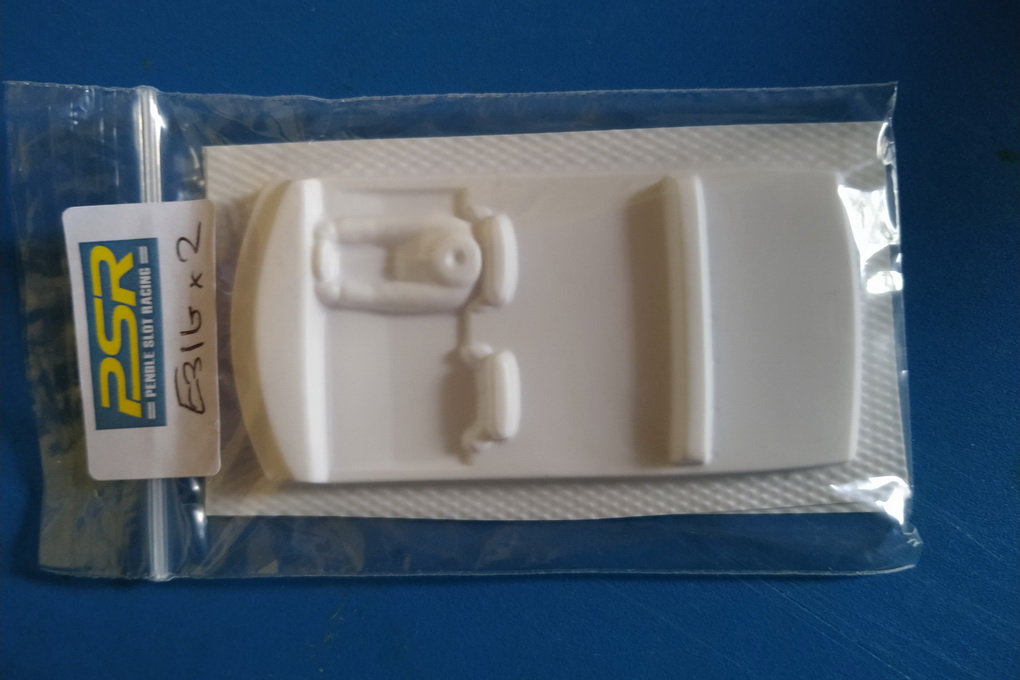
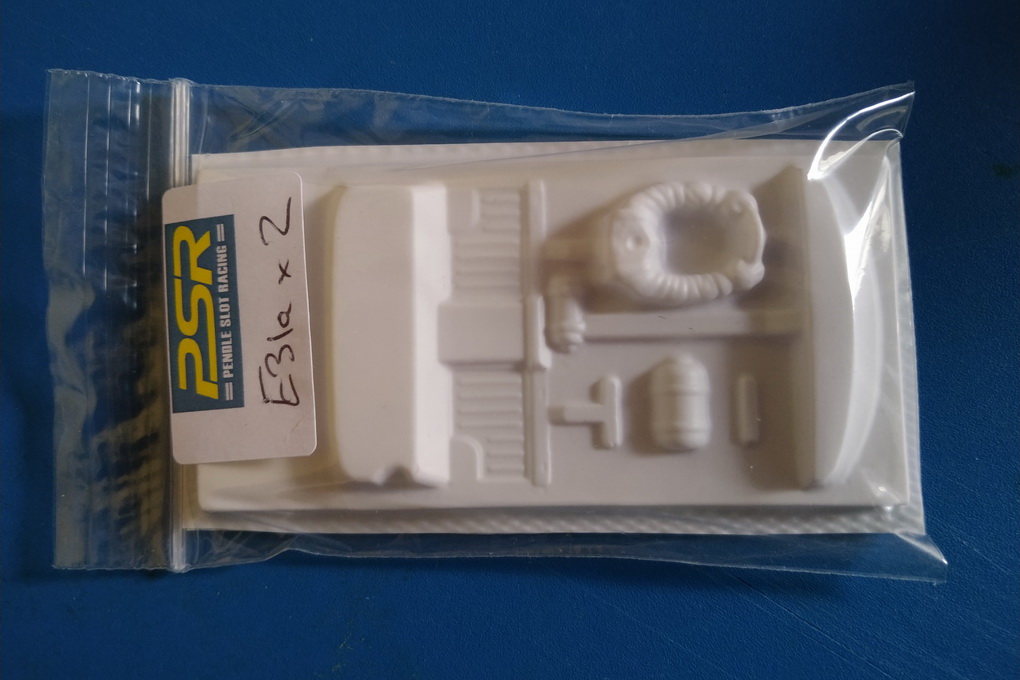
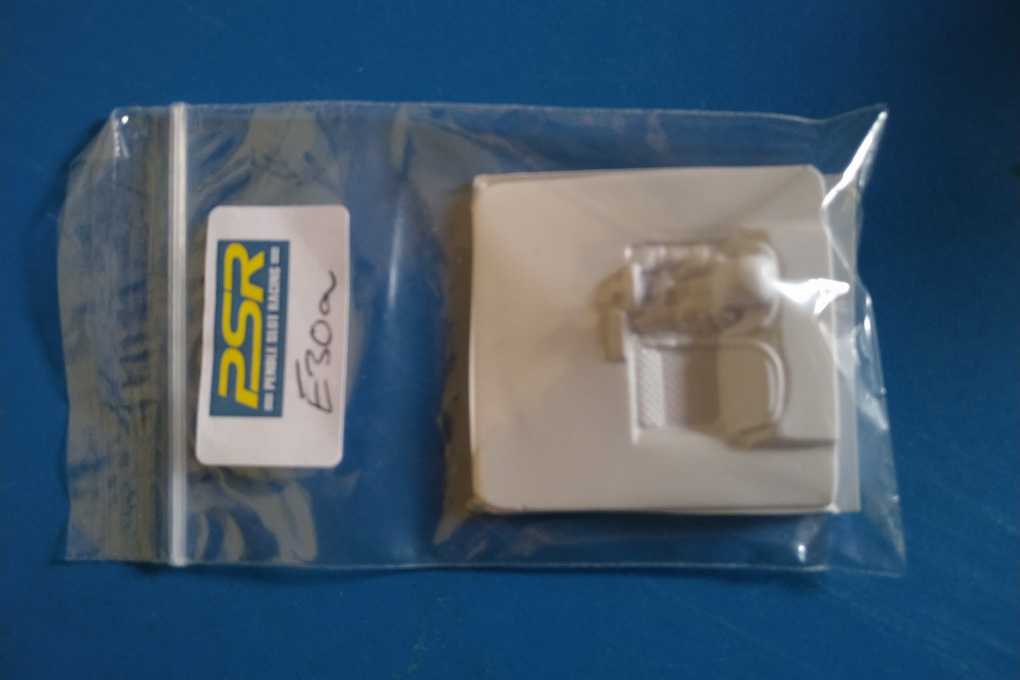
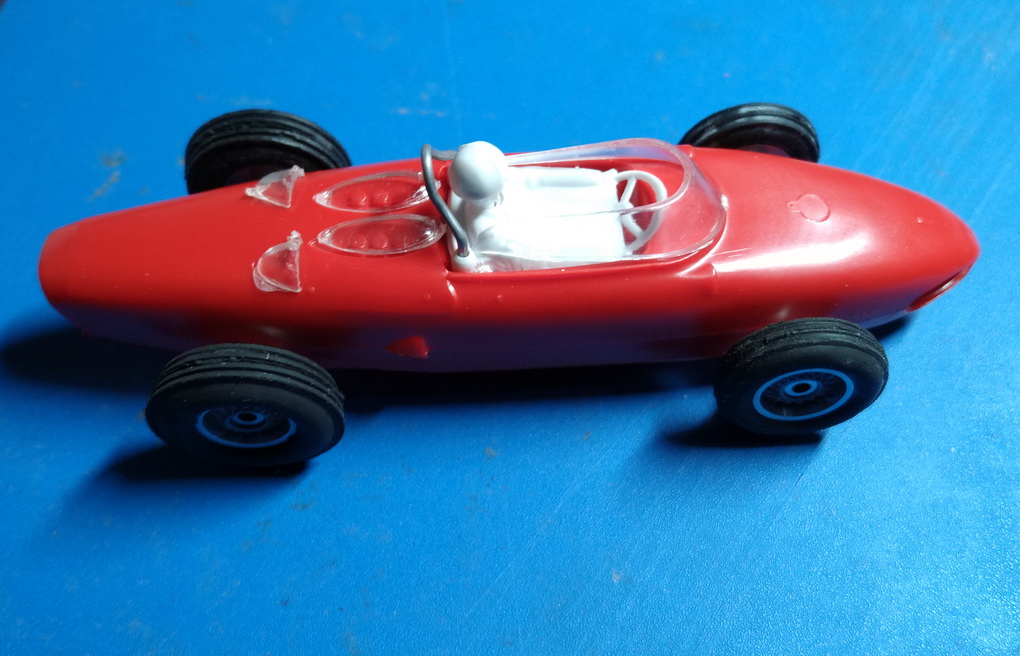
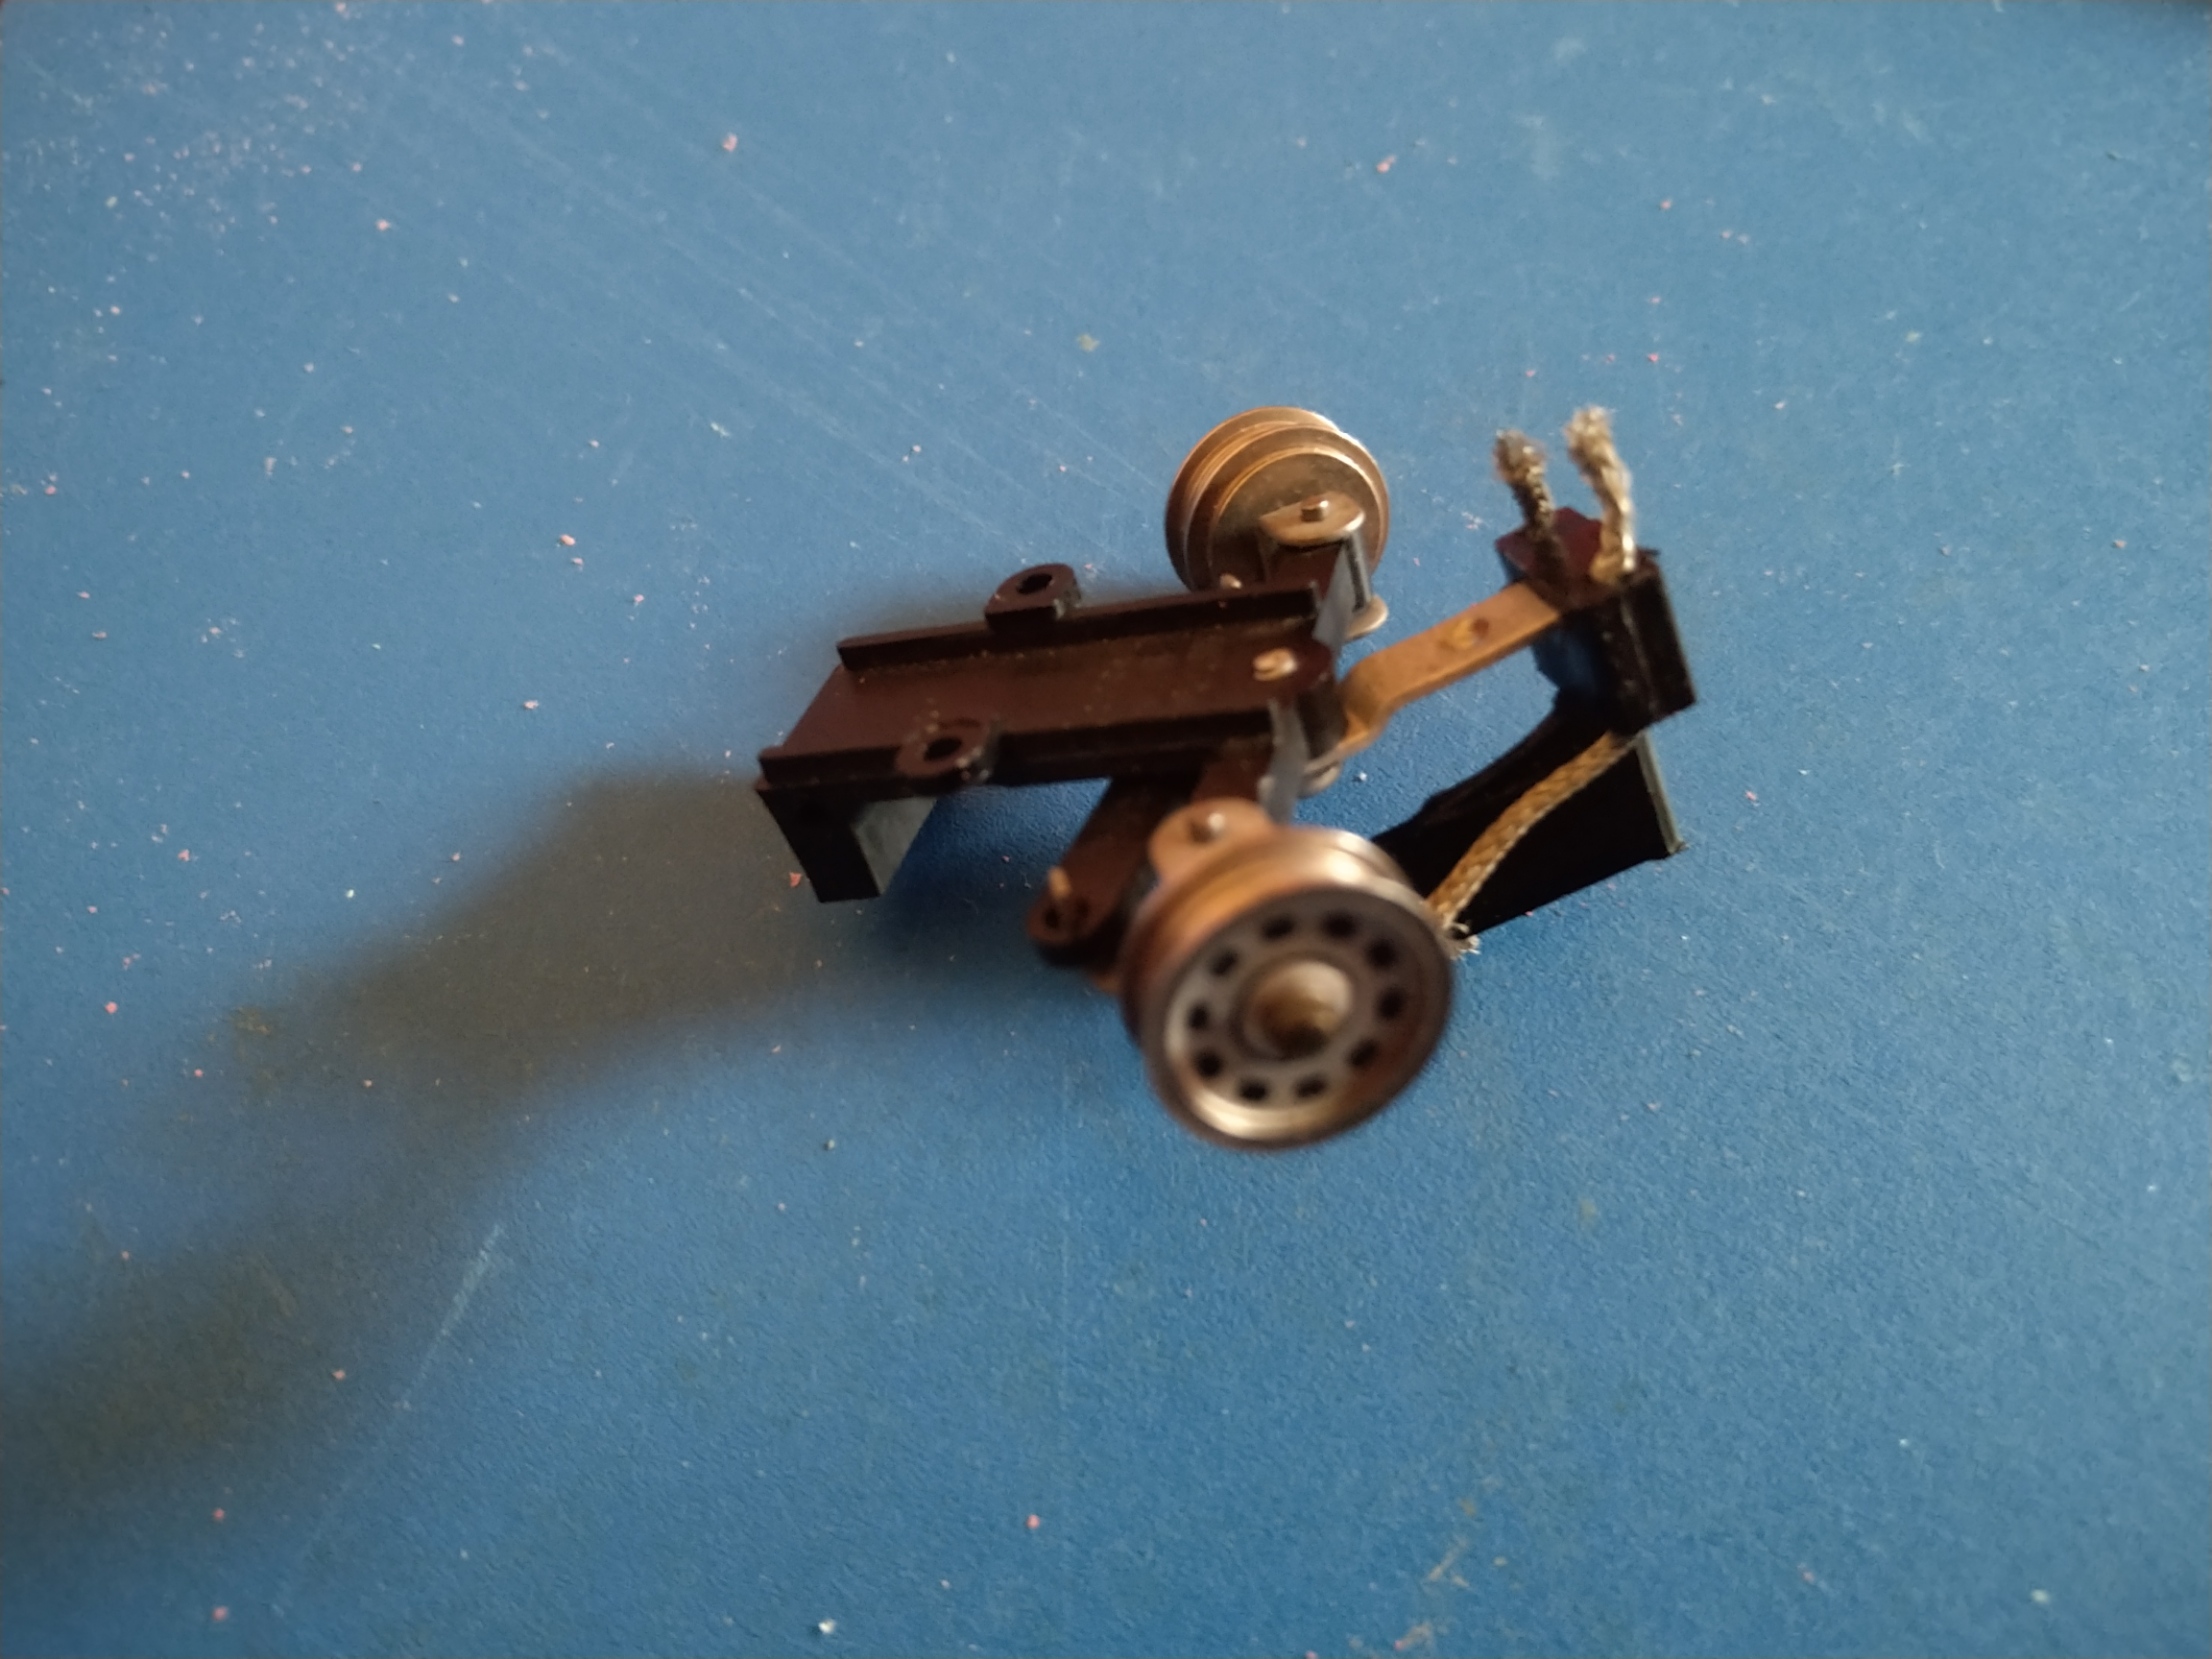
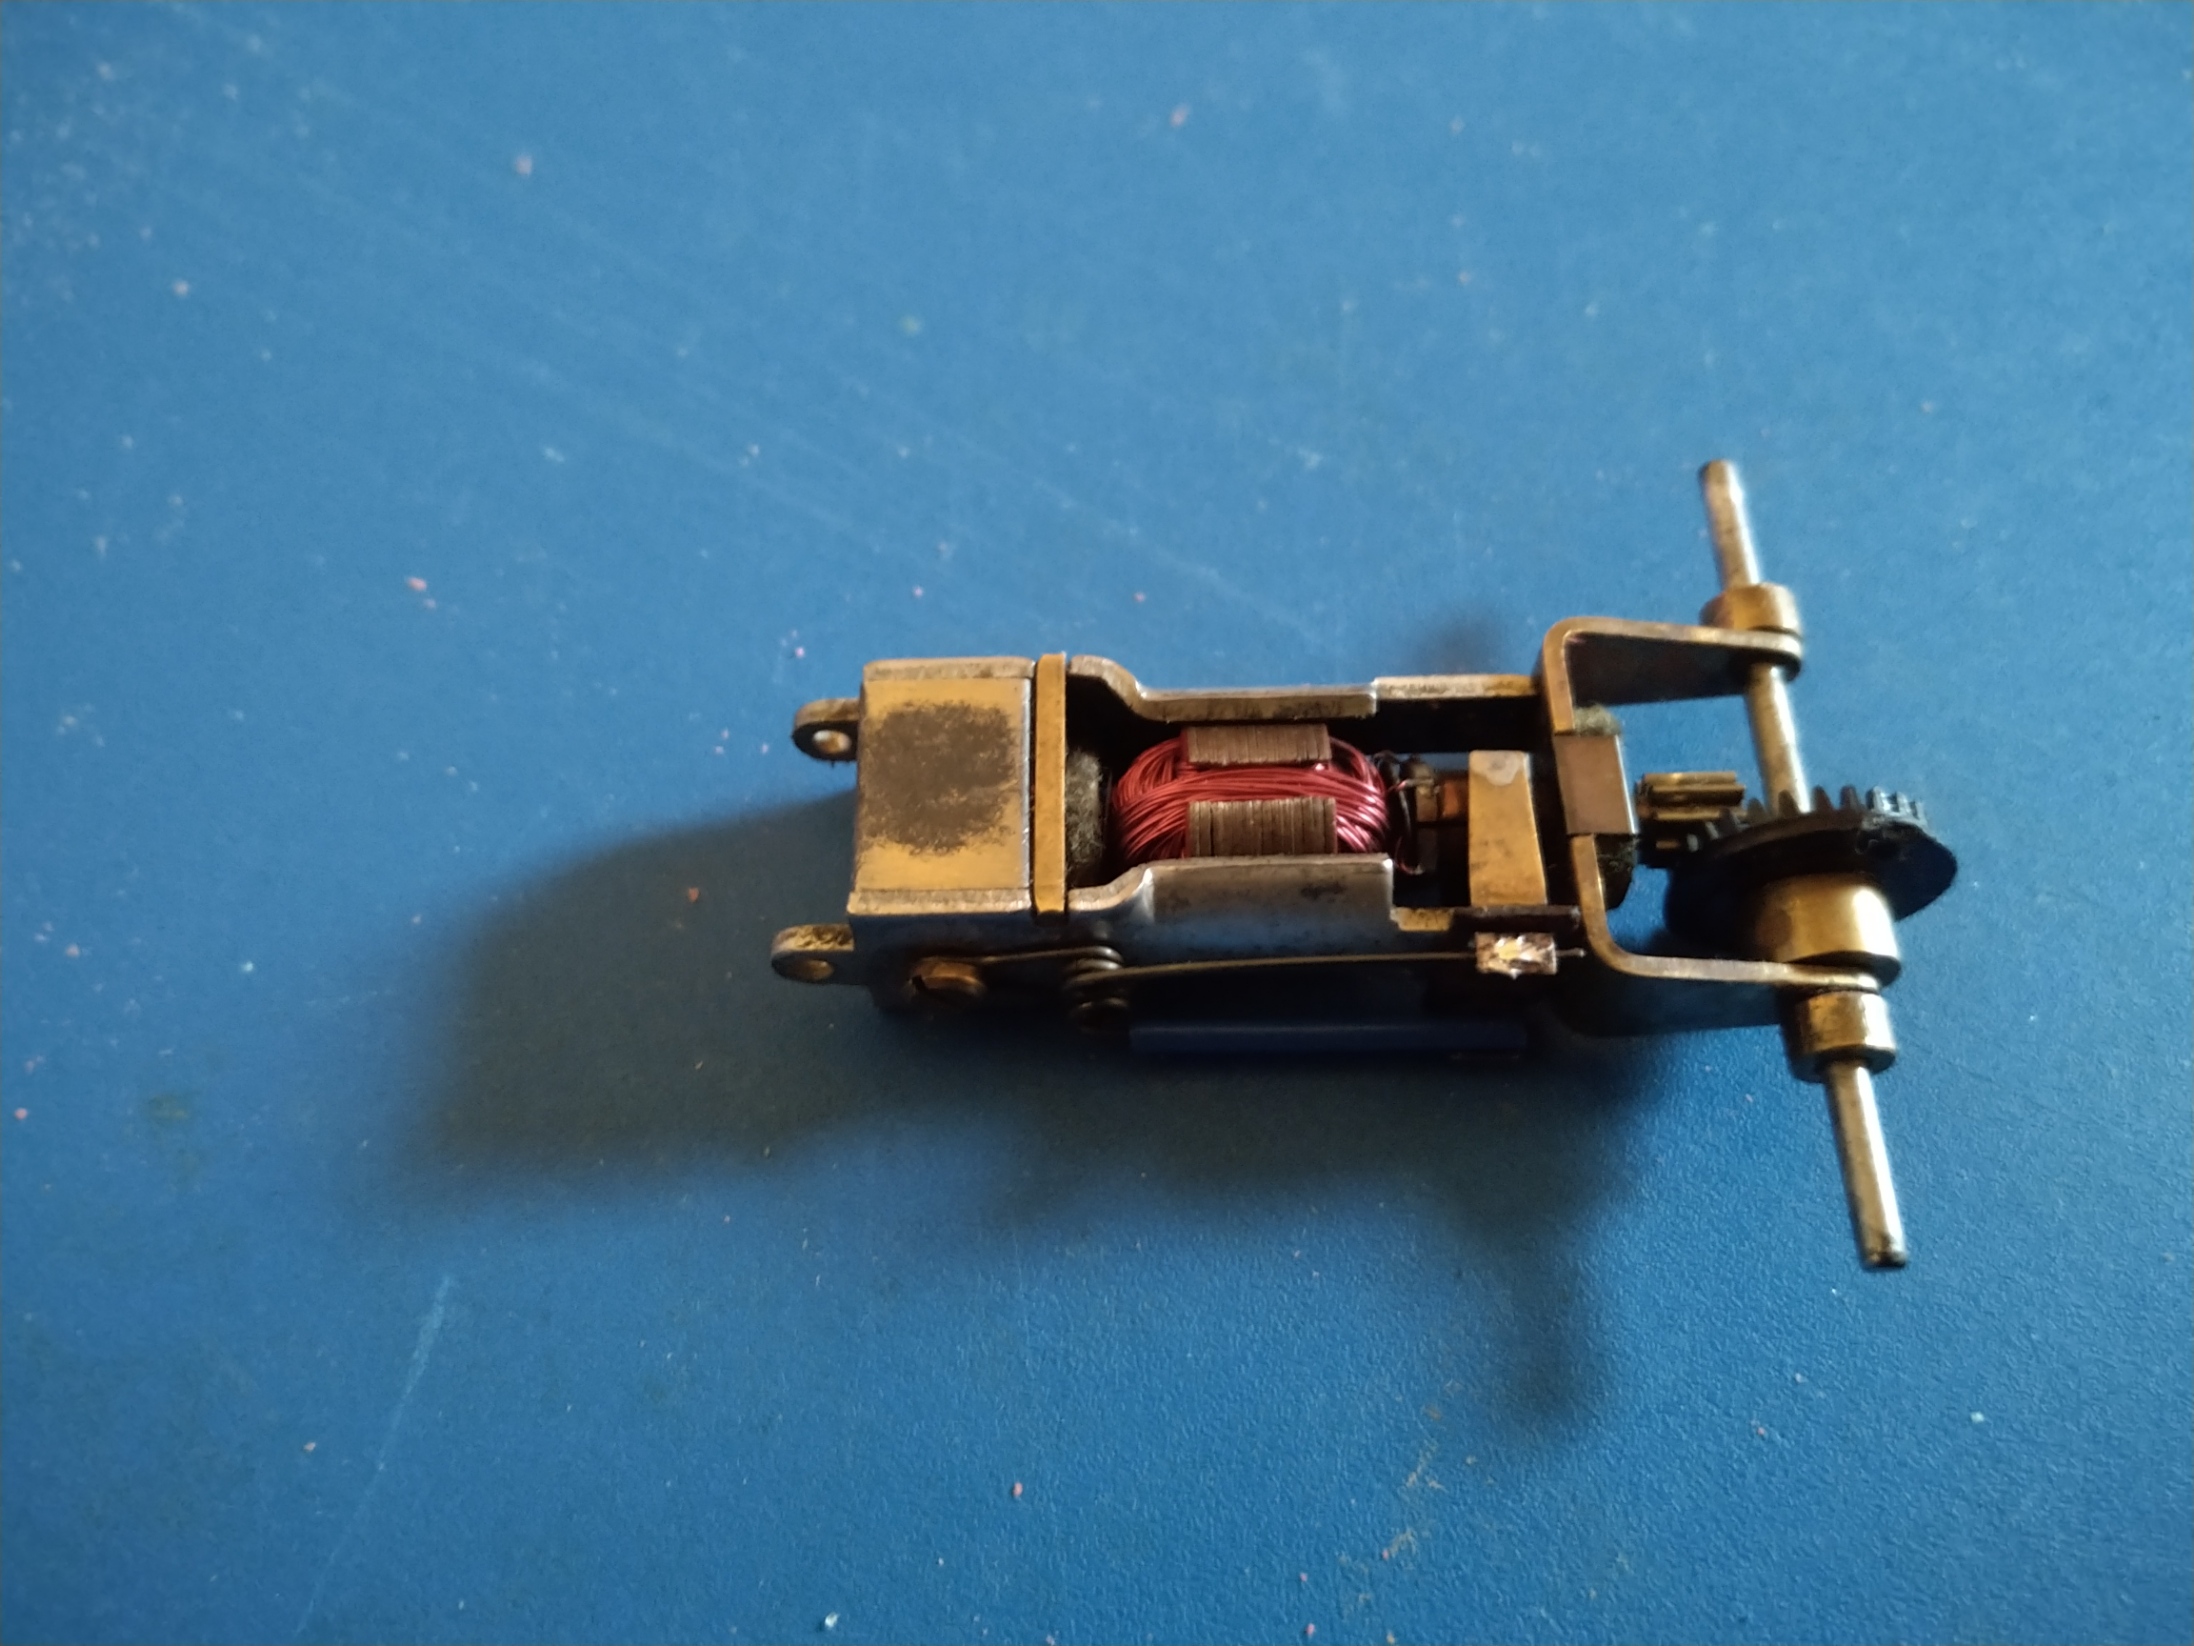
7/11/2020Started work building some running gear to fit the Super Shells Ferrari 156 Shark Nose body kit. I intend to use as may MRRC parts as possible with a 5 pole motor and axle unit and I will be trying to use a MRRC steering unit.
s716 2019-10-30 G
s716 2020-11-09 E
s716 2020-11-09 F
Did some more work on the Super Shells Sharknose Ferrari
10/11/2020Started painting the SRC Ford Capri body. Added the lights to the Airfix Ford Zodiac body, I've uses Microscale Klear for the head and sight lights. I've also done some more trials trying to find tyres for the Airfix Beetle build..
11/11/2020Did some more work on the adjustable 3D printed chassis which will end up in the Super Shells Sharkenose Ferrari.
13/11/2020Yet more work on the adjustable 3D printed chassis.
15/11/2020, to 20/11/2020More work on the adjustable 3D chassis.
21/11/2020Adjustments made to the adjustable 3D printed chassis so it will fit the Super Shells Ferrari.
2211/2020 to 25/11/2020More adjustments and test prints of the 3D Ferrari chassis.
General News
1/11/2020Not a lot going on today, just a bit more figure painting, will show some photos when there is a bit more to see.
I have however ordered a new compressor for the airbrush and this is a kit that also includes a cheap top feed brush. I have come to the conclusion that the compressor I have is the problem in two ways. First that the pressure is to high and is blowing the paint on the surface. Second the compressor has no pressure tank so the pulse of the piston is also effecting things.
2/11/2020The new compressor and airbrush turned up today. The compressor seems to be quite good and I can adjust the air pressure to a suitable level now and with the pressure tank the airflow will be steady. Only small problem is that this set uses 1/8" hose connections for the compressor and the airbrush and my old compressor is 1/4" but I did get a braided hose in the kit. Also my existing airbrush all use the smaller Badger connections so I will need to get an adaptor.
3/11/2020Good news and bad news today.
First the good news, I got an adaptor for the badger airbrush yesterday from my local art shop and the spray is a lot better with the new compressor. However the top feed double action airbrush that came with the kit seems to be a lot easier to use, partly because the cup is on top of the airbrush and partly because it just seems to spray a bit better. The badger airbrush is bottom feed and you need quite a bit of paint in the bottle to be able to use it and with the cup I find if I'm not very careful I'm spilling the paint.
Bad news is the for a while I have been having trouble with my Photon resin printer. I had to change the FEP film in the build tank and for a while all was fine then the prints started to fail. The prints were sticking to the FEP film and not the build plate. Have been trying to sort it over the last few days and have replaced the FEP again with no luck. I replaced it again without any pretension and still not luck.
I've lost count of the number of times I have reset the build plate. I have even tried sanding the build plate. I have bought new resin since the first batch of failures and that has made no difference and I am trying with simple prints that have worked fine before so it's not a problem with the splicer settings. It could be the weather but the first failures were back in early summer so don't think that's the problem.
I've also done some more figure painting. Some with the airbrush and some by hand.
4/11/2020As i haven't had much practice with the airbrush I thought I would give it a test and practice with a scrap body. The figures I have airbrushed seem to be ok,
latest pictures here and I did a test on a small model which also seemed tp be ok and smooth. I have a failed 1/43rd scale Ford Mustang body that I printed not long after I got my Photon resin printer, and for some reason had kept, and that seem to be a good subject to paint. yesterday I primed it but the print layer rings showed through quite a bit so I gave it a coat of primer filler and then another coat of grey primer this morning. I now have a blue mustang which I am quite happy with. I will now use this for a bit of masking practice and make it two tone.
6/11/2020The test /practice spraying of the scrap car body continues . I masked part of the car of and gave it a coat of whit primer and the using the airbrush some coats of white paint. A couple of little paint runs under the masking tape partly down to me and partly due to the very deep panel lines on the body. Also pne masking goof in that I masked and area that should have been painted. next up for this is to give it a coat of lacquer to see if this reacts with the paints I am using and the a test decal or two and another lacquer test. When I can find where I have hidden my bottle I will be switching to Klear.
Following on from this I have applied the first colour to the SRC Ford Capri MkI1 body. No majpor problems with this, so over the weekend I will mask up for the second colour and get the painting finished . This is why I need to test the lacquer.
10/11/2020Did some ore figure paintings and had a go doing a 3D printed MRRC steering unit.
 View on its own (if entry or VIDEO doesn't show)